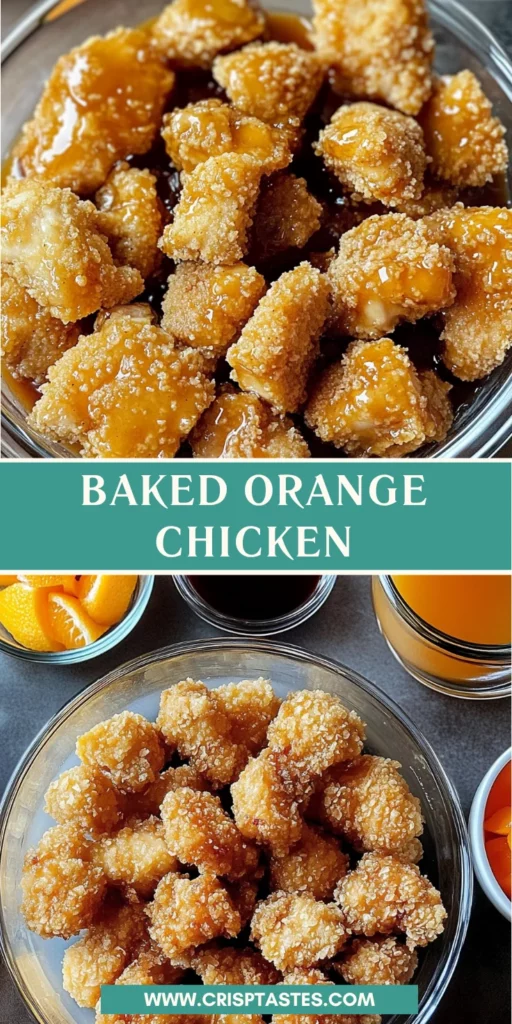
Baked Orange Chicken: A Deliciously Crispy Delight!

Introduction to Baked Orange Chicken
Hey there, fellow food lovers! If you’re on the lookout for a quick, scrumptious dinner that will make your family feel like they’re dining in a fancy restaurant, let me introduce you to my delightful Baked Orange Chicken. This dish is a game changer on those hectic weeknights when you’re juggling kids’ activities, work, and everything in between. The best part? You’ll create a meal that’s both crispy and tender, coated in a tangy orange sauce that dances on your taste buds. Dive into this dish and impress your loved ones, all while keeping it effortless!
Why You’ll Love This Baked Orange Chicken
This Baked Orange Chicken isn’t just another dinner option; it’s a lifesaver on busy nights! First of all, it comes together in under 45 minutes, so you can spend more time with your family. The crispy texture will have you reaching for seconds, while the zesty orange sauce adds a burst of flavor that tantalizes your taste buds. Plus, it’s a healthier twist on takeout that leaves you feeling satisfied, not sluggish!
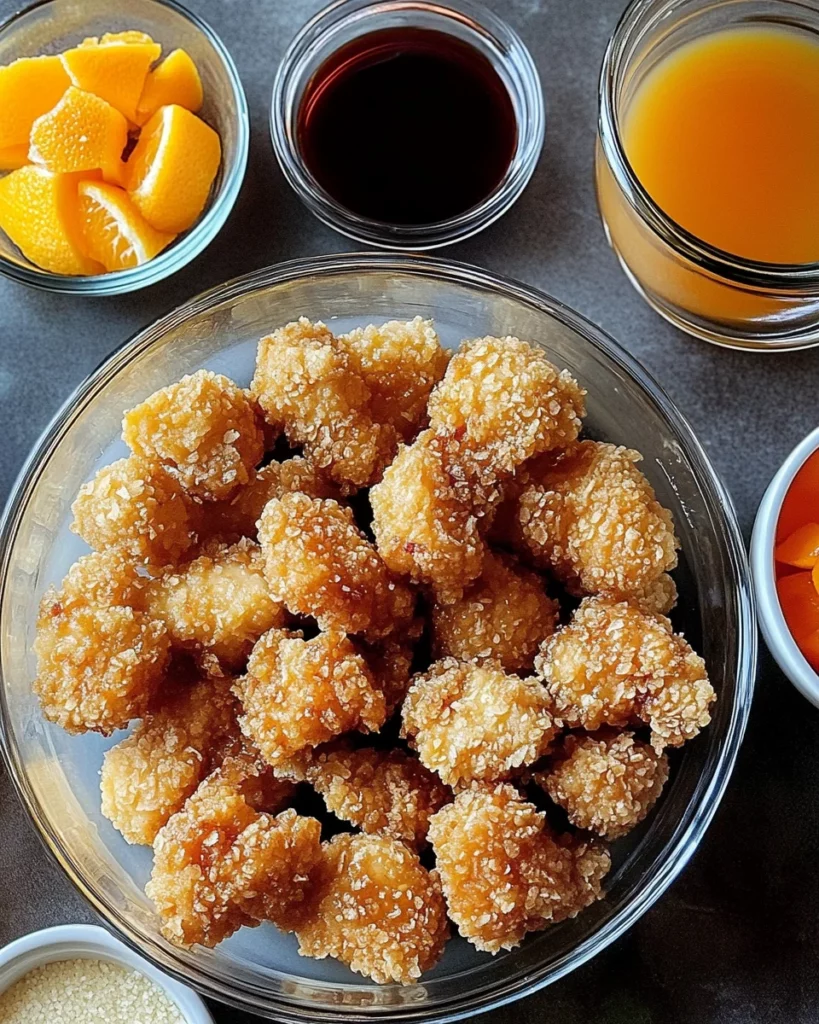
Ingredients for Baked Orange Chicken
Gathering the right ingredients is half the fun! Here’s what you’ll need for this deliciously crispy delight:
- Boneless skinless chicken thighs: These juicy pieces are perfect for soaking up the orange sauce and stay tender during baking.
- Panko breadcrumbs: These give the chicken that signature crunchy coating, offering a delightful contrast to the tender meat.
- Large eggs: Beaten eggs help the breadcrumbs adhere beautifully to the chicken. Don’t skip this step!
- All-purpose flour: A light dusting of flour helps the egg and panko stick, ensuring a well-coated piece of chicken.
- Cooking spray or vegetable oil: This is essential for achieving that gorgeous golden-brown color and crispiness.
- Fresh ginger: Minced ginger adds warmth and a slight spiciness to the orange sauce. Trust me, it elevates the dish!
- Garlic: Minced garlic delivers robust flavor with every bite. Fresh is best, but feel free to use garlic powder if you’re in a pinch.
- Crushed red pepper flakes: Add more spice and heat to your sauce by adjusting the amount according to your taste.
- Cornstarch: A thickening agent for the sauce, it gives the orange sauce a luxurious texture.
- Rice wine (or dry white wine): This adds depth to the sauce, but if you prefer, you can leave it out or substitute with chicken broth.
- Fresh orange juice: The star of the show! Use freshly squeezed juice for the best flavor and zest of an orange for added punch!
- Sesame oil: A little goes a long way in adding a nutty flavor to the sauce that complements the sweetness.
- Soy sauce: Low-sodium soy sauce gives a salty component without overwhelming the other flavors.
- Granulated sugar: Balances out the tartness of the orange juice for a tasty contrast.
- White vinegar: This brightens the sauce and cuts through the sweetness, making each bite more exciting.
You’ll find the exact quantities for these ingredients at the bottom of the article for easy printing. Happy cooking!
How to Make Baked Orange Chicken
Step 1: Prepare Your Oven and Baking Sheet
First things first, let’s get that oven preheating to 400°F. While it warms up, line a large baking sheet with parchment paper or a silicone baking mat. This will not only keep the chicken from sticking but also makes for easy cleanup later. Trust me, you’ll love that after a long day in the kitchen!
Step 2: Create Your Breading Station
Now it’s time to set up your breading station. Grab four separate bowls: one for the all-purpose flour, one for the beaten eggs, another for the panko breadcrumbs, and the last one for your chicken chunks. You can even add a pinch of salt and pepper to the flour for extra flavor. This organized setup helps streamline the breading process and makes it mess-free!
Step 3: Dredging the Chicken
Let’s get our hands slightly messy! Start by taking a piece of chicken and dredging it in the flour. Make sure it’s coated lightly, tapping off any excess. Then, dip it into the beaten eggs, ensuring it’s fully covered. Finally, roll it in the panko breadcrumbs, pressing gently to achieve a nice, even coating. Repeat this for all the chicken chunks; you want each piece to shine with that crispy goodness!
Step 4: Bake the Chicken
With the chicken all breaded and ready, arrange the pieces on your prepared baking sheet. Make sure to leave some space between each piece for air circulation. Now, spray the chicken with cooking spray or lightly brush it with vegetable oil. This step helps achieve that coveted golden-brown crispiness. Bake for 20-25 minutes until the chicken is perfectly crispy and there’s a delightful aroma in the air!
Step 5: Prepare the Orange Sauce
While the chicken bakes, it’s the perfect time to whip up the orange sauce. Heat some vegetable oil in a medium saucepan over medium heat. Toss in the minced ginger, garlic, and crushed red pepper flakes; let them sizzle for about 30 seconds. Next, add the cornstarch, rice wine, fresh orange juice, sesame oil, soy sauce, sugar, white vinegar, and orange zest. Whisk it all together, bring it to a boil, and then simmer until thickened for about 2-3 minutes.
Step 6: Combine and Serve
Once the chicken is out of the oven, transfer it to a large bowl and pour the warm orange sauce over it. Gently toss until each piece is beautifully coated in that vibrant sauce. Serve it hot and crispy, and prepare for the compliments to roll in! This dish not only looks stunning but tastes like a special treat, making it perfect for any occasion.
Tips for Success
- Use fresh ingredients for the best flavor, especially the orange juice and ginger.
- Don’t rush the breading process; ensure an even coat for maximum crispiness.
- Adjust the spice level by varying the crushed red pepper flakes for heat.
- Make extra sauce if you love it saucy; it pairs beautifully with rice.
- Allow the chicken to rest for a few minutes before serving to lock in moisture.
Equipment Needed
- Baking sheet: A large one lined with parchment paper or a silicone mat works wonders.
- Bowls: Four small bowls for flour, eggs, breadcrumbs, and chicken. Any mixing bowls will do!
- Medium saucepan: For preparing the orange sauce. A skillet can be an alternative.
- Whisk: To combine sauce ingredients easily. A fork can work in a pinch!
Variations of Baked Orange Chicken
- Healthier Version: Swap out the sugar for a natural sweetener like honey or maple syrup, and reduce the amount for a lighter touch.
- Gluten-Free Option: Use gluten-free panko breadcrumbs and cornstarch to keep this dish gluten-free while maintaining the crunch.
- Vegetarian Twist: Replace chicken with firm tofu or cauliflower for a scrumptious vegetarian alternative that still packs a flavor punch!
- Spicy Kick: Incorporate sriracha or chili garlic sauce into the orange sauce for an extra layer of heat and flavor.
- Citrus Medley: Experiment by combining fresh orange juice with lemon or lime juice for a zesty twist on the traditional flavor.
Serving Suggestions for Baked Orange Chicken
- Steamed Jasmine Rice: Serve with fluffy jasmine rice to soak up the delicious orange sauce.
- Stir-Fried Vegetables: Pair with a colorful mix of bell peppers, broccoli, and snap peas for added crunch and nutrition.
- Chilled Green Tea: A refreshing drink that complements the flavors beautifully.
- Garnish: Scatter some sesame seeds and chopped green onions on top for an elegant touch.
FAQs about Baked Orange Chicken
Can I use chicken breasts instead of thighs? Absolutely! You can substitute chicken breasts for thighs, but keep an eye on the cooking time. Breasts may cook faster, so check for that perfect 165°F internal temperature!
How do I store leftovers? Store any leftover Baked Orange Chicken in an airtight container in the fridge for up to three days. Reheating in the oven will help maintain its crispiness.
Can I make the sauce ahead of time? Yes, you can prepare the orange sauce in advance and store it in the fridge. Just give it a quick reheat on the stove before tossing it with the chicken!
Can I freeze Baked Orange Chicken? Yes, you can freeze the chicken after breading it. Just make sure to separate the pieces with parchment paper before placing them in a freezer bag. This way, you can enjoy a homemade meal anytime!
What can I serve with Baked Orange Chicken? This dish pairs wonderfully with steamed jasmine rice, stir-fried vegetables, or a green salad dressed with a light vinaigrette. Don’t forget that chilled green tea; it complements the flavors perfectly!
Final Thoughts
Cooking Baked Orange Chicken brings so much joy, transforming a stressful evening into a delightful culinary experience. The aroma wafting through your kitchen as it bakes creates a warm ambiance that feels like a cozy hug. There’s something incredibly satisfying about serving a dish that looks stunning and tastes divine. Each crispy piece, drizzled with that zingy orange sauce, is bound to put smiles on your family’s faces. So, why not make it a regular in your weeknight rotation? Embrace the flavorful adventure—your taste buds will be ever so grateful!
Print
Baked Orange Chicken
- Total Time: 45 minutes
- Yield: 4 servings 1x
- Diet: Gluten Free
Description
Baked Orange Chicken is a deliciously crispy delight, featuring tender chicken thighs coated in a savory, tangy orange sauce.
Ingredients
- 2 pounds boneless skinless chicken thighs, cut into 1-inch chunks
- 1 cup panko breadcrumbs
- 2 large eggs, beaten
- ½ cup all-purpose flour
- Cooking spray or additional vegetable oil for brushing
- 1 tablespoon vegetable oil
- 1½ tablespoons fresh ginger, minced
- 2 teaspoons garlic, minced (about 2 cloves)
- ½ teaspoon crushed red pepper flakes
- 1 tablespoon cornstarch
- 2 tablespoons rice wine (or dry white wine)
- ¼ cup fresh orange juice (from 1 large orange)
- 1 teaspoon sesame oil
- 3 tablespoons low-sodium soy sauce
- 10 tablespoons granulated sugar (about ⅔ cup)
- 10 tablespoons white vinegar (about ⅔ cup)
- Zest of 1 orange
Instructions
- Preheat the oven to 400°F. Line a large baking sheet with parchment paper or a silicone baking mat.
- Place the panko breadcrumbs in a food processor and pulse several times until they reach a finer texture similar to regular breadcrumbs.
- Arrange your breading station with four separate bowls: one with flour, one with beaten eggs, one with the processed panko breadcrumbs, and one containing chicken chunks. Season the flour with a pinch of salt and pepper if desired.
- Dredge the chicken first in the flour, then dip into the beaten eggs, and finally coat in the panko breadcrumbs. Press gently to ensure even coverage.
- Place the breaded chicken pieces on the prepared baking sheet, leaving a little space between each piece.
- Spray the breaded chicken pieces lightly with cooking spray or brush with a small amount of vegetable oil. Bake for 20-25 minutes until golden brown and crispy.
- While the chicken is baking, make the sauce by heating the vegetable oil in a medium saucepan over medium heat. Add the ginger, garlic, and crushed red pepper flakes, cooking for about 30 seconds.
- Add the cornstarch, rice wine, orange juice, sesame oil, soy sauce, sugar, white vinegar, and orange zest to the saucepan. Whisk to combine, bring to a boil, then reduce heat and simmer for 2-3 minutes until thickened.
- When the chicken is done baking, transfer it to a large bowl and pour the warm orange sauce over it. Toss until all pieces are evenly coated and serve hot and crispy.
Notes
- Ensure the chicken is cooked to an internal temperature of 165°F.
- Adjust the level of spice by varying the amount of crushed red pepper flakes.
- Prep Time: 20 minutes
- Cook Time: 25 minutes
- Category: Main Dish
- Method: Baking
- Cuisine: Asian
Nutrition
- Serving Size: 1 serving
- Calories: 450
- Sugar: 28g
- Sodium: 600mg
- Fat: 17g
- Saturated Fat: 2g
- Unsaturated Fat: 10g
- Trans Fat: 0g
- Carbohydrates: 55g
- Fiber: 1g
- Protein: 25g
- Cholesterol: 100mg