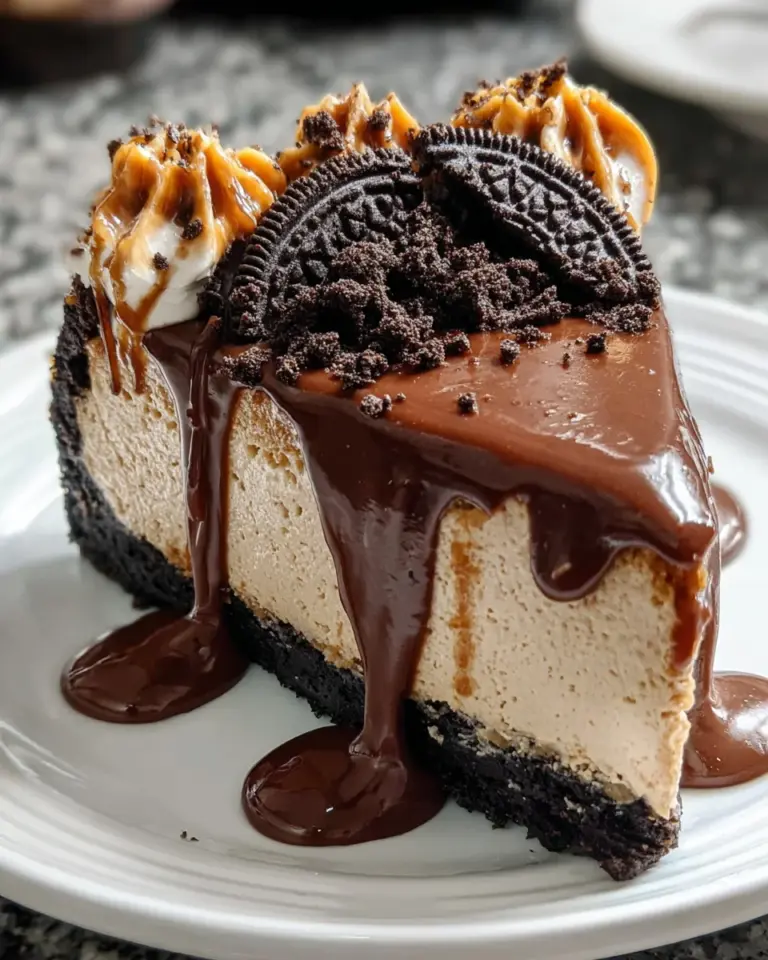
Biscoff Cheesecake: Indulge in a Creamy Delight!

Introduction to Biscoff Cheesecake
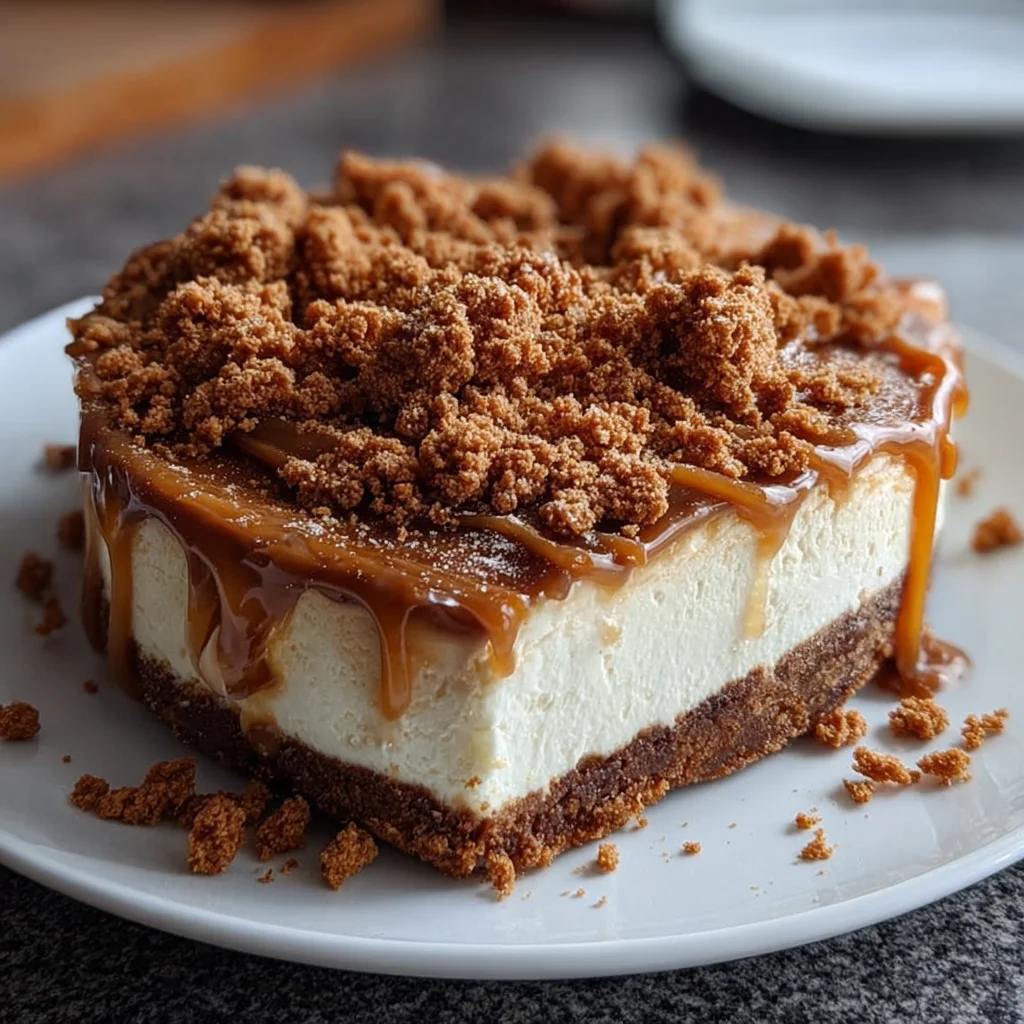
Let’s talk about that special treat we all crave when the day has been a whirlwind. The Biscoff cheesecake is not just a dessert; it’s a creamy, dreamy escape in every bite! As a home cook, I can tell you, this recipe is your go-to when you’re pressed for time yet want to whip up something memorable. Picture this: a rich filling, a crunchy Biscoff cookie crust, and all whipped together with love. It’s truly the perfect way to impress loved ones or simply indulge after a long day. Trust me; they’ll be asking for seconds!
Why You’ll Love This Biscoff Cheesecake
This Biscoff cheesecake is a game-changer! It combines creamy indulgence with a simple recipe that won’t steal hours of your precious time. You’ll love how quickly it comes together, making it ideal for busy nights or last-minute gatherings. Plus, who can resist that buttery crunch of Biscoff cookies paired with creamy goodness? It’s a dessert that turns any occasion into a celebration without the fuss!
Ingredients for Biscoff Cheesecake
Gathering the right ingredients sets the foundation for your Biscoff cheesecake. Here’s what you’ll need:
- Biscoff cookies: These delectable, spiced cookies form a crunchy base that pairs perfectly with the creamy filling.
- Unsalted butter: This binds your crust together, adding richness. Always use unsalted; it gives you more control over flavors.
- Sugar: A touch of sweetness can be added to the crust if you prefer. Feel free to adjust according to your taste.
- Cream cheese: The star of this cheesecake! Use full-fat cream cheese for a rich, smooth texture that melts in your mouth.
- Granulated sugar: This sweetens the filling, balancing the tang of the cream cheese. You can use less if you prefer it less sweet.
- Sour cream: Adding sour cream enriches the cheesecake and brings a slight tang that lifts the flavor profile.
- Vanilla extract: Just a teaspoon elevates the overall taste with warm, inviting notes.
- Eggs: These help set your cheesecake, giving it that creamy texture. Use room-temperature eggs for the best results.
- Biscoff spread: This irresistible spread adds an extra layer of flavor, making each bite even more decadent.
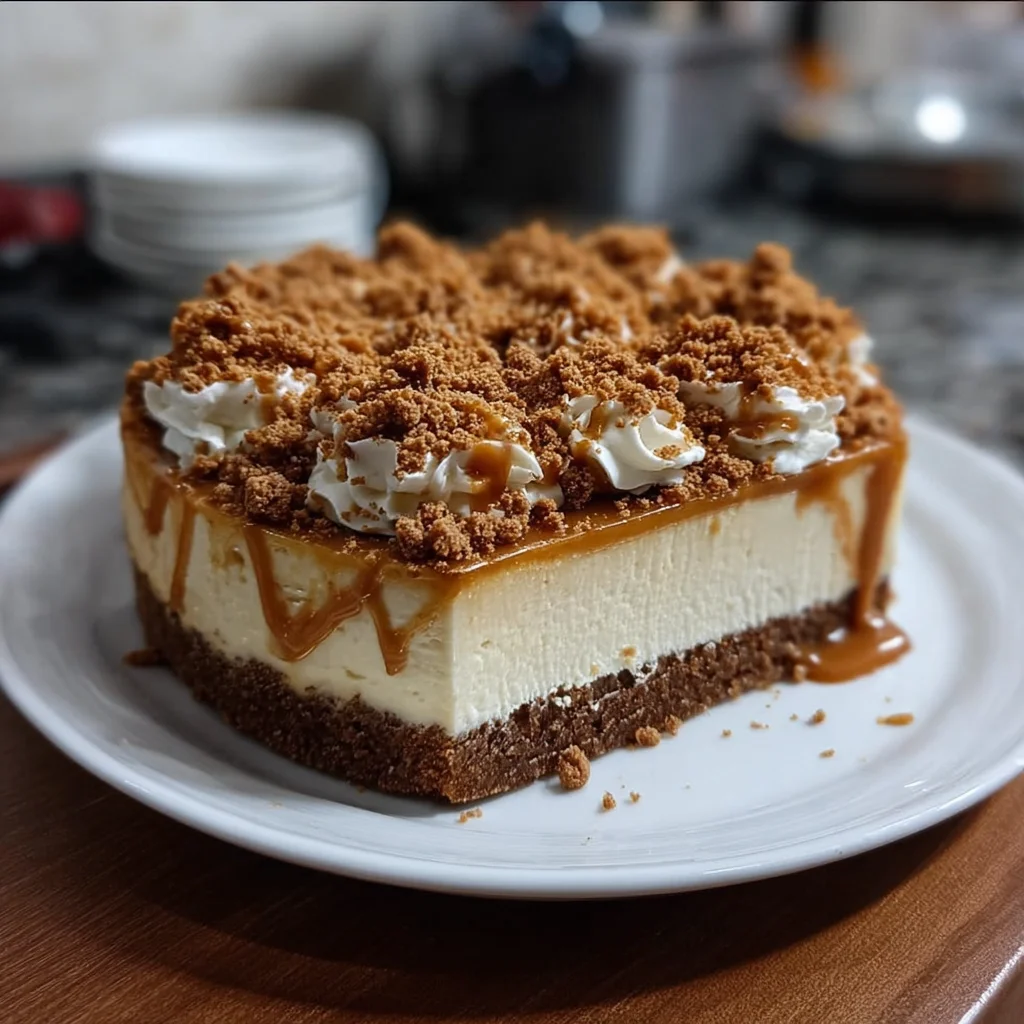
- Whipped cream: Perfect for garnishing, adding a light touch that contrasts beautifully with the dense cheesecake.
- Crushed Biscoff cookies: Sprinkle these on top for a delightful crunch and a visual treat that looks as good as it tastes!
For the exact measurements for these ingredients, check out the bottom of the article where they are detailed for easy printing.
How to Make Biscoff Cheesecake
Now, let’s dive into the delightful journey of making your Biscoff cheesecake! This step-by-step guide will walk you through each part of the process. You’ll be amazed at how simple it is to create this creamy sensation in your own kitchen.
Step 1: Prepare the Crust
First things first, preheat your oven to 350°F (180°C). The warmth of the oven will bring out the wonderful flavors in your cheesecake.
Next, crush the Biscoff cookies! Use a food processor for a fine crumble, or if you prefer a little workout, you can place them in a bag and crush them with a rolling pin. Either method works perfectly!
Once they’re crushed, mix the Biscoff crumbs with melted unsalted butter. If you want an extra hint of sweetness, add a tablespoon or two of sugar. Press this delicious mixture into the bottom of a 9-inch springform pan. Make sure it’s tightly packed; you want that crunchy base to hold together beautifully!
Bake it in the preheated oven for about 10 minutes. This little bit of baking solidifies the crust, giving it the perfect texture. Afterward, let it cool completely while you prepare the filling.
Step 2: Make the Cheesecake Filling
Now it’s time for the creamy magic! In a large mixing bowl, beat the softened cream cheese until it’s nice and smooth. I like to use an electric mixer for this step, but a whisk works too. Just be prepared for a workout!
Next, slowly add the granulated sugar, sour cream, and vanilla extract. Mix until everything is well combined. The sour cream will add a delightful tang that balances the sweetness perfectly.
Now for the fun part—adding the eggs! Crack in each one individually, mixing well after each addition. This breaks the eggs into the filling without over-mixing. Finally, fold in the Biscoff spread. This step adds an extra layer of deliciousness you won’t want to miss!
Step 3: Bake the Cheesecake
Pour your luscious cheesecake filling over the cooled crust, spreading it out evenly. Pop it in the oven and bake for 50–60 minutes. You’ll know it’s ready when the edges are set, and the center has a slight jiggle.
Once done, turn off the oven, crack the door open slightly, and let the cheesecake cool inside for about an hour. This gentle cooling process helps prevent cracks on the surface. We want flawless presentation, right?
Step 4: Cool and Chill
After that hour, it’s time to transfer it to the refrigerator. I recommend letting it chill for at least 4 hours, though overnight is even better. This waiting game allows all those delightful flavors to meld together.
Before serving, top it off with whipped cream and a sprinkle of crushed Biscoff cookies for a finishing touch that’s sure to impress!
Tips for Success
- Always use room-temperature ingredients for a smoother batter.
- Don’t skip the cooling step in the oven to minimize cracks.
- Use a good quality springform pan to ensure easy removal.
- For a firmer cheesecake, let it chill overnight.
- Feel free to adjust the sweetness according to your taste preferences.
Equipment Needed
- 9-inch springform pan: This makes it easy to remove the cheesecake. If you don’t have one, a regular cake pan works too, but be cautious when serving.
- Food processor: Perfect for crushing cookies. A zip-top bag and rolling pin will do if you lack one.
- Electric mixer: Ideal for mixing cream cheese smoothly. A whisk works if you’re feeling adventurous!
Variations
- Chocolate Biscoff Cheesecake: Add melted chocolate to the cheesecake filling for a rich, decadent twist.
- No-Bake Version: Skip the baking step and set your cheesecake in the refrigerator. Use gelatin to help it firm up.
- Gluten-Free Option: Use gluten-free Biscoff cookies to make a gluten-free version that’s just as delicious!
- Nutty Flavor: Incorporate chopped pecans or almonds into the crust for added texture and taste.
- Spiced Biscoff Cheesecake: Add a pinch of cinnamon or nutmeg to the filling for a warm, spiced flavor that complements the Biscoff perfectly.
Serving Suggestions for Biscoff Cheesecake
- Pair with a hot cup of coffee or tea for a comforting treat.
- Serve alongside fresh berries for a burst of freshness.
- Drizzle with a caramel or chocolate sauce for extra indulgence.
- Offer a scoop of vanilla ice cream to complement the creamy texture.
- Garnish with mint leaves for a pop of color and freshness.
FAQs about Biscoff Cheesecake
As I’ve explored the world of baking and treated my family to my special Biscoff cheesecake, I’ve noticed some common questions pop up. Let’s address these to help you confidently create your masterpiece!
Can I make Biscoff cheesecake in advance?
Absolutely! In fact, it’s even better when made a day in advance. The flavors have time to meld, creating a deliciously creamy dessert that everyone will adore.
What can I substitute for cream cheese?
If you’re looking for alternatives, consider using mascarpone or a vegan cream cheese substitute. Keep in mind that this may alter the taste and texture slightly.
Why does my cheesecake crack?
Cracks often occur due to temperature changes. Cooling your cheesecake slowly in the oven and ensuring you use room-temperature ingredients helps prevent this issue.
How do I store leftover cheesecake?
Store any leftovers in an airtight container in the refrigerator. It will keep well for up to a week—if it lasts that long, that is!
Can I freeze Biscoff cheesecake?
Yes! To freeze, wrap the cheesecake tightly in plastic wrap and aluminum foil. It can last in the freezer for up to a month. Thaw before serving for the best texture.
Final Thoughts
Creating a Biscoff cheesecake is more than just baking; it’s about weaving memories with every bite. Whether you’re celebrating a special occasion or enjoying a cozy night in, this creamy delight is sure to elevate the moment. I love how this recipe invites you to play, experiment, and even share a piece of joy with friends and family. In a world where time is precious, this cheesecake captures the essence of indulgence without the fuss. So, gather your loved ones, slice into that heavenly creation, and cherish the smiles that follow. Trust me, it’s pure bliss!
Print
Biscoff Cheesecake
- Total Time: 4 hours 30 minutes
- Yield: 12 servings 1x
- Diet: Vegetarian
Description
A creamy, indulgent Biscoff cheesecake with a crunchy cookie crust and a rich filling, perfect for dessert lovers.
Ingredients
- 200g Biscoff cookies (about 24 cookies)
- 100g unsalted butter, melted
- 2 tablespoons sugar (optional)
- 500g cream cheese, softened
- 150g granulated sugar
- 200g sour cream
- 1 teaspoon vanilla extract
- 3 large eggs (room temperature)
- 150g Biscoff spread
- Whipped cream (for garnish)
- Crushed Biscoff cookies (for sprinkling)
Instructions
- Preheat oven to 180°C (350°F).
- Crush Biscoff cookies in a food processor until fine.
- Mix with melted butter and sugar (if using).
- Press into the bottom of a 9-inch springform pan.
- Bake for 10 minutes, then cool.
- Beat cream cheese until smooth.
- Add sugar, sour cream, and vanilla; mix well.
- Add eggs one at a time, mixing after each.
- Fold in the Biscoff spread until combined.
- Pour filling over the cooled crust.
- Bake for 50-60 minutes until edges are set.
- Turn off the oven and crack the door; cool for 1 hour.
- Refrigerate for at least 4 hours, preferably overnight.
- Top with whipped cream and crushed Biscoff cookies before serving.
Notes
- For a firmer cheesecake, let it chill overnight.
- Feel free to adjust the amount of sugar based on your sweetness preference.
- Prep Time: 30 minutes
- Cook Time: 60 minutes
- Category: Dessert
- Method: Baking
- Cuisine: American
Nutrition
- Serving Size: 1 slice
- Calories: 450
- Sugar: 25g
- Sodium: 300mg
- Fat: 30g
- Saturated Fat: 15g
- Unsaturated Fat: 10g
- Trans Fat: 0g
- Carbohydrates: 38g
- Fiber: 1g
- Protein: 6g
- Cholesterol: 95mg