Black Milkshake
Introduction to Black Milkshake
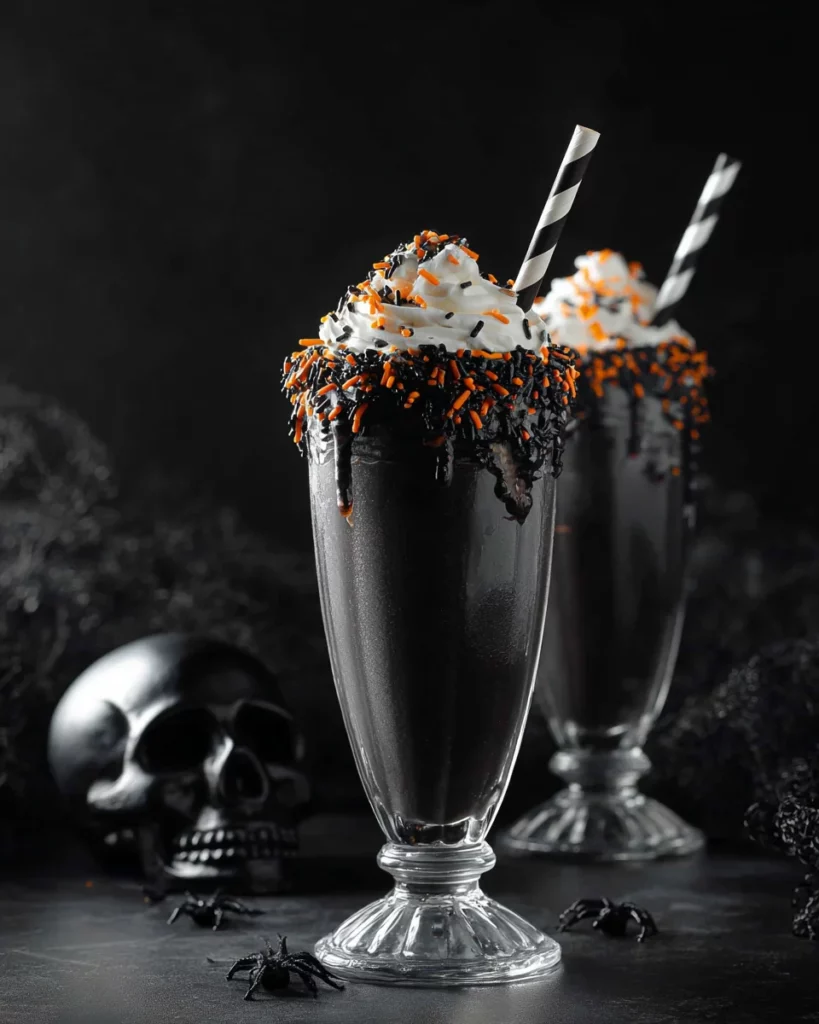
Hello, fellow food enthusiasts! If you’re anything like me, life gets busy, and finding time to unwind can feel overwhelming. That’s where the delightful black milkshake comes to the rescue! This treat is not just visually striking with its deep, rich color, but it’s also super easy to whip up. Perfect for those fun family movie nights or simply as a sweet escape after a hectic day. Trust me, this black milkshake will bring smiles to your faces and create a little magic, one sip at a time!
Why You’ll Love This Black Milkshake
One of the best parts about this black milkshake is its simplicity. In just 15 minutes, you can serve up a delicious treat that looks like a gourmet dessert! The unique black cocoa adds an exciting twist that kids will love, making it a hit at any gathering. Plus, it’s rich, creamy, and irresistibly tasty—perfect for satisfying those sweet cravings without much fuss. Who wouldn’t love that?

Ingredients for Black Milkshake
To create this indulgent black milkshake, you’ll need a handful of ingredients that combine to make the magic happen! Here’s what you’ll need:
- 1/4 cup (60 ml) heavy cream or whipping cream: This creamy delight is essential for making luscious whipped cream that tops your milkshake.
- Black sanding sugar: While optional, this adds a fun, decorative touch to the rim of your glass, making your milkshake look extra special!
- 2 cups (475 ml) vanilla ice cream: The star of the show! It provides that rich base and creamy texture we all cherish.
- 1/4 to 1/2 cup (60 to 120 ml) milk: Adjust this according to how thick or thin you like your milkshake.
- 3 tablespoons (26 grams) black cocoa powder: This gives your milkshake its deep color and unique flavor, setting it apart from standard recipes.
- 2 tablespoons maple syrup: A natural sweetener that adds warmth and a hint of flavor depth.
- 2 teaspoons vanilla extract: It rounds out the flavors beautifully, enhancing the overall taste.
- Sprinkles (optional): For an added crunch and visual appeal, why not sprinkle some on top?
You can find exact measurements available at the bottom of the recipe for easy printing. Enjoy getting creative with the ingredients!
How to Make Black Milkshake
Making this black milkshake is a delightful experience! Follow these simple steps, and you’ll have a fabulous treat ready in no time. Let’s dive into the fun of crafting this rich and creamy dessert!
Step 1: Prepare the Whipped Cream
Start by adding the heavy cream to a mixing bowl. Whip it at medium speed until it begins to thicken. This process transforms the liquid cream into magical fluff! When it holds its shape and creates peaks that stand tall, your whipped cream is done. Remember, the key is to avoid overmixing; you want light and airy, not butter! Refrigerate it while you move on to the next steps.
Step 2: Rim the Glass
To make your milkshake eye-catching, let’s create a black-sanded rim. Pour some black sanding sugar into a shallow dish. Grab a small brush or dip the rim of your glass in maple syrup, coating it evenly. Swiftly dip the rim into the sanding sugar, covering it completely. Give it a gentle tap to remove any excess sugar. Placing the glass in the freezer for a few minutes helps the sugar adhere better, ensuring a gorgeous presentation!
Step 3: Blend the Ingredients
Now comes the fun part—blending! In your blender, combine the vanilla ice cream, milk, black cocoa powder, maple syrup, and vanilla extract. Blend on high speed until everything is well combined and smooth. The black cocoa will give your milkshake that unique color and flavor. If your milkshake seems too thick, simply add more milk until you achieve your desired consistency. Give it a taste, and adjust the black cocoa if you crave more richness!
Step 4: Assemble Your Milkshake
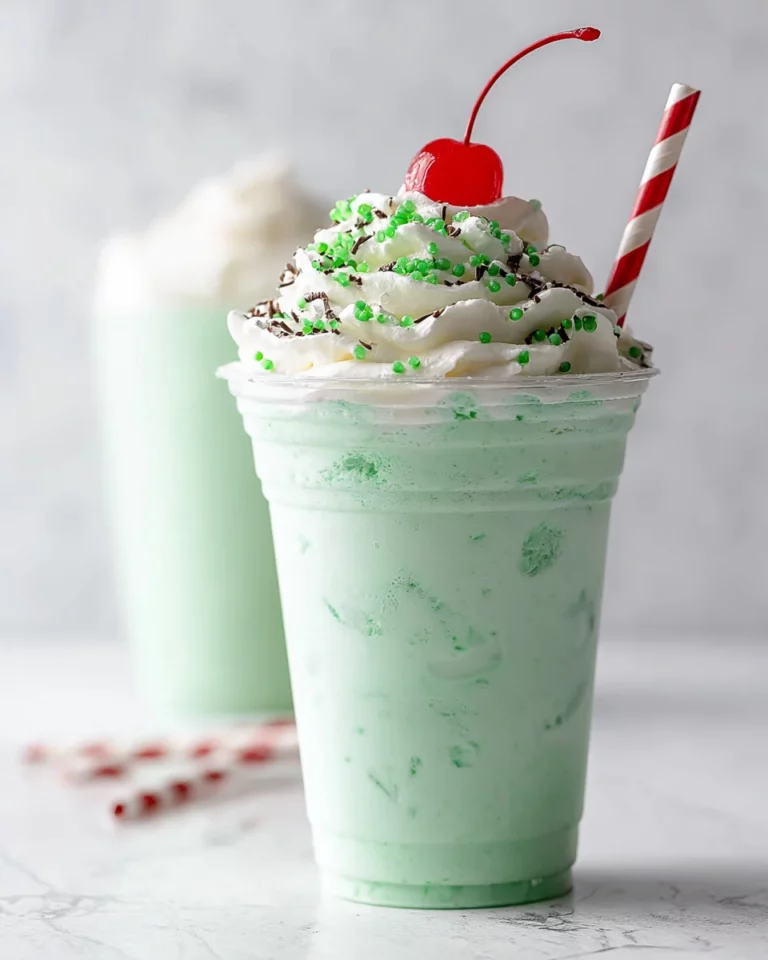
It’s time to bring it all together! Pour your luscious black milkshake into the rimmed glass, filling it generously. Top it off with the whipped cream you made earlier, letting it cascade like a fluffy cloud. For a fun finishing touch, sprinkle on some colorful toppings if you’d like! Your black milkshake is now ready to impress, so grab a straw and enjoy every delightful sip!
Tips for Success
- Opt for high-quality black cocoa powder for the richest flavor.
- Start with less milk and gradually add more to control consistency.
- Chill your glass in advance to keep your milkshake cold longer.
- Don’t rush the whipped cream—properly whipped cream makes all the difference!
- Experiment with different toppings for a personal twist on presentation.
Equipment Needed
- Blender (or hand mixer for whipping cream)
- Mixing bowl for whipped cream
- Measuring cups and spoons
- Shallow dish for sanding sugar
- Small pastry brush (optional for syrup application)
- Glass for serving
Variations
- For a lactose-free option, swap the ice cream for a dairy-free variety made from almond or coconut.
- Add a handful of bananas or berries for a fruity twist that complements the rich cocoa.
- Try drizzling some chocolate syrup on top for added decadence!
- Experiment with flavored whipped cream, like peppermint or mocha, for seasonal flair.
- Chop up some dark chocolate for a delightful crunch on your milkshake.
Serving Suggestions
- Pair your black milkshake with warm, freshly baked cookies for a comforting treat.
- Serve alongside a plate of chocolate-dipped strawberries for a delectable contrast.
- Consider a side of popcorn tossed with sea salt for a fun movie night combo.
- Present in stylish glasses with fun straws for a festive touch!
FAQs about Black Milkshake
Let’s dive into some common questions about our delicious black milkshake! I often get asked about storage. If you happen to have leftovers, simply store them in an airtight container in the freezer. Just be aware that it’s best enjoyed fresh as it might lose its creamy texture when thawed.
Another question I hear is about sweetness. If you prefer a less sweet milkshake, you can reduce the maple syrup or black cocoa powder slightly. Adjusting these will still leave you with a delightful flavor!
Some readers also inquire about variations. Feel free to add different flavors to the base! For instance, make it a mocha milkshake by adding a shot of espresso.
Lastly, if you’re looking for a lighter option, try using low-fat ice cream or milk. Enjoy experimenting with your black milkshake!
Final Thoughts
The joy of creating a black milkshake transcends its rich taste and stunning appearance. It’s not just about blending ingredients; it’s about crafting memories in your kitchen. This recipe makes it easy to treat yourself and your loved ones to a sweet escape when life gets hectic. Watching smiles spread as they take that first sip is simply priceless. So, gather your ingredients, unleash your creativity, and enjoy this delightful adventure. With every creamy, chocolatey sip, you’ll be reminded that sometimes, the simplest pleasures bring the greatest delight!
Print
Black Milkshake
- Total Time: 15 minutes
- Yield: 2 servings 1x
- Diet: Vegetarian
Description
A deliciously rich and creamy black milkshake made with vanilla ice cream and black cocoa powder, perfect for a sweet treat.
Ingredients
- 1/4 cup (60 ml) heavy cream or whipping cream
- black sanding sugar
- 2 cups (475 ml) vanilla ice cream packed
- 1/4 to 1/2 cup (60 to 120 ml) milk
- 3 tablespoons (26 grams) black cocoa powder
- 2 tablespoons maple syrup
- 2 teaspoons vanilla extract
- sprinkles (optional)
Instructions
- If making whipped cream and rim: Add the heavy cream to a bowl. Begin by whipping the cream at medium speed. Once it starts to thicken, increase the speed to high. Continue whipping until the peaks stand up straight. Place in the fridge while you make the milkshake.
- To make a rim with black sanding sugar, pour sanding sugar into a shallow bowl. Brush some maple syrup on the rim of your glass with a small pastry brush or dip the rim into a shallow dish of maple syrup. Immediately dip the rim of the glass into the sanding sugar. Tap to remove excess sugar and place in the freezer for a few minutes to help the sugar adhere better.
- Add ice cream, milk, black cocoa powder, maple syrup, and vanilla to a blender and blend until it’s totally combined and there aren’t any lumps of ice cream. If it’s too thick, add more milk until it’s however thick you’d like. Taste and add more black cocoa, if desired.
- Top with the whipped cream and add sprinkles, if desired.
Notes
- The milkshake may initially look dark grey but will darken to black over time.
- Adjust milk quantity for desired thickness.
- Prep Time: 15 minutes
- Cook Time: 0 minutes
- Category: Dessert
- Method: Blending
- Cuisine: American
Nutrition
- Serving Size: 1 serving
- Calories: 400
- Sugar: 40g
- Sodium: 150mg
- Fat: 20g
- Saturated Fat: 10g
- Unsaturated Fat: 5g
- Trans Fat: 0g
- Carbohydrates: 50g
- Fiber: 3g
- Protein: 6g
- Cholesterol: 60mg

