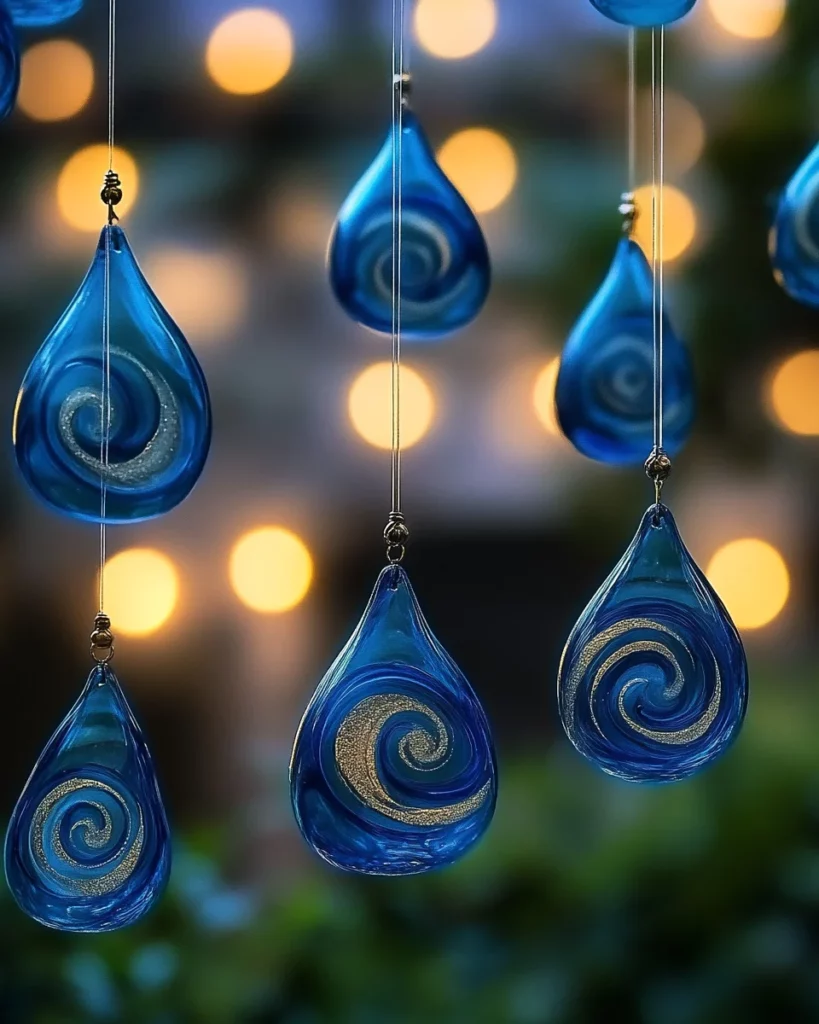
Blue Crayon Suncatchers: Create Colorful Home Decor!

Introduction to Blue Crayon Suncatchers
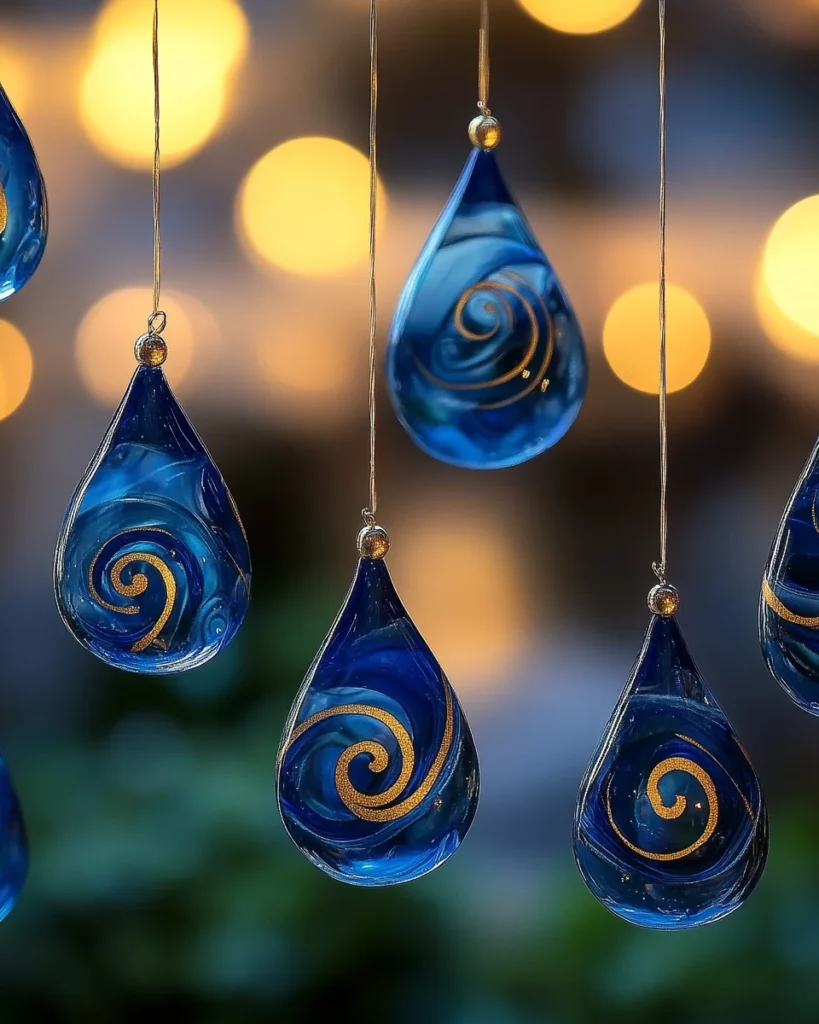
Hey there! If you’re looking for a delightful and easy craft that the whole family can enjoy, you’ve landed in the right spot. Let me introduce you to blue crayon suncatchers! These beauties not only brighten up your home decor but also keep your little ones engaged during those busy weekends. Imagine colorful sunshine dancing across your kitchen walls, all thanks to a simple project that only takes about half an hour. Trust me, it’s a fantastic way to create lasting memories while adding a pop of charm to your space.
Why You’ll Love This Blue Crayon Suncatcher Craft
The beauty of blue crayon suncatchers lies in their simplicity. This craft is quick to complete, making it perfect for busy days when you long for creativity without the mess. Not only do you get bright, cheerful decorations, but you also encourage your kids to express their artistic flair. Plus, it’s a great bonding activity that cultivates joy and laughter, all while creating a stunning display for your home!
Ingredients for Blue Crayon Suncatchers
To dive into this colorful adventure, you’ll need just a few materials. Here’s what you’ll need to gather:
- Blue crayons: The star of the show! Choose your favorite shades of blue to create a stunning effect. You can even mix in a few other colors for a vibrant twist!
- Waxed paper: This will serve as our canvas. It’s essential to hold the crayon shavings and let them melt beautifully without sticking.
- Embroidery floss or string: This is what you’ll use to hang your suncatchers. Choose a color that complements your blue shades for added flair. Make sure it’s sturdy enough to hold your creations!
For exact measurements and additional tips, you can check the bottom of the article. Happy crafting!
How to Make Blue Crayon Suncatchers
Gather Your Materials
First things first, let’s collect everything we need to get started! You will want your blue crayons, waxed paper, and embroidery floss or string handy. It’s like gathering ingredients for a recipe, but way more colorful! Take a moment to set up your workspace. A flat surface works best. And don’t forget to have an adult nearby for the ironing part. Safety is key!
Prepare Your Crayon Shavings
Next, choose your favorite blue crayons and peel off those wrappers. This is the fun part! Using a sharpener, create a nice little pile of crayon shavings. Aim for a combination of thicker and thinner shavings to ensure a variety of textures in your suncatcher. The more vibrant the shavings, the better the results, so feel free to experiment!
Arrange the Shavings
Now it’s time to spread those beautiful shavings! Lay a large sheet of waxed paper flat. Scatter your crayon shavings evenly across it. Make sure to cover as much space as possible. There’s no need to be overly precise; randomness can add to the charm. Let your creativity shine through as you arrange them in playful little clumps!
Melt the Crayon Shavings
Here comes the magic! Place another sheet of waxed paper over the top of your crayon shavings. With an adult’s guidance, set your iron to the lowest setting. Carefully iron over the top sheet for about 10 to 15 seconds. You’ll see the colors begin to melt and blend together. It’s like watching a colorful sunset through your window, right in your own home!
Cool and Shape Your Suncatchers
Once the shavings have melted, remove the iron and let the waxed paper cool completely. This may take a few minutes, and patience is key! After it has fully cooled, grab a pencil to draw raindrop shapes on the hardened wax. Feel free to explore different sizes and shapes. The world is your canvas!
Final Touches and Hanging
Ready for the grand finale? Carefully cut out each raindrop shape using scissors. Punch a hole at the top of each piece, big enough for your embroidery floss to fit through. Thread a piece of string through each hole and tie a secure knot. Now you can hang your stunning blue raindrop suncatchers near a window to watch the colorful light dance in your home!
Tips for Success
- Have fun experimenting with different shades of blue crayons for unique effects.
- Use a rotating motion when melting the shavings to ensure even coloring.
- Always monitor the ironing process to avoid over-melting.
- Don’t hesitate to mix in glitter for extra sparkle!
- Before hanging, let each piece dry completely to prevent any mishaps.
Equipment Needed for Blue Crayon Suncatchers
- Iron: A basic household iron works best, but a hair straightener can be used in a pinch.
- Scissors: Any sharp scissors will do for cutting out your shapes.
- Pencil or Pen: Use any writing tool for tracing shapes easily.
- Hole Puncher: A standard hole punch works perfectly, or you can use a sharp object to make holes.
Variations on Blue Crayon Suncatchers
- Try mixing in other colors, like purple or turquoise, for a vibrant rainbow effect. Kids love to blend their favorites!
- For seasonal fun, use holiday shapes such as hearts for Valentine’s Day or leaves for autumn. It transforms the project into a festive experience!
- Incorporate glitter or metallic crayons for an added touch of sparkle. It gives your suncatchers a little extra pizzazz!
- Experiment with different shapes beyond raindrops, like stars or butterflies. Be creative and let your imagination soar!
- Try using different types of waxed paper, like colored or patterned ones, to give an added twist to your designs.
Serving Suggestions for Your Suncatchers
- Pair your blue crayon suncatchers with a sunny, cheerful window display to maximize light effects.
- Use them as festive decorations for birthday parties or seasonal celebrations, capturing every guest’s attention!
- Incorporate them into your home office or craft space for an uplifting ambiance.
- Combine with other DIY crafts for a colorful gallery wall that showcases your family’s creativity!
FAQs about Blue Crayon Suncatchers
Can I use crayons other than blue?
Absolutely! While blue crayons are the star of our suncatchers, feel free to mix in any colors you love. Adding other shades can create playful patterns and blends, making each suncatcher truly unique!
How do I clean up crayon shavings?
I recommend using a damp paper towel to pick up any stray shavings. If any color sticks to the surface, a little soap and water should do the trick. Just remember to be gentle to avoid scratches!
What if my crayon shavings don’t melt properly?
Don’t worry! Try adjusting the heat of your iron. Sometimes, a low setting doesn’t melt them evenly. Just keep an eye on the process, and remember—a little patience goes a long way!
Can I hang my suncatchers outside?
While the suncatchers look fabulous near windows, it’s best to hang them indoors. Direct sunlight and wind can damage the waxed paper over time. They shine brightest indoors, adding charm to any room!
How long do they last?
With proper care, your blue crayon suncatchers can last for months! Just be cautious of any heat or direct sunlight that might fade their vibrant glory. Enjoy each sunny day with them!
Final Thoughts on Blue Crayon Suncatchers
Making blue crayon suncatchers has been a joyous adventure for my family and me! Each vibrant piece captures the light and brightens our home in the most uplifting way. Not only do these crafts serve as beautiful decor, but they spark creativity and spark imaginative play for the kids. I love watching the delighted faces of my family as sunlight filters through the colors, creating cheerful patterns on the walls. This simple yet rewarding project brings us closer together, creating cherished memories that last beyond the craft itself. So grab your crayons and let the creativity flow!
Print
Blue Crayon Suncatchers: Create Colorful Home Decor!
- Total Time: 30 minutes
- Yield: Variable, depending on the size of the suncatchers
- Diet: Vegan
Description
Create beautiful blue crayon suncatchers that brighten up your home decor with colorful light displays.
Ingredients
- Blue crayons
- Waxed paper
- Embroidery floss or string
Instructions
- Gather your materials: blue crayons, waxed paper, and embroidery floss or string.
- Select your favorite blue crayons and peel off the wrappers.
- Use a sharpener to create shavings from the crayons. Aim for a nice pile of shavings to achieve a vibrant suncatcher.
- Spread the crayon shavings evenly on a large sheet of waxed paper.
- Cut a second sheet of waxed paper to match the size of the first one and place it over the shavings, covering them completely.
- With an adult’s help, set your iron to the lowest setting and gently iron over the top sheet of waxed paper. Move the iron back and forth quickly for about 10 to 15 seconds, watching carefully until the crayon shavings begin to melt.
- Once melted, remove the iron and let the waxed paper cool completely and harden. This could take a few minutes.
- After cooling, draw raindrop shapes on the hardened wax with a pencil or pen. Get creative with different sizes and shapes if you like.
- Use scissors to carefully cut out the raindrop shapes from the cooled wax.
- Punch a hole at the top of each raindrop using a hole puncher, making sure it’s big enough for the embroidery floss or string to fit through.
- Thread a piece of embroidery floss or string through each hole and tie a knot to secure it.
- Hang your finished blue raindrop suncatchers near a window to enjoy the colorful light display.
Notes
- Experiment with different shades of blue crayons or mix in a few other colors for a multicolored effect when melting the shavings.
- To make seasonal variations, try using different shapes for different holidays, like hearts for Valentine’s Day or leaves for autumn.
- Prep Time: 15 minutes
- Cook Time: 15 minutes
- Category: Craft
- Method: Crafting
- Cuisine: N/A
Nutrition
- Serving Size: N/A
- Calories: N/A
- Sugar: N/A
- Sodium: N/A
- Fat: N/A
- Saturated Fat: N/A
- Unsaturated Fat: N/A
- Trans Fat: N/A
- Carbohydrates: N/A
- Fiber: N/A
- Protein: N/A
- Cholesterol: N/A