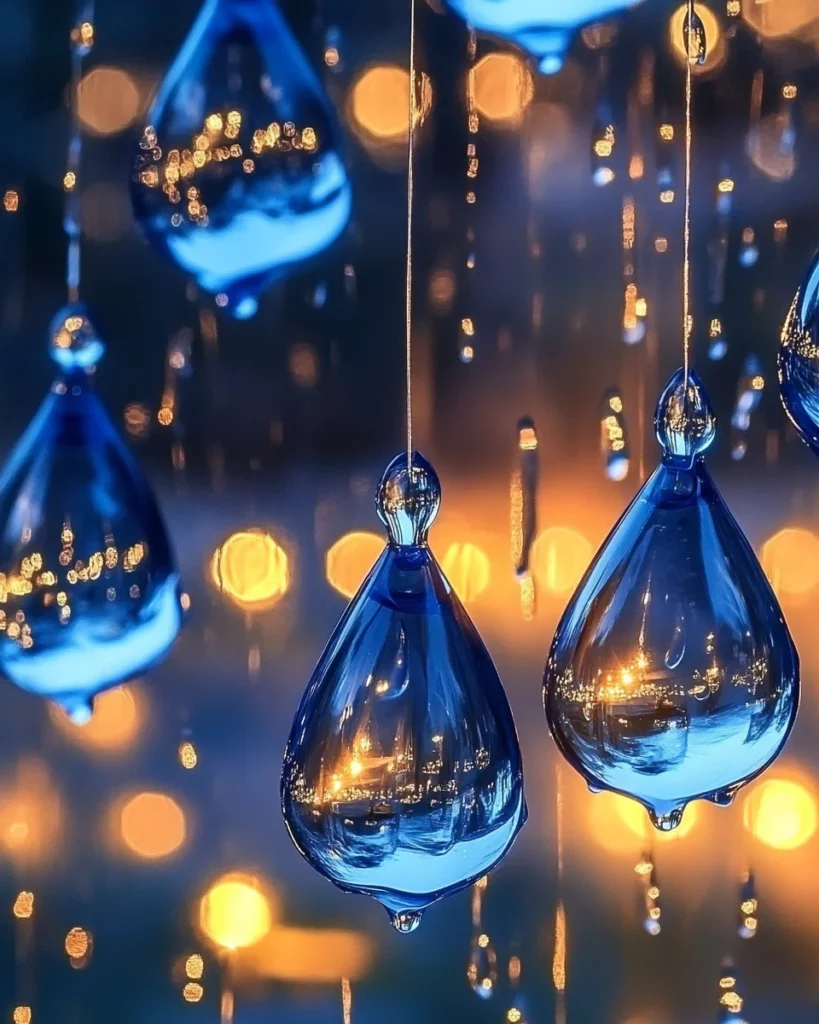
Blue Raindrop Suncatchers: Create Colorful Window Magic!

Introduction to Blue Raindrop Suncatchers
Do you ever find yourself wishing for a touch of color to brighten up your windows? I know I do! That’s why I’m thrilled to share this delightful craft: Blue Raindrop Suncatchers. They’re easy to make, and they bring a cheerful vibe to your home. As a busy mom, I’ve learned the joy of crafting simple projects that sparkle with creativity. These suncatchers are not only fun for all ages but also an excellent way to spend some quality time with your little ones. Let’s dive into this colorful adventure together!
Why You’ll Love This Blue Raindrop Suncatchers
Creating Blue Raindrop Suncatchers is a fantastic way to spark joy in your home without a lengthy commitment.
This project is quick, taking only about 15 minutes from start to finish!
Not only will you enjoy crafting, but you’ll also be amazed at how they add charm to your windows.
Plus, it’s a wonderful way to bond with your kids, all while unleashing your inner artist. What’s not to love?
Ingredients for Blue Raindrop Suncatchers
To create your enchanting Blue Raindrop Suncatchers, gather these colorful ingredients:
- Blue Crayons: Choose your favorite shades of blue. Think about mixing light blue with dark navy for added depth!
- Pencil or Crayon Sharpener: This handy tool is essential for transforming your crayons into shavings. An electric sharpener can speed things up, but a simple hand one works perfectly too.
- Waxed Paper: This is the canvas where the magic happens! It prevents your creations from sticking together and makes clean-up easy.
- Iron (for adult use only): An iron is a must for melting those crayon shavings. Safety first—only the adults should take care of this step!
- Scissors: These will help you bring your raindrop shapes to life! A good pair of craft scissors is always handy.
For those who want to get artistic, consider using other supplies:
- Flexible wire instead of string can enhance durability and make for a sleek finish.
- You might even think about adding some glitter to the crayon shavings for added sparkle!
If you need precise quantities, don’t worry; those details are at the bottom of the article and available for printing!
How to Make Blue Raindrop Suncatchers
Gather your supplies, and let’s embark on this colorful crafting journey together! Follow these simple steps to create your enchanting Blue Raindrop Suncatchers. Each step is filled with tips to ensure you have a blast while crafting.
Step 1 – Select Your Blue Crayons
The first step to making your Blue Raindrop Suncatchers is choosing the right blue crayons. Walk through your crayon collection and grab those that catch your eye. You can opt for a mix of light, dark, and vibrant blues.
This is a fantastic opportunity for kids to explore color combinations and get creative. Encourage them to think about how different shades might melt together to create beautiful designs. It can turn into a mini art lesson while crafting!
Step 2 – Create Crayon Shavings
Now, it’s time to sharpen those crayons into shavings. Use either a handheld sharpener or an electric one. Just remember, safety first! Be careful not to overdo it, or you’ll have more shavings than you know what to do with.
Spread the shavings onto a large sheet of wax paper. Start with a loose, even layer to ensure a beautiful melted effect later. Keeping things organized will make the next steps easier.
Step 3 – Layer Wax Paper
Layering is a crucial part of this process. Take another sheet of wax paper and gently place it over your colorful crayon shavings. This sandwich of wax paper keeps everything contained while you melt.
Make sure to smooth out any wrinkles. A neat layer of shavings is more likely to melt evenly, giving you vibrant and beautiful results!
Step 4 – Melt with an Iron
Time for the magic! With adult supervision, set your iron to the lowest setting and carefully melt the crayon shavings. Place the iron on top of the wax paper, applying gentle pressure for even melting.
It’s important to move slowly and keep an eye on things, ensuring everything melts just right. The smell of melting crayons is a nostalgic treat, but caution is key here!
Step 5 – Cool and Cut Shapes
Once everything has melted and oozed together in delightful blues, allow it to cool completely. This step is essential for creating sturdy shapes that won’t fall apart.
Once solid, carefully peel apart the sheets. Get creative and draw raindrop shapes or any other design you fancy. Use your scissors to cut out your creations, letting your imagination roam!
Step 6 – Punch Holes for Hanging
Before you hang your suncatchers, it’s time to make some holes. Use a hole puncher or a sharp tool carefully to create holes at the top of each raindrop.
This is where you’ll thread your string through, so ensure it’s big enough to hold your hanging string securely. Don’t forget to ask for help—better safe than sorry!
Step 7 – Hang Your Suncatchers
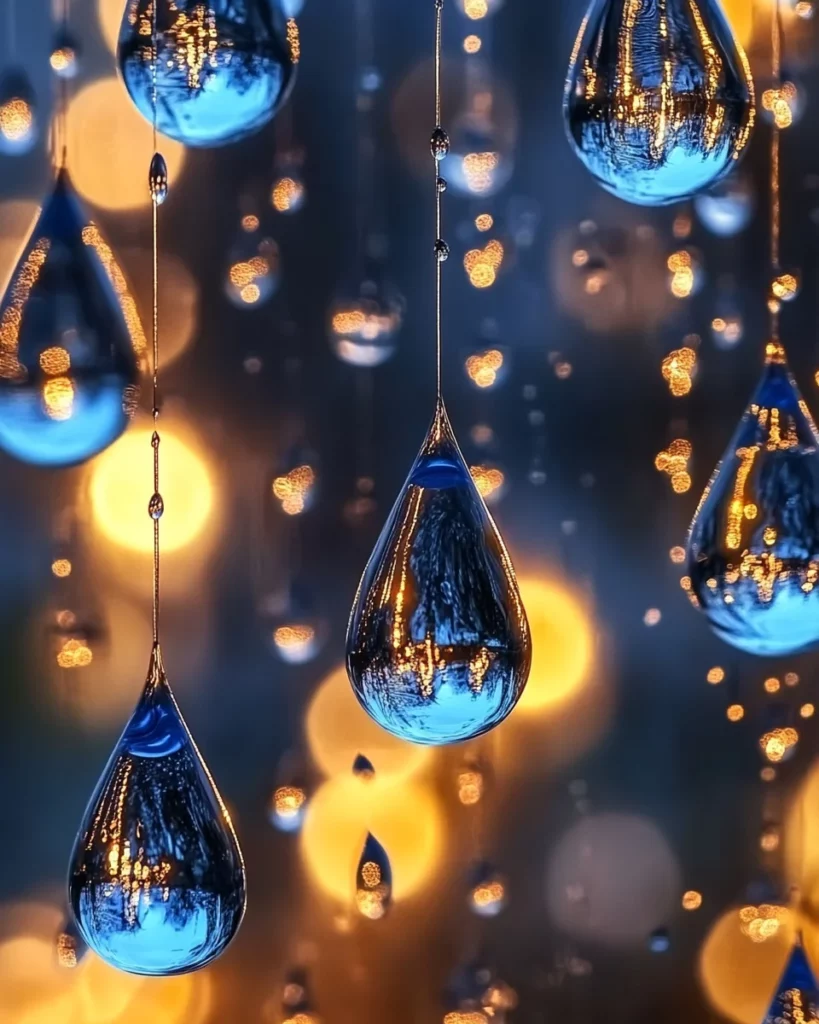
Finally, it’s time to display your handiwork! Choose locations that receive ample sunlight for the best effect.
Hang your suncatchers from windows using embroidery floss or your preferred hanging method. The light will shine through, casting beautiful blue reflections around the room.
Step back and admire your colorful creations—they’re not just decorations, but a splash of joy!
Tips for Success
- Use a variety of blue shades to create deeper color variations in your suncatchers.
- Don’t rush the cooling process; it ensures your suncatchers are sturdy and ready to hang.
- Always supervise children when using the iron to guarantee safety.
- Consider using an old towel under the wax paper to catch any crayon drips.
- Experiment with different shapes and sizes to make your suncatchers uniquely yours!
Equipment Needed
- Iron: Essential for melting. If you don’t have one, a heat press can work too.
- Sharpener: A handheld sharpener is easy to use, but you can also utilize a knife for nice shavings.
- Scissors: Craft scissors make cutting easier. Regular scissors will work as well.
- Hole Puncher: A standard hole punch is best, but a sharp pencil can suffice if careful.
Variations of Blue Raindrop Suncatchers
- Mix in some shimmering metallic gold or silver shavings for a dazzling contrast against the blue!
- Add other colors like green or purple to represent a rainbow theme. Children will love the fun of transforming their suncatchers into multi-colored masterpieces!
- Try using colored wax paper instead of standard waxed paper for a unique look. Pastel colors can soften the overall vibe.
- Incorporate nature motifs by tracing leaves or flower shapes instead of raindrops. This could be an inspiring art lesson!
- If you want to add a scent, consider rubbing a little lavender or vanilla essential oil on the wax paper before melting. It brings an extra sensory twist!
Serving Suggestions for Blue Raindrop Suncatchers
- Pair this craft with a fun storytime about rain or colors to spark even more imagination!
- Encourage your kids to create matching artwork on paper with their leftover crayon shavings.
- Organize a mini art show displaying their suncatchers for family and friends!
- Enjoy a cozy afternoon making homemade greeting cards to accompany your suncatchers.
- Plan a craft day and explore other simple DIY projects, like flower bookmarks or painted rocks.
FAQs about Blue Raindrop Suncatchers
As you embark on creating your Blue Raindrop Suncatchers, you might have a few questions. No worries! Here are some frequently asked questions to guide you:
Can I use other colors of crayons?
Absolutely! While blue crayons create a lovely effect, feel free to mix in other colors for a rainbow effect. Kids love experimenting with different shades and combinations, so let their creativity run wild!
What should I do if the melted crayon mix sticks to the wax paper?
If you find your melted crayon mix sticking to the wax paper, try using parchment paper next time. It’s more non-stick! Just be sure to adjust your melting time, as it may act a little differently than wax paper.
Can I display my suncatchers outside?
It’s best to hang these suncatchers indoors, away from direct sunlight for extended periods. Prolonged exposure can cause the colors to fade. However, hanging them in sheltered areas like sunrooms works wonderfully!
How can I safely clean up crayon shavings?
Cleaning up crayon shavings can be a breeze! Simply use a damp cloth or paper towel to gather any leftover bits. For a deeper clean, you can vacuum up the shavings and wipe the area with a mild cleaner.
Are Blue Raindrop Suncatchers a good activity for kids?
Definitely! This craft is perfect for kids of all ages. It promotes creativity and fine motor skills. Plus, it’s an excellent way for families to bond while transforming simple ingredients into beautiful art. They’ll be so proud of their handmade suncatchers!
Final Thoughts
Creating Blue Raindrop Suncatchers is not just a craft; it’s an experience filled with laughter, creativity, and connection. As you watch the vibrant colors dance through your windows, it’s impossible not to feel a sense of joy. Each suncatcher tells a story, a memory made while crafting together. For busy moms like me, finding these little moments to bond with our kids is priceless. So grab your crayons and let your imagination flow! Embrace the little messes, and celebrate the beautiful creations that bring sunshine indoors. You’ll cherish these moments long after the suncatchers have graced your windows!
Print
Blue Raindrop Suncatchers: Create Colorful Window Magic!
- Total Time: 15 minutes
- Yield: Multiple suncatchers
- Diet: Low Calorie
Description
Create beautiful Blue Raindrop Suncatchers that add color and charm to your windows, perfect for all ages!
Ingredients
- Blue crayons
- Pencil or crayon sharpener
- Waxed paper
- Iron (for adult use only)
- Scissors
Instructions
- Start by selecting your favorite blue crayons and peeling off their wrappers—this is where the fun begins!
- Grab your sharpener and create some lovely crayon shavings. Spread them out on a large sheet of waxed paper.
- Take a second sheet of waxed paper and gently place it over those colorful shavings.
- Now, it’s time for the magic (with a little help from an adult)! Using the iron on the lowest setting, carefully melt the crayon shavings by ironing over the top sheet.
- Once everything is melted together, let it cool completely until hard.
- Once cooled, draw raindrop shapes on the wax and cut them out with scissors—get creative!
- Don’t forget to punch a hole at the top of each raindrop and thread it with some embroidery floss or string.
- Finally, hang your beautiful handmade suncatchers near a window to enjoy a dazzling display of blue!
Notes
- Adult supervision is required when using the iron.
- You can mix different shades of blue for a more vibrant look.
- Flexible wire can be used instead of string for added durability.
- Prep Time: 10 minutes
- Cook Time: 5 minutes
- Category: Craft
- Method: Melting and cutting
- Cuisine: N/A
Nutrition
- Serving Size: N/A
- Calories: N/A
- Sugar: N/A
- Sodium: N/A
- Fat: N/A
- Saturated Fat: N/A
- Unsaturated Fat: N/A
- Trans Fat: N/A
- Carbohydrates: N/A
- Fiber: N/A
- Protein: N/A
- Cholesterol: N/A