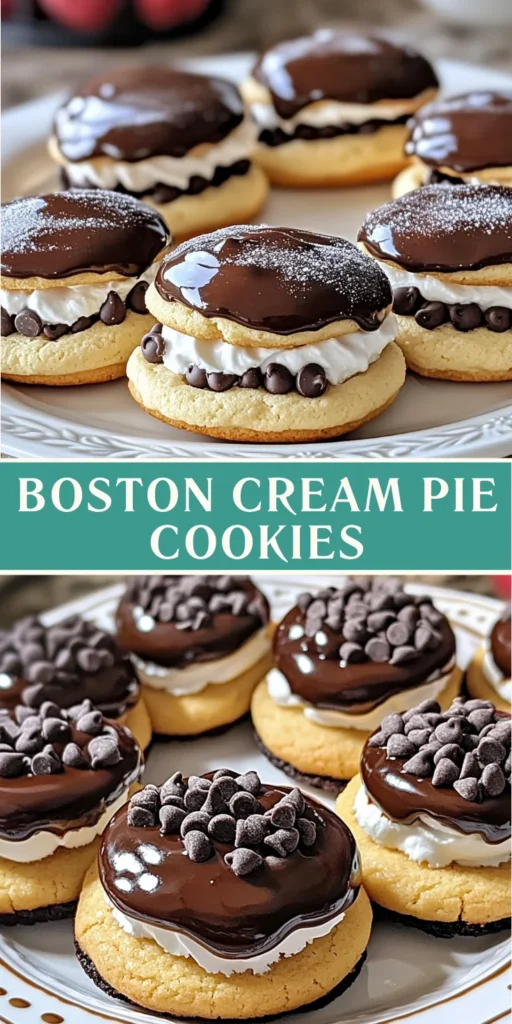
Boston Cream Pie Cookies

Introduction to Boston Cream Pie Cookies
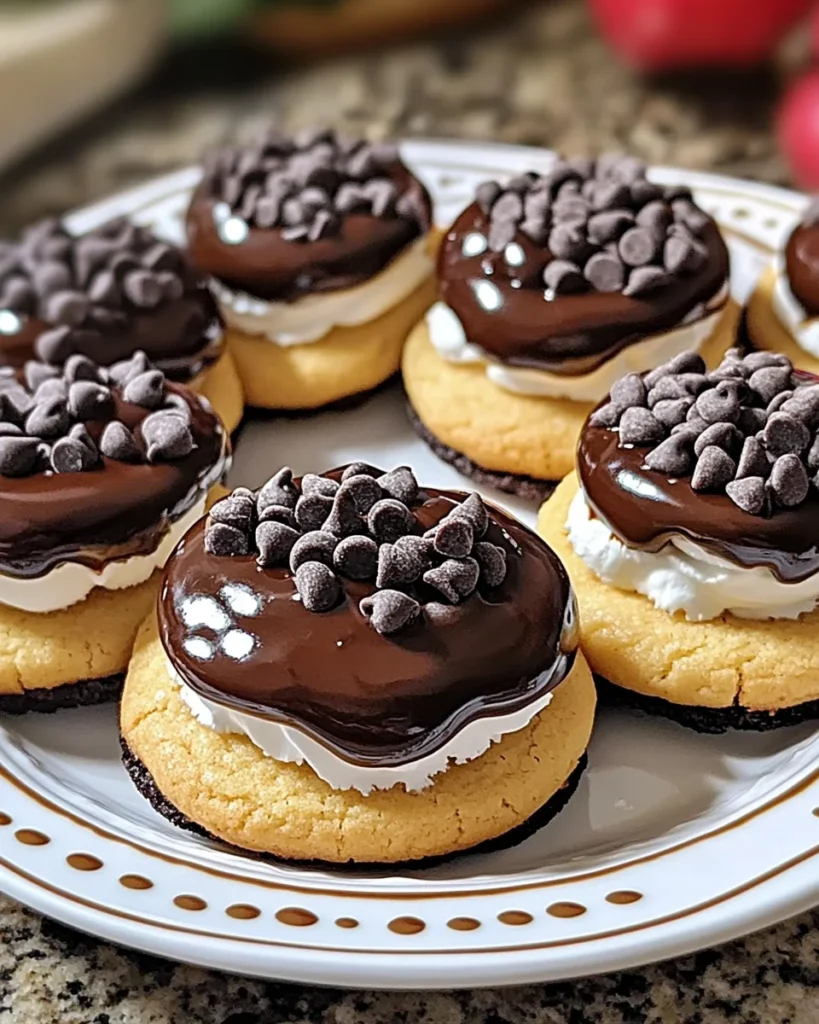
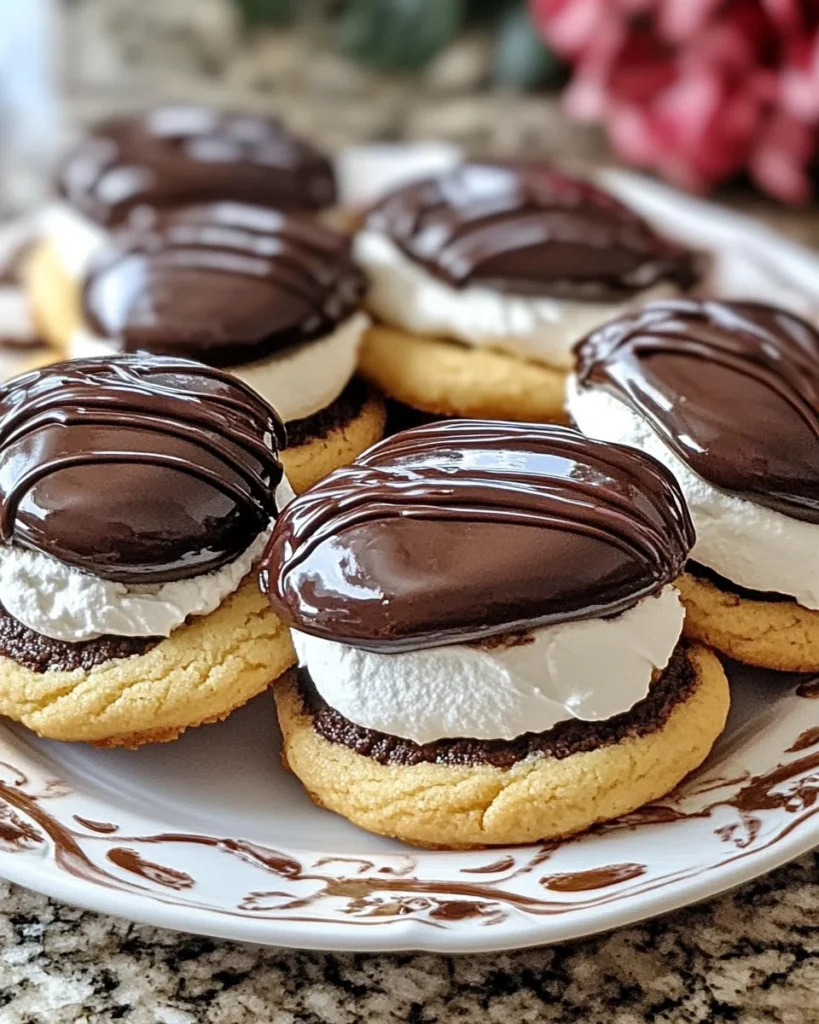
As a busy mom, I know how precious time can be, especially when it comes to whipping up something sweet. That’s why I’m excited to share my Boston Cream Pie Cookies with you! These delightful treats are a fun twist on the classic dessert, combining soft cookies with a creamy filling and rich chocolate glaze. They’re perfect for a quick solution on a hectic day or a charming dessert to impress your loved ones. Trust me, once you try these cookies, they’ll become a staple in your baking repertoire!
Why You’ll Love This Boston Cream Pie Cookies
These Boston Cream Pie Cookies are not just delicious; they’re incredibly easy to make! With simple ingredients and quick steps, you can whip them up in no time. The soft, chewy cookies paired with a luscious cream filling and decadent chocolate glaze create a flavor explosion that will leave everyone asking for more. Plus, they’re perfect for any occasion, whether it’s a family gathering or a cozy night in!
Ingredients for Boston Cream Pie Cookies
Gathering the right ingredients is the first step to creating these delightful Boston Cream Pie Cookies. Here’s what you’ll need:
- All-purpose flour: This is the base of your cookies, providing structure and a soft texture.
- Baking powder: This leavening agent helps the cookies rise, making them light and fluffy.
- Baking soda: Another leavening agent that works with the baking powder for a perfect cookie texture.
- Salt: Just a pinch enhances the flavors and balances the sweetness.
- Unsalted butter: Softened butter adds richness and moisture to the cookies.
- Granulated sugar: This sweetener gives the cookies their delightful sweetness and helps with browning.
- Large egg: Eggs bind the ingredients together and add moisture.
- Vanilla extract: A splash of vanilla brings warmth and depth to the flavor profile.
- Milk: This adds moisture and helps achieve the right dough consistency.
- Chocolate chips: These little morsels of joy add bursts of chocolate flavor in every bite.
- For the Cream Filling:
- Heavy cream: Whipped to perfection, it creates a luscious filling that’s hard to resist.
- Powdered sugar: This sweetens the cream filling and helps stabilize it.
- Vanilla extract: A touch of vanilla enhances the cream’s flavor.
- For the Chocolate Glaze:
- Semi-sweet chocolate chips: These melt beautifully for a rich, glossy glaze.
- Unsalted butter: Added to the chocolate for a smooth, shiny finish.
For exact measurements, check the bottom of the article where you can find everything listed for easy printing. Happy baking!
How to Make Boston Cream Pie Cookies
Step 1: Preheat and Prepare
First things first, preheat your oven to 350°F (175°C). While it warms up, line a baking sheet with parchment paper. This will prevent the cookies from sticking and make cleanup a breeze. Trust me, parchment paper is a busy mom’s best friend!
Step 2: Mix Dry Ingredients
In a medium bowl, whisk together the all-purpose flour, baking powder, baking soda, and salt. This step is crucial for ensuring your cookies rise perfectly. A well-mixed dry blend sets the stage for those soft, chewy Boston Cream Pie Cookies you’re dreaming of!
Step 3: Cream Butter and Sugar
In a large bowl, grab your electric mixer and beat the softened butter with granulated sugar until it’s light and fluffy. This should take about 3-4 minutes. The fluffiness is key to achieving that melt-in-your-mouth texture. You’ll love the smell of sweet butter filling your kitchen!
Step 4: Combine Wet Ingredients
Now, add in the large egg and vanilla extract to your butter mixture. Mix until everything is fully combined. The egg adds moisture, while the vanilla brings warmth and depth to your cookies. It’s like a hug in a bowl!
Step 5: Combine Dry and Wet Mixtures
Gradually add the dry ingredient mixture to the wet ingredients, alternating with the milk. Start and end with the flour mixture. This method ensures a smooth dough without overmixing. You want those cookies to be soft and tender, not tough!
Step 6: Fold in Chocolate Chips
Gently fold in the chocolate chips into your dough. This is where the magic happens! Each bite will be bursting with chocolatey goodness. Just be careful not to overmix; we want those chips to stay intact and ready to melt in your mouth!
Step 7: Bake the Cookies
Drop spoonfuls of dough onto the prepared baking sheet, spacing them about 2 inches apart. Bake in your preheated oven for 10-12 minutes, or until the edges are lightly golden. The aroma wafting through your home will be irresistible!
Step 8: Prepare the Cream Filling
While the cookies cool, whip the heavy cream in a medium bowl until soft peaks form. Gradually add the powdered sugar and vanilla extract, continuing to whip until stiff peaks form. This luscious filling is what makes these cookies truly special!
Step 9: Assemble the Cookies
Once the cookies are cool, use a piping bag or a spoon to fill the center of half the cookies with the whipped cream filling. Top with another cookie to create a delightful sandwich. You’re almost there—just wait until you see the smiles on your loved ones’ faces!
Step 10: Make the Chocolate Glaze
In a small saucepan over low heat, melt the semi-sweet chocolate chips and unsalted butter together, stirring until smooth. This rich glaze will add a decadent finish to your cookies. It’s the cherry on top of your baking adventure!
Step 11: Drizzle and Set
Finally, drizzle the melted chocolate glaze over the top of each cookie sandwich. Allow it to set for a few minutes. This is the moment where patience pays off, and your Boston Cream Pie Cookies become a stunning treat!
Tips for Success
- Make sure your butter is softened for easy mixing; it should be at room temperature.
- Use high-quality chocolate chips for a richer flavor in both the cookies and glaze.
- Don’t overmix the dough; this keeps your cookies soft and chewy.
- Let the cookies cool completely before filling to prevent the cream from melting.
- Store leftovers in an airtight container to maintain freshness.
Equipment Needed
- Baking sheet: A standard baking sheet works well; you can also use a silicone baking mat for easy removal.
- Parchment paper: This is great for lining your baking sheet; aluminum foil can be a substitute.
- Electric mixer: A hand mixer is perfect; a whisk can work too, but it’ll take longer.
- Piping bag: Use a piping bag for filling; a zip-top bag with a corner snipped off is a handy alternative.
Variations
- Gluten-Free: Substitute all-purpose flour with a gluten-free flour blend to make these cookies gluten-free.
- Nutty Twist: Add chopped nuts like walnuts or pecans to the cookie dough for an extra crunch.
- Fruit Filling: Swap the cream filling for a fruit-flavored whipped cream, like strawberry or raspberry, for a fruity twist.
- Vegan Option: Use vegan butter, a flax egg, and coconut cream for the filling to create a vegan-friendly version.
- Mint Chocolate: Add a few drops of peppermint extract to the chocolate glaze for a refreshing minty flavor.
Serving Suggestions
- Pair these Boston Cream Pie Cookies with a cup of freshly brewed coffee or tea for a delightful afternoon treat.
- Serve them on a decorative platter, dusted with powdered sugar for an elegant touch.
- For a fun twist, add a scoop of vanilla ice cream on the side!
FAQs about Boston Cream Pie Cookies
Can I make the cream filling ahead of time?
Absolutely! You can whip the cream filling a day in advance. Just store it in the fridge in an airtight container. When you’re ready to assemble, give it a quick whip to restore its fluffiness.
How do I store leftover cookies?
To keep your Boston Cream Pie Cookies fresh, store them in an airtight container at room temperature. They’ll stay delicious for up to three days. If you want to keep them longer, consider freezing them!
Can I use different types of chocolate for the glaze?
Yes! While semi-sweet chocolate is traditional, you can experiment with dark chocolate or even white chocolate for a unique twist. Just remember to adjust the sweetness if you choose a different type!
What can I substitute for heavy cream in the filling?
If you’re looking for a lighter option, you can use whipped topping or coconut cream. Both will give you a creamy texture, but the flavor will vary slightly.
Are these cookies suitable for kids?
Definitely! Kids love the combination of cookies, cream, and chocolate. Just keep an eye on the sugar content if you’re serving them to little ones. They’ll be asking for seconds!
Final Thoughts
Making Boston Cream Pie Cookies is more than just baking; it’s about creating sweet memories with your loved ones. The joy of watching them take that first bite, their eyes lighting up with delight, is priceless. These cookies are a perfect blend of nostalgia and innovation, bringing the classic dessert into a fun, handheld treat. Whether you’re celebrating a special occasion or simply enjoying a cozy evening at home, these cookies will surely bring smiles and warmth to your kitchen. So roll up your sleeves, gather your ingredients, and let the baking adventure begin!
Print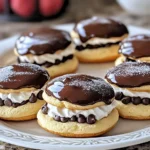
Boston Cream Pie Cookies
- Total Time: 32 minutes
- Yield: 12 cookie sandwiches 1x
- Diet: Vegetarian
Description
Boston Cream Pie Cookies are a delightful twist on the classic dessert, combining soft cookies with a creamy filling and a rich chocolate glaze.
Ingredients
- 1 cup all-purpose flour
- 1/2 teaspoon baking powder
- 1/4 teaspoon baking soda
- 1/4 teaspoon salt
- 1/2 cup unsalted butter, softened
- 1/2 cup granulated sugar
- 1 large egg
- 1 teaspoon vanilla extract
- 1/4 cup milk
- 1/3 cup chocolate chips
- For the Cream Filling:
- 1/2 cup heavy cream
- 1/4 cup powdered sugar
- 1/2 teaspoon vanilla extract
- For the Chocolate Glaze:
- 1/2 cup semi-sweet chocolate chips
- 2 tablespoons unsalted butter
Instructions
- Preheat your oven to 350°F (175°C) and line a baking sheet with parchment paper.
- In a medium bowl, whisk together the flour, baking powder, baking soda, and salt. Set aside.
- In a large bowl, using an electric mixer, beat the softened butter and granulated sugar together until light and fluffy, about 3-4 minutes.
- Mix in the egg and vanilla extract until fully combined.
- Gradually add the dry ingredient mixture to the wet ingredients, alternating with the milk. Start and end with the flour mixture, mixing until just combined.
- Gently fold in the chocolate chips.
- Drop spoonfuls of the dough onto the prepared baking sheet, spacing them about 2 inches apart.
- Bake in the preheated oven for 10-12 minutes or until the edges are lightly golden. Remove from the oven and let them cool on a wire rack.
- In a medium bowl, whip the heavy cream with an electric mixer until soft peaks form. Gradually add the powdered sugar and vanilla extract, continuing to whip until stiff peaks form.
- Once the cookies are cool, use a piping bag or a spoon to fill the center of half the cookies with the whipped cream filling. Top with another cookie to create a sandwich.
- In a small saucepan over low heat, melt the chocolate chips and butter together, stirring until smooth.
- Drizzle the melted chocolate glaze over the top of each cookie sandwich. Allow it to set for a few minutes.
Notes
- Ensure the butter is softened for easier mixing.
- For a richer flavor, use high-quality chocolate chips.
- Store the cookies in an airtight container to maintain freshness.
- Prep Time: 20 minutes
- Cook Time: 12 minutes
- Category: Dessert
- Method: Baking
- Cuisine: American
Nutrition
- Serving Size: 1 cookie sandwich
- Calories: 250
- Sugar: 15g
- Sodium: 150mg
- Fat: 15g
- Saturated Fat: 8g
- Unsaturated Fat: 5g
- Trans Fat: 0g
- Carbohydrates: 30g
- Fiber: 1g
- Protein: 3g
- Cholesterol: 30mg