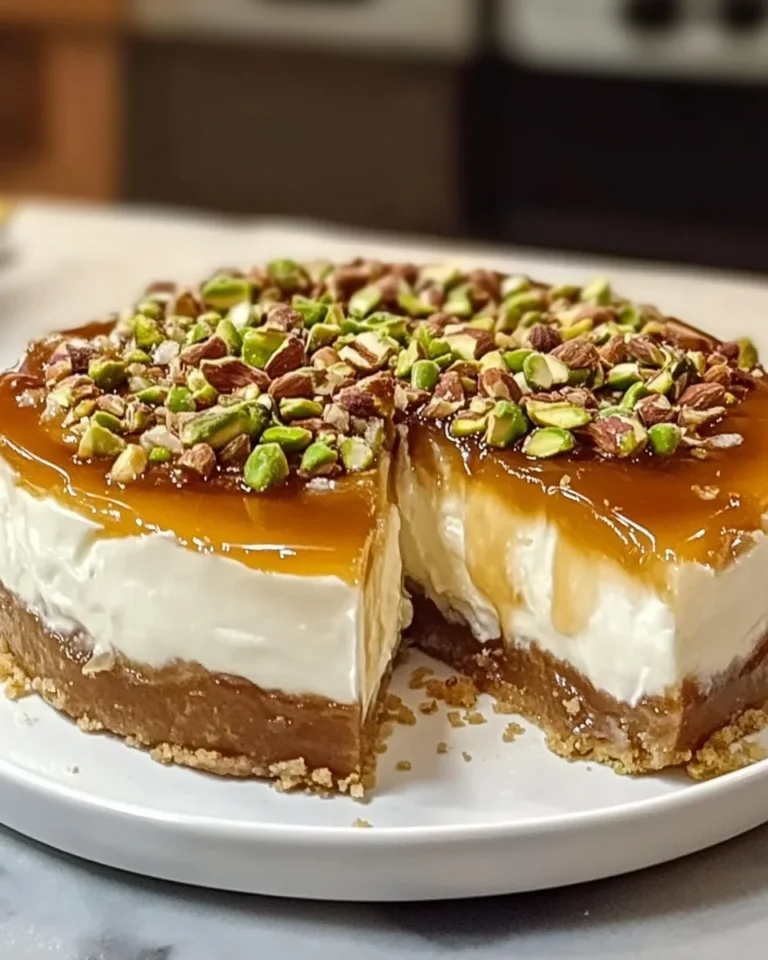
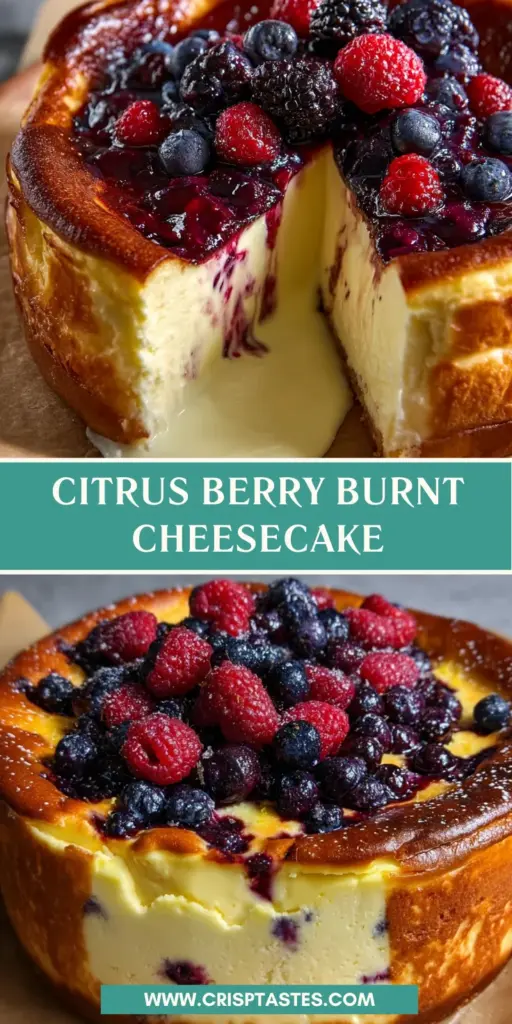
Citrus Berry Burnt Cheesecake

Introduction to Citrus Berry Burnt Cheesecake
If you’re like me, juggling between work, family, and everything life throws at us, finding the perfect dessert that feels special yet simple can be a challenge.
That’s where my beloved Citrus Berry Burnt Cheesecake comes in!
It’s a delightful twist on the classic cheesecake, bursting with vibrant citrus flavors and studded with luscious berries.
Whether you’re celebrating a family gathering or just need a sweet treat after a long day, this dessert is sure to impress.
Trust me, your taste buds will thank you for this delightful indulgence!
Why You’ll Love This Citrus Berry Burnt Cheesecake
This Citrus Berry Burnt Cheesecake is the answer to your dessert dreams!
It’s incredibly easy to make, perfect for those busy evenings when time slips away.
With its creamy texture and bright flavors, every bite transports you to a sunny afternoon.
Plus, it’s a great way to sneak in some fruit for the picky eaters in your life.
You’ll love how this cheesecake feels fancy yet can be part of your everyday meals!
Ingredients for Citrus Berry Burnt Cheesecake
To whip up this Citrus Berry Burnt Cheesecake, you’ll need a blend of simple yet essential ingredients that create magic in every bite. Here’s what you’ll gather:
- Cream Cheese: The star of the show! It provides that creamy, dreamy texture everyone craves.
- Granulated Sugar: This sweetener balances the tanginess of the cream cheese and berries, making your taste buds dance.
- Vanilla Extract: Just a touch of this aromatic extract elevates the overall flavor, lending warmth and sweetness.
- Salt: A tiny pinch of salt enhances all the flavors, making each bite more delicious.
- Eggs: They help bind everything together, giving your cheesecake that perfect structure. Use large, room temperature eggs for best results.
- Citrus Zest: You can use lemon or orange zest, or both! This adds a refreshing zing that brightens the cheesecake.
- Heavy Cream: Rich and luscious, it creates a velvety smooth batter that melts in your mouth.
- All-Purpose Flour: Just a sprinkle is needed to ensure your cheesecake isn’t overly dense. It helps things stay together!
- Fresh Berries: I love using raspberries or blackberries for an extra burst of flavor and color—so pretty on top!
These ingredients work in harmony to create a cheesecake that is sinfully delicious. For exact measurements, you can find them at the bottom of this article, where they’re neatly available for printing.
How to Make Citrus Berry Burnt Cheesecake
Step 1: Preheat and Prepare the Pan
First things first—let’s get that oven preheating to a sizzling 450°F.
While it warms up, grab a 7-inch springform pan and line it with parchment paper.
Make sure the paper extends above the rim; this will make life easier when it’s time to release the cheesecake.
Taking this extra step prevents sticking and ensures a flawless presentation.
Prepare everything now, and your future self will thank you!
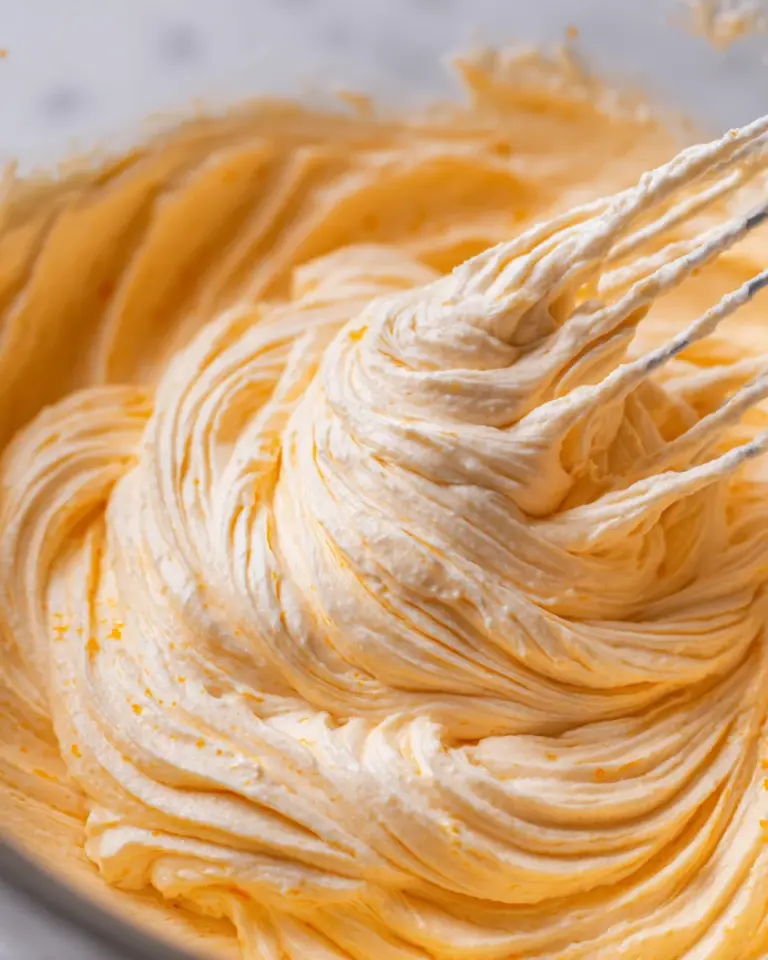
Step 2: Mix the Cream Cheese and Sugar
In a large mixing bowl, add your softened cream cheese and granulated sugar.
Using a hand or stand mixer, blend on medium speed for about 4–5 minutes.
You’re aiming for a smooth, creamy texture—no lumps allowed!
Scrape down the sides occasionally to ensure everything mixes evenly.
This step lays the foundation for a velvety cheesecake that will make your taste buds sing.
Step 3: Add Flavorful Ingredients
Now, let’s amp up the flavor!
Add in the vanilla extract, citrus zest, and a pinch of salt to the cream cheese mixture.
These ingredients are key to building a dreamy taste profile.
The zest adds brightness, while the salt enhances the sweetness to balance the flavors.
Mix until everything is well incorporated and aromatic. You can already smell the deliciousness, can’t you?
Step 4: Incorporating the Cream
Time to add richness! Pour in the heavy cream and mix gently.
I find that mixing on low speed prevents any splatters while creating a silky consistency.
This step is crucial—don’t overmix!
You want the batter to be smooth but not overly whipped.
This will ensure that your Citrus Berry Burnt Cheesecake remains wonderfully creamy.
Step 5: Incorporate the Eggs
Crack the eggs one at a time into the mixture, mixing well after each addition.
This method ensures a smoother blend without overworking the batter.
Overmixing can lead to a dense texture, and nobody wants that!
Each egg adds structure and stability to your cheesecake, setting the stage for the perfect slice.
Step 6: Add Flour
Next, sprinkle in the all-purpose flour gently.
This ingredient plays a vital role in binding your cheesecake together without making it heavy.
Using a spatula, fold it in delicately until just combined.
The goal here is to create a light texture that’s still firm enough to hold its shape.
Being cautious with the flour means you’ll have a luscious dessert waiting at the end!
Step 7: Fold in the Berries
Let’s add those fresh, vibrant berries!
Gently fold them into the batter, making sure to keep them as intact as possible.
This is where the magic happens—the berries will burst with flavor in each slice.
Being careful here prevents turning your batter into a purple-hued mixture.
You want distinct pockets of deliciousness in your citrus cheesecake!
Step 8: Bake to Perfection
Now, pour the batter into the prepared springform pan.
Place it in your preheated oven and bake for 20–25 minutes.
You’ll know it’s done when the top is a beautiful, deep golden brown, and the center still has a slight jiggle.
Trust your instincts here, as the jiggle means it’ll set perfectly during cooling!
Step 9: Cooling and Serving
After baking, allow your cheesecake to cool completely in the pan at room temperature.
This step is essential, so don’t rush it!
Once cool, transfer it to the fridge and let it chill overnight.
The flavors will deepen, and the texture will improve.
Slice up this delight, and watch it disappear at your next gathering!
Tips for Success
- Always use room temperature ingredients; it ensures a creamy blend.
- Don’t skip the chilling time! It’s important for flavor development and setting.
- If your cream cheese is too cold, it may not mix well, leading to lumps.
- Keep an eye on the baking process; ovens vary, and every minute counts!
- For beautiful slices, use a hot knife dipped in water to cut through the cheesecake.
Equipment Needed
- 7-inch Springform Pan: Essential for easy release; a regular cake pan can work, but be prepared for a bit more effort.
- Mixing Bowls: You’ll need a few to keep things organized; any size will do!
- Hand or Stand Mixer: A must for achieving that creamy texture; a whisk works too, but be ready for a workout.
- Spatula: Perfect for folding in those berries!
Variations
- Gluten-Free: Substitute all-purpose flour with almond flour or a gluten-free baking blend for a gluten-free version that’s just as yummy!
- Different Citrus: Try lime or grapefruit zest for a fresh twist; it adds a unique zing to your cheesecake.
- Berry Mix: Use a combination of blueberries, strawberries, and blackberries for a vibrant berry medley.
- Mini Cheesecakes: Divide the batter among muffin tins lined with cupcake liners for delightful mini versions, perfect for parties!
- Vegan Version: Use vegan cream cheese, coconut cream, and flax eggs for a plant-based adaptation that doesn’t skip on flavor!
Serving Suggestions
- Fresh Berries: Serve with extra fresh raspberries or blackberries to enhance the fruitiness.
- Whipped Cream: A dollop of lightly sweetened whipped cream adds an elegant touch.
- Citrus Zest: Garnish with additional citrus zest to brighten the presentation.
- Coffee or Tea: Pair with a rich brew for a cozy dessert experience.
- Powdered Sugar: Dust with powdered sugar for a beautiful, sweet finish.
FAQs about Citrus Berry Burnt Cheesecake
Curious about the Citrus Berry Burnt Cheesecake? You’re not alone! Here are some commonly asked questions that might help clarify any doubts you have.
Can I use frozen berries instead of fresh?
Absolutely! Frozen berries work well, but remember to thaw and drain them first. Excess moisture may affect the batter’s consistency, so make sure they’re well-drained and patted dry.
How can I prevent my cheesecake from cracking?
To avoid cracks, make sure not to overmix the batter and avoid baking at too high a temperature. Also, allowing it to cool gradually in the oven without opening the door helps keep your cheesecake smooth.
Can I make this cheesecake in advance?
Yes, making the Citrus Berry Burnt Cheesecake a day ahead is perfect! The flavors develop beautifully overnight, and it’s one less thing to worry about on the day of your gathering.
How should I store leftovers?
Wrap any leftover cheesecake tightly in plastic wrap and store it in the refrigerator. It stays tasty for up to three days, making it a delightful treat to enjoy later!
What if I want to make it dairy-free?
You can make a dairy-free version using vegan cream cheese and coconut cream. This way, you can still savor the familiar flavors without the dairy! Your taste buds won’t be disappointed.
Final Thoughts
Baking this Citrus Berry Burnt Cheesecake is more than just a culinary adventure; it’s an experience that brings joy to those who share it.
The creamy, zesty delight paired with the burst of berries creates a harmonious dance of flavors, one that never fails to impress.
I can’t help but smile when I see the happy faces as they take their first bite.
This recipe embraces simplicity while delivering a touch of elegance, making it perfect for any occasion, be it a cozy family dinner or a celebratory gathering.
You’re going to love making memories with each slice!
Print
Citrus Berry Burnt Cheesecake
- Total Time: Overnight
- Yield: 8 slices 1x
- Diet: Vegetarian
Description
A deliciously creamy Citrus Berry Burnt Cheesecake with a delightful twist of citrus and fresh berries.
Ingredients
- 16 ounces cream cheese, softened
- 1/2 cup granulated sugar
- 1 teaspoon vanilla extract
- Pinch of salt
- 3 large eggs, room temperature
- 2 teaspoons lemon zest or orange zest
- 1 cup heavy cream
- 2 tablespoons all-purpose flour
- 2 cups fresh raspberries or blackberries
Instructions
- Preheat the oven to 450°F. Line a 7-inch springform pan completely with parchment paper, allowing the paper to extend above the rim.
- In a large mixing bowl, beat the cream cheese and sugar together for about 4–5 minutes until very smooth and creamy.
- Mix in the vanilla extract, citrus zest, and salt until evenly blended.
- Pour in the heavy cream and mix just until the batter is smooth.
- Add the eggs one at a time, mixing well after each addition until fully incorporated.
- Sprinkle the flour over the batter and gently mix until just combined, being careful not to overmix.
- Gently fold in the berries, keeping them as intact as possible.
- Pour the batter into the prepared pan and smooth the top.
- Bake for 20–25 minutes, until the top is deeply golden brown and the center still has a slight jiggle.
- Allow the cheesecake to cool completely at room temperature, then refrigerate overnight before slicing and serving.
Notes
- Ensure ingredients are at room temperature for best results.
- For a citrus flavor variation, you can use a combination of lemon and orange zest.
- Store leftovers in the refrigerator for up to 3 days.
- Prep Time: 30 minutes
- Cook Time: 25 minutes
- Category: Dessert
- Method: Baking
- Cuisine: American
Nutrition
- Serving Size: 1 slice
- Calories: 320
- Sugar: 10g
- Sodium: 210mg
- Fat: 26g
- Saturated Fat: 15g
- Unsaturated Fat: 5g
- Trans Fat: 0g
- Carbohydrates: 20g
- Fiber: 2g
- Protein: 6g
- Cholesterol: 90mg