DIY Aroma Stones – Natural Fragrance with Style Today!
Introduction to DIY Aroma Stones – Natural Fragrance with Style
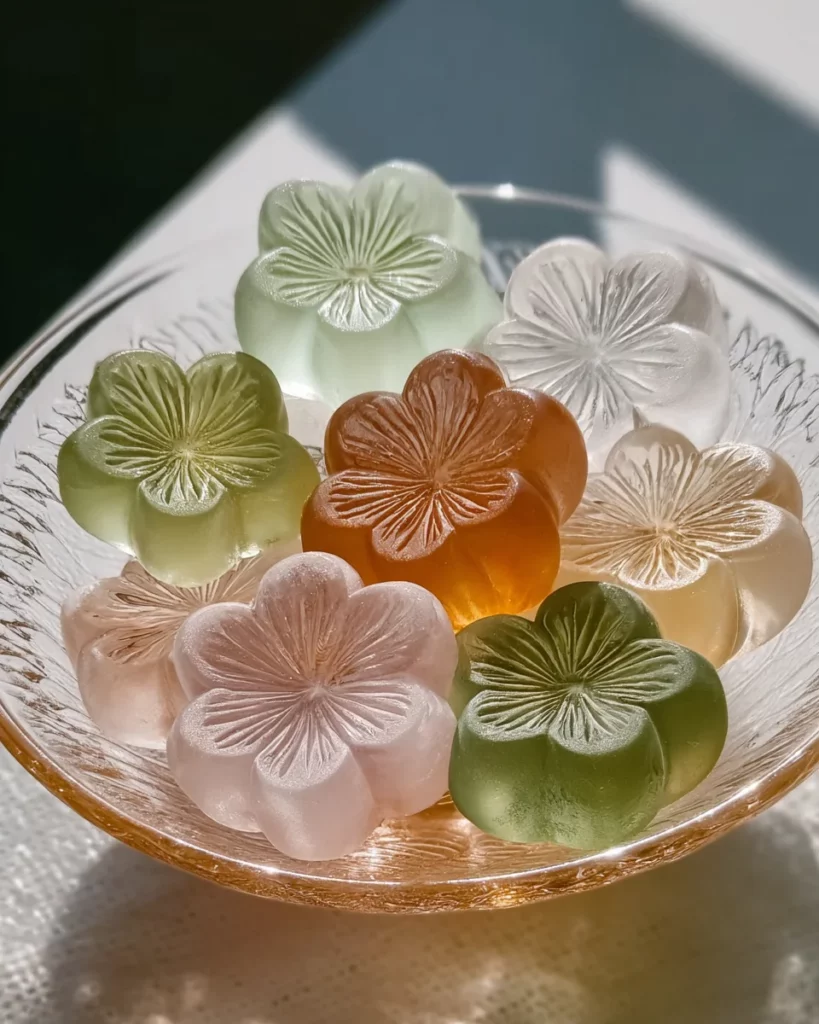
Hey there, fellow busy bees! If you’re like me, finding time to refresh your home can feel like an impossible task. That’s why I’m excited to share my DIY Aroma Stones – Natural Fragrance with Style. These little gems are a fun, easy craft that not only elevates your space but fills it with delightful aromas, too. In just a few steps, you can create lovely, fragrant stones that breathe life into your surroundings. Let’s embark on this creative adventure together and turn your home into a fragrant haven!
Why You’ll Love This DIY Aroma Stones – Natural Fragrance with Style
One of the best aspects of these DIY Aroma Stones – Natural Fragrance with Style is their simplicity. You can whip them up in just 15 minutes and enjoy a delightful ambiance in no time. Plus, they’re fully customizable, allowing you to choose your favorite scents and colors. Whether in your busy home or a peaceful office, these stones can transform any space into a cozy retreat that reflects your unique style.
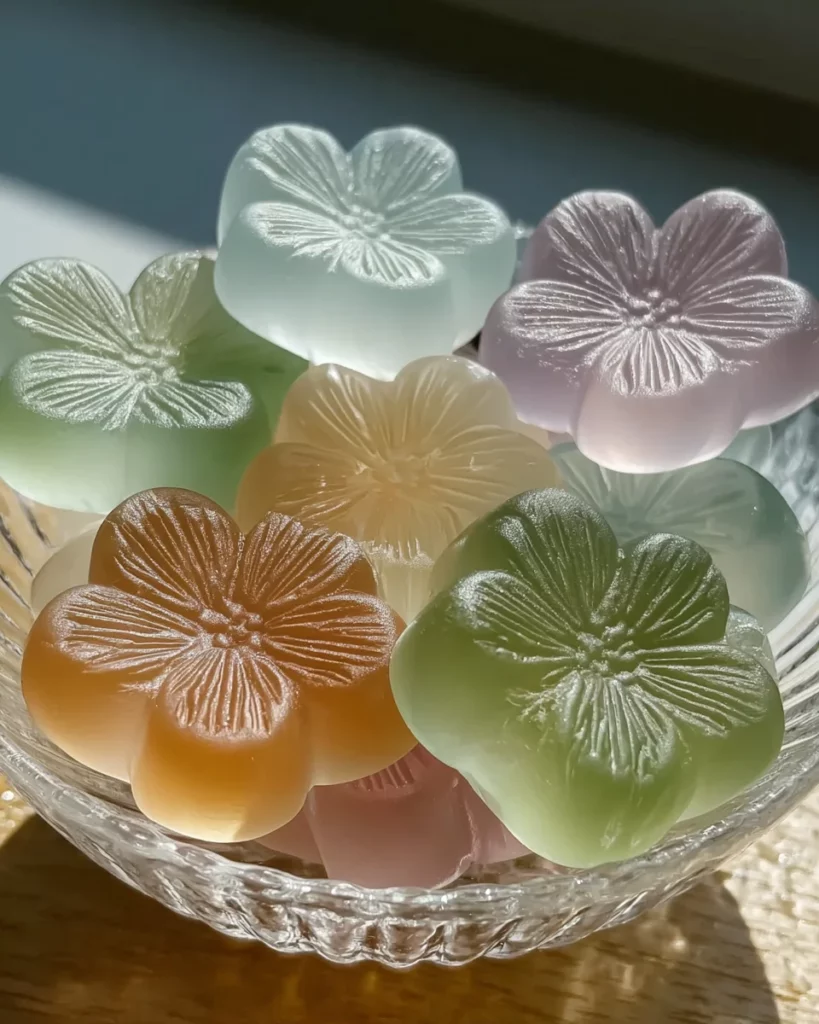
Ingredients for DIY Aroma Stones – Natural Fragrance with Style
Let’s gather our materials to craft these charming DIY Aroma Stones – Natural Fragrance with Style! You’ll need:
- 1/2 cup baking soda: This is the foundation for your stones, providing both structure and absorbency.
- 1/4 cup cornstarch: It adds a smooth texture, ensuring your stones have a lovely finish.
- 1/4 cup water: Helps create the perfect paste for your mixture.
- 10–15 drops of essential oil: Choose your favorite scent, like lavender for calm or lemon for energy.
- Optional color: A few drops of food coloring or mica powder can add a personal touch.
- Silicone molds: Get creative with fun shapes! Think hearts, stars, or even floral designs.
For easy prep, exact quantities can be found at the bottom of this article for those ready to print!
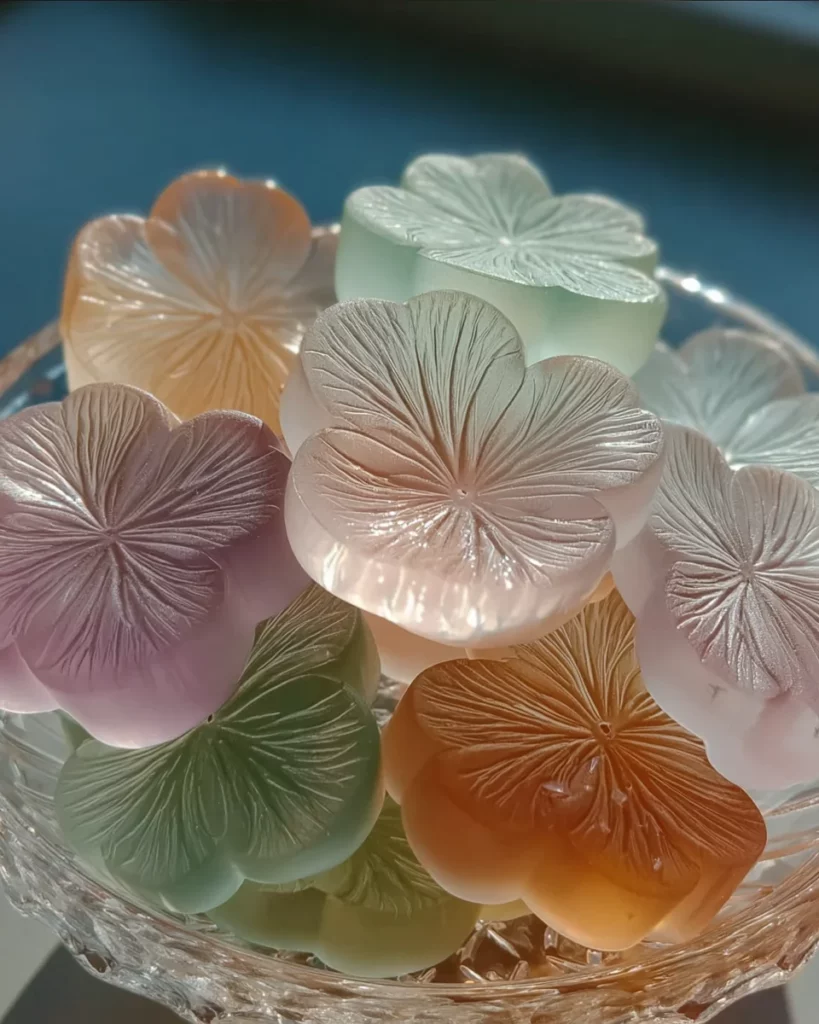
How to Make DIY Aroma Stones – Natural Fragrance with Style
Step 1: Combine Dry Ingredients
First things first, let’s make a mess—just a little one! In a bowl, toss together your 1/2 cup of baking soda and 1/4 cup of cornstarch. Grab a spoon and mix them well, so they blend evenly. Imagine you’re creating a simple cake batter. No lumps allowed!
Step 2: Add Water to Create a Paste
Next, it’s time to bring our mixture to life! Slowly pour in 1/4 cup of water while continuously stirring. You want to achieve a smooth, thick paste, a bit like pancake batter. If it feels too dry, add a splash more water. The aim here is to create a fragrant base that holds everything together beautifully.
Step 3: Incorporate Essential Oils and Color
Now comes the fun part! Add 10–15 drops of your chosen essential oil to the paste for some aromatic magic. Each drop is like a tiny burst of nature that transforms your stones. Feeling adventurous? You can also mix in a few drops of food coloring or mica powder to give your aroma stones a pop of color. Stir thoroughly until everything dances together seamlessly.
Step 4: Fill the Molds
Time to get creative! Grab your silicone molds and spoon or pour the mixture into them. This is where you can let your personality shine through—choose shapes that make you smile! Once filled, use the back of your spoon to smooth the tops. Think of it as frosting a cake, making sure they look just as delightful as they smell.
Step 5: Air Dry the Stones
Now, patience is key! Place your filled molds on a tray or clean surface to dry. Let them air dry for 24–48 hours until they’re completely hardened. This waiting period allows the scents to develop, filling your home with anticipation. Once they’re ready, pop them out and behold your creation!
Remember, these DIY Aroma Stones – Natural Fragrance with Style not only brighten your space but also make thoughtful gifts. So get those creative juices flowing!
Tips for Success
Before you dive into crafting your DIY Aroma Stones – Natural Fragrance with Style, here are some quick tips to ensure your project is a breeze:
- Mix thoroughly: Make sure the dry ingredients are well combined for even fragrance distribution.
- Choose quality oils: Opt for purer essential oils for a more potent scent.
- Drying patience: Allow stones to dry completely for best scent release.
- Experiment: Don’t be afraid to try different scents or mix colors for a unique look!
Equipment Needed
To create your DIY Aroma Stones – Natural Fragrance with Style, you’ll need a few simple tools. Here’s what you should have handy:
- Bowl: Any mixing bowl will do, even a sturdy kitchen container.
- Spoon: Grab any spoon for stirring your ingredients.
- Silicone molds: Use fun molds for shaping your stones; alternatives like plastic containers work too!
- Tray or clean surface: This is for drying your stones comfortably.
Variations
Ready to get creative with your DIY Aroma Stones – Natural Fragrance with Style? Here are some fun variations to explore:
- Floral Scents: Use rose or jasmine essential oils for a lovely, romantic touch.
- Citrus Zest: Opt for orange or lime for a zesty, refreshing aroma.
- Holiday Themes: Try cinnamon or pine scents for a cozy holiday vibe.
- Color Combinations: Mix different colors for a visually stunning display.
Serving Suggestions
Now that you’ve crafted your delightful DIY Aroma Stones – Natural Fragrance with Style, here are some great ways to showcase them:
- Decorative Bowls: Place them in beautiful bowls for instant centerpieces.
- Gift Wrapping: Wrap them as unique, handmade gifts for friends.
- Closet Fresheners: Tuck them in drawers or closets to keep clothes smelling fresh.
- Bathroom Accents: Display them in the bathroom for a touch of elegance and scent.
FAQs about DIY Aroma Stones – Natural Fragrance with Style
You may have questions about your DIY Aroma Stones – Natural Fragrance with Style, and I’m here to help!
Can I use any essential oil? Absolutely! Just ensure they are skin-safe and made for aromatherapy. The scent will vary based on your choice.
How long do the stones last? Typically, they last several weeks, releasing aroma gradually. To refresh, just add a few more drops of essential oil!
Is there an alternative to silicone molds? Yes! You can use muffin tins or even small plastic containers for fun shapes.
Final Thoughts
Crafting your own DIY Aroma Stones – Natural Fragrance with Style is more than just a project; it’s a delightful journey of creativity. I love how this simple craft adds beauty and enchanting scents to my home, transforming ordinary spaces into cozy retreats. Each stone is a whisper of joy and personality, designed by you!
Plus, they make perfect thoughtful gifts for friends and family. Who wouldn’t appreciate a handmade treasure that fills their home with wonderful aromas? Embrace the joy of crafting and let your creativity shine, one fragrant stone at a time!
Print
DIY Aroma Stones – Natural Fragrance with Style Today!
- Total Time: 24-48 hours drying time
- Yield: Varies depending on mold size; approximately 6-12 stones.
- Diet: Vegan
Description
Create your own DIY aroma stones for a natural fragrance that adds style to any space.
Ingredients
- 1/2 cup baking soda
- 1/4 cup cornstarch
- 1/4 cup water
- 10–15 drops of your favorite essential oil (e.g., lavender, eucalyptus, lemon)
- Optional: a few drops of food coloring or mica powder for color
- Silicone molds (any fun shape you like)
- Bowl and spoon for mixing
- A tray or clean surface for drying
Instructions
- In a bowl, combine baking soda and cornstarch. Stir well to blend evenly.
- Slowly pour in the water while stirring to make a smooth, thick paste. The texture should be like thick pancake batter.
- Add 10–15 drops of essential oil. Optionally, mix in coloring or mica powder. Stir thoroughly.
- Spoon or pour the mixture into silicone molds. Smooth the tops with a spoon.
- Let air dry for 24–48 hours until completely hardened.
- Pop out and use in small bowls, drawers, or closets — or wrap them as handmade gifts!
Notes
- Ensure the mixture is well combined for even fragrance distribution.
- Experiment with different essential oils for various scents.
- Stones can be customized with shapes and colors.
- Prep Time: 15 minutes
- Cook Time: 0 minutes
- Category: Craft
- Method: DIY
- Cuisine: N/A
Nutrition
- Serving Size: N/A
- Calories: N/A
- Sugar: N/A
- Sodium: N/A
- Fat: N/A
- Saturated Fat: N/A
- Unsaturated Fat: N/A
- Trans Fat: N/A
- Carbohydrates: N/A
- Fiber: N/A
- Protein: N/A
- Cholesterol: N/A

