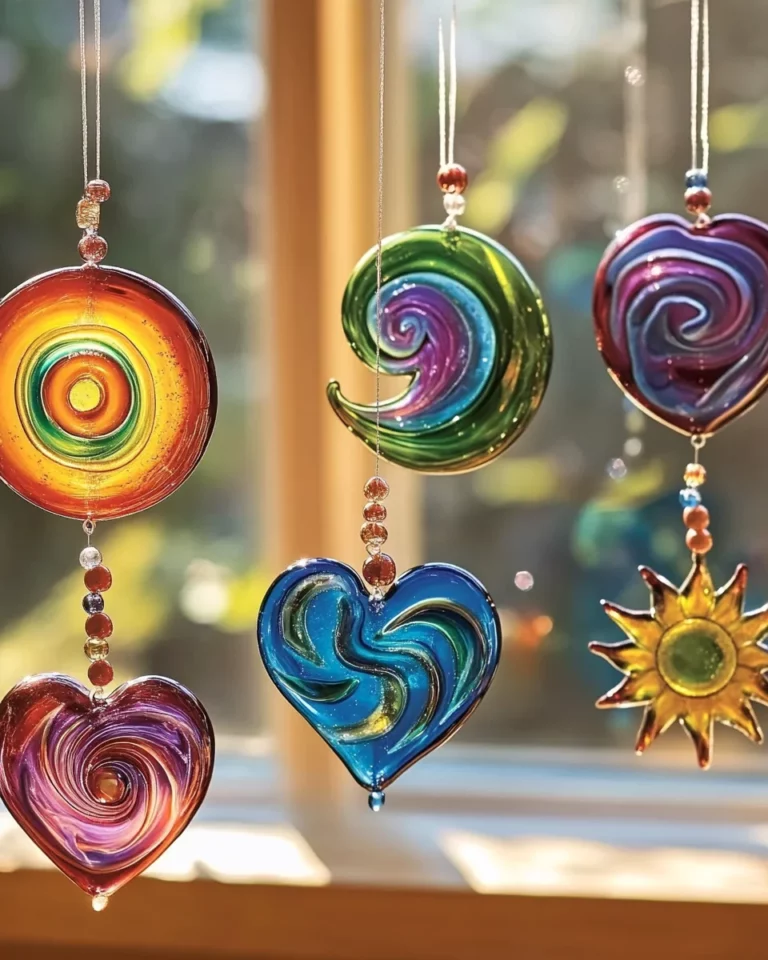
DIY Bioplastic Suncatchers: Transform Nature into Art!
Introduction to DIY Bioplastic Suncatchers
Welcome to a vibrant world of creativity with DIY Bioplastic Suncatchers! As a busy mom, I understand how chaotic life can get. That’s why I love this project—it’s a delightful escape into nature that’s easy and fun to make. Imagine spending a few joyful moments with your kids, gathering flowers and twigs, then turning those treasures into beautiful art. Not only does this craft brighten your home, but it also sparks wonderful conversations. So, let’s dive into this colorful adventure and transform natural materials into lovely suncatchers that shimmer in the sunlight!
Why You’ll Love This DIY Bioplastic Suncatchers
You’ll adore making these DIY Bioplastic Suncatchers because they’re simple and quick! In just a few easy steps, you can create stunning art that adds a splash of color to your space. Plus, it’s enjoyable for all ages, making it perfect for family bonding. Not to mention, using natural materials brings you closer to nature while creating something beautiful. It’s a win-win for busy lives!
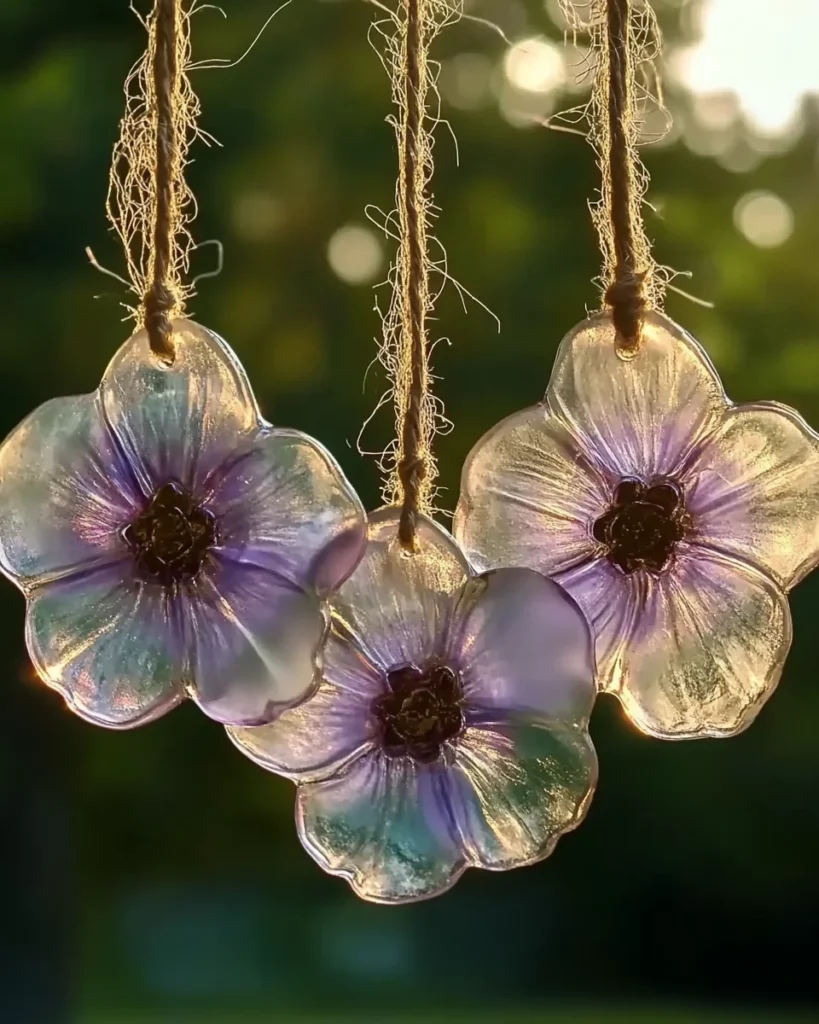
Ingredients for DIY Bioplastic Suncatchers
Gathering the right ingredients is half the fun in this craft! Here’s what you need to get started on making your stunning DIY Bioplastic Suncatchers:
- Unflavored gelatin powder: This will serve as the base for your suncatchers. Keep an eye out for brands that are both unflavored and vegan-friendly!
- Boiling water: Essential for dissolving the gelatin. It’s like the magic potion that brings your suncatcher to life!
- Natural loose parts: Think petals, leaves, herbs, pinecones, and twigs. Choose items with different colors, shapes, and textures to create a vibrant masterpiece.
- Plastic lids: Reusing lids from yogurt or similar containers is perfect for crafting your suncatchers. They act as molds to hold your beautiful nature finds.
- String or yarn: This is for creating a hanging loop. It adds a whimsical touch that allows your suncatcher to dance in the sunlight.
- Mixing bowl & spoon: You’ll need these for combining your ingredients smoothly. Consider a bowl that can handle heat for mixing the gelatin!
- Towel or tray: This will be essential for drying your suncatchers. It’s helpful to keep your workspace tidy!
- Optional ingredients: To add a personal flair, consider food coloring or natural dyes for color, essential oils for fragrance, cookie cutters or silicone molds for fun shapes, or even glitter or confetti for a little sparkle
You can find the exact quantities for each ingredient listed at the bottom of the article, available for printing. Happy gathering!
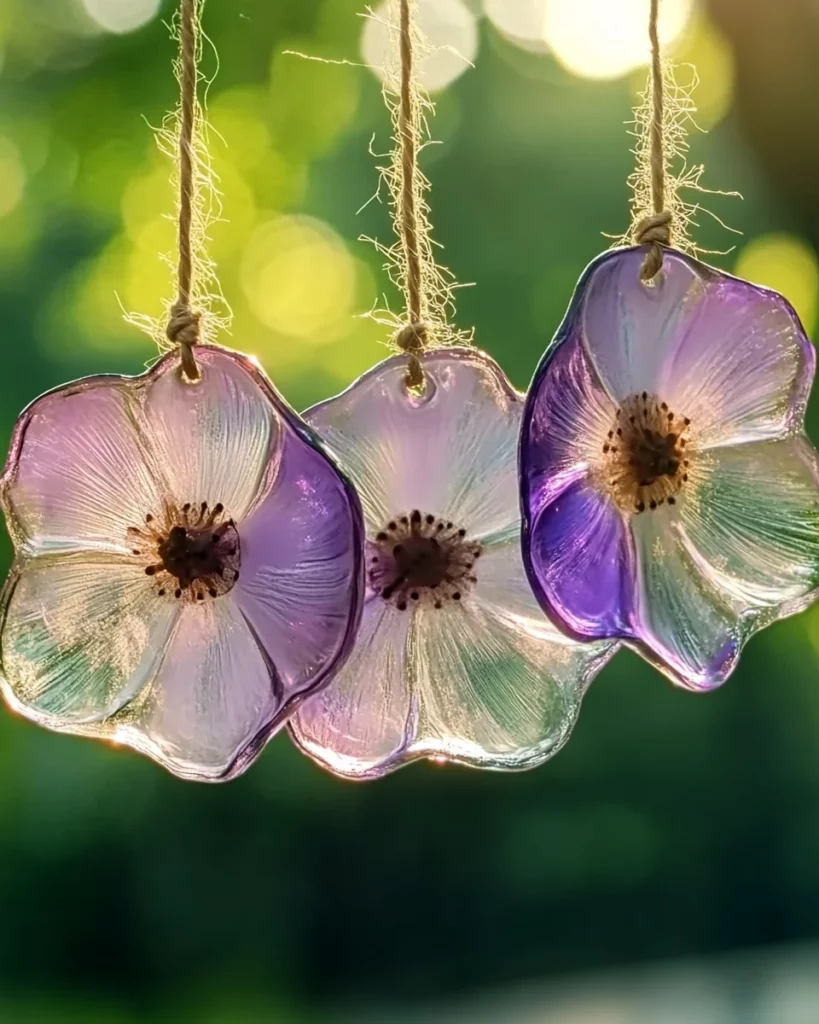
How to Make DIY Bioplastic Suncatchers
Now that we have our ingredients ready, let’s jump into making these delightful DIY Bioplastic Suncatchers! Follow along with these simple steps. I promise you’ll find joy in every part of this process.
Step 1: Go on a Nature Walk
Ah, the thrill of a nature walk! Grab your kids and head outdoors. Look for vibrant petals, textured leaves, or interesting twigs. Don’t forget tiny pinecones or fluffy dandelion seeds! The world is your treasure chest. Allow your little ones to collect their favorites. It’s like a mini-adventure with each piece of nature you gather.
Step 2: Design Your Suncatcher
Once you’re back home, let your creativity flow. Open those plastic lids and begin arranging your nature finds. Mix colors and shapes! You can create patterns or random designs—whatever makes your heart sing! This is your canvas, and it should reflect your personality. Involve everyone; each person’s unique touch makes it even more special.
Step 3: Mix the Gelatin Base
Now it’s time for the magic potion! In a mixing bowl, combine unflavored gelatin powder with boiling water. Keep stirring until all the powder dissolves. This step is crucial, so make sure the mixture is smooth and clear. If you choose to add natural dyes, do it now for a pop of color! The final mix should look like a shimmering liquid ready to encase your beautiful nature finds.
Step 4: Pour into Molds
Carefully pour the gelatin mixture into each lid, covering your artistic designs. Be gentle! You want to saturate the materials without creating an overflow. A thin layer is perfect—it’ll hold everything together nicely. If you see any air bubbles, lightly tap the lid or use a spoon to release them before they set.
Step 5: Add the Hanging Loop
Before it sets, press a loop of string or yarn gently into each suncatcher. It’s crucial to place it in the middle so that your suncatcher hangs straight. This little detail will make a big difference when it’s time to display your lovely creation. Imagine seeing it sway in the warm sunlight!
Step 6: Let Them Dry
Now comes the waiting game! Let your suncatchers sit at room temperature for about 1–2 days. To ensure they flatten out nicely, place a light board or tray on top of them. Check regularly; patience will reward you with beautifully firm suncatchers that shine with nature’s beauty!
Step 7: Hang and Enjoy
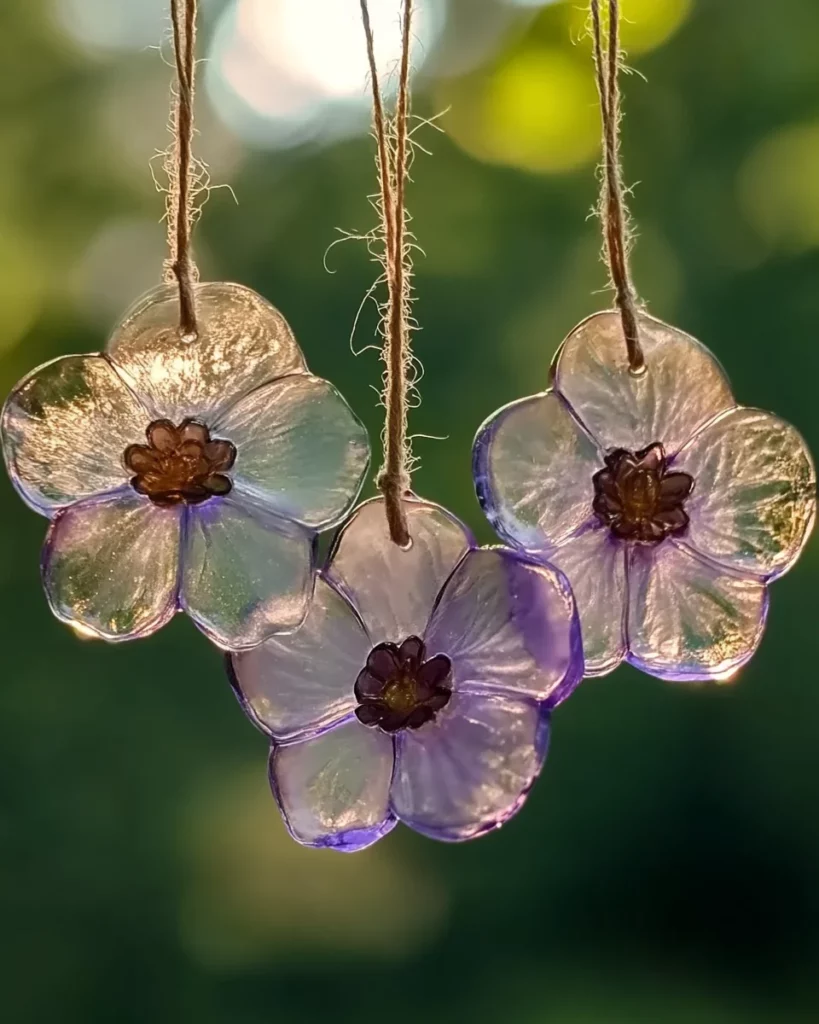
Finally, the big reveal! Once they’re dry, gently pop them out of the molds. Hang your stunning suncatchers in a sunny window and watch as they illuminate your space with colorful, dancing reflections. I promise, seeing them catch the light will make your heart flutter with joy!
Tips for Success
- Choose a sunny spot for hanging your suncatchers for maximum light exposure.
- Experiment with different natural elements for unique textures and colors.
- If using food coloring, start with a tiny drop—it’s easier to add more later.
- For a fun twist, try mixing in some glitter or confetti for extra sparkle!
- Be patient while drying; quality results come from letting them set properly.
Equipment Needed for DIY Bioplastic Suncatchers
- Mixing bowl: Any heat-resistant bowl will do. Glass or metal works great!
- Spoon: A sturdy spoon for mixing the gelatin. A spatula can work too!
- Plastic lids: Reuse yogurt or takeout container lids. Any shallow container is perfect!
- Tray or towel: Use any flat surface to dry your creations; even an old baking sheet is great!
- Scissors: Handy for trimming string or yarn when creating loops.
Variations on DIY Bioplastic Suncatchers
- Seasonal Themes: Change your materials based on the seasons. Use colorful autumn leaves or fresh spring blooms for different vibes!
- Nature Prints: Press flowers or leaves before adding them for artistic impressions. This gives a beautiful, textured look to your suncatchers.
- Scented Suncatchers: Add a few drops of essential oils to the gelatin for an aromatic twist. Lavender or citrus scents are particularly refreshing!
- Colorful Layers: Layer different colors by allowing each layer to set slightly before adding another. This creates a stunning ombre effect!
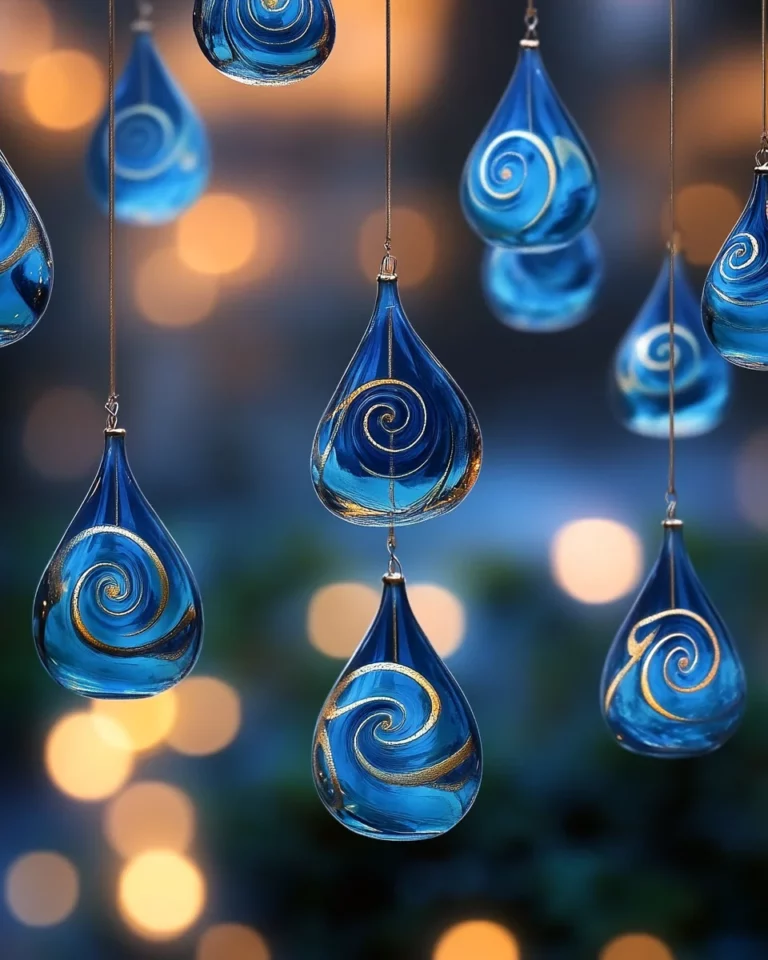
- Shaped Forms: Use cookie cutters or silicone molds in fun shapes to make unique suncatchers that catch the eye and the sun.
Serving Suggestions for Your Suncatchers
- Display Options: Hang your suncatchers near windows where sunlight enters for maximum glow.
- Decor Touch: Pair them with potted plants or fresh flowers for a stunning natural display.
- Special Moments: Use these suncatchers for themed parties, adding vibrant decor to any celebration.
- Gift Idea: Wrap up a few suncatchers as thoughtful, handmade gifts for family and friends.
FAQs about DIY Bioplastic Suncatchers
Can I use different kinds of natural materials?
Absolutely! You can mix various natural elements like dried flowers, leaves, or even small fruits. Just ensure they’re not too juicy, as excess moisture can affect the gelatin.
Are DIY Bioplastic Suncatchers safe for children to make?
Yes, they are! The materials used, like unflavored gelatin and natural ingredients, are safe for children. Just supervise younger kids during the hot boiling water step.
How do I store my suncatchers if I want to keep them for a long time?
Store them in a cool, dry place away from direct sunlight to maintain their colors and integrity. You can even wrap them in a soft cloth to prevent scratches.
Can I incorporate colors into my bioplastic suncatchers?
Certainly! You can use food coloring or natural dyes to add vibrant hues to your suncatchers. Just make sure to mix them evenly into the gelatin base before pouring.
What if my suncatchers don’t dry properly?
If they’re not drying well, try extending their drying time. You can also check the environment; a damp area may slow down the drying process. Place them in a warmer spot for better results!
Final Thoughts on DIY Bioplastic Suncatchers
Creating DIY Bioplastic Suncatchers is more than just a fun craft; it’s a heartfelt experience that connects us with nature and our loved ones. The joy of exploring the great outdoors, gathering treasures, and crafting something beautiful together offers a sense of fulfillment. As you hang these vibrant suncatchers in your windows, they not only brighten your home but also serve as a reminder of those precious moments spent together. This delightful project provides an opportunity to unleash creativity and foster family bonds, making it a cherished activity for every busy mom looking to incorporate a little magic into her life!
Print
DIY Bioplastic Suncatchers
- Total Time: 1–2 days (drying time)
- Yield: Varies based on the number of lids used
- Diet: Vegan
Description
Create beautiful suncatchers from natural materials and bioplastic.
Ingredients
- 1 packet gelatin powder (unflavored)
- 4 cups boiling water
- Natural loose parts – petals, leaves, herbs, pinecones, twigs
- Plastic lids (like yogurt container lids)
- String or yarn
- Mixing bowl & spoon
- Towel or tray for drying
- Optional: Food coloring or natural dyes, essential oils, cookie cutters or silicone molds, glitter or confetti
Instructions
- Go on a nature walk: Collect leaves, flowers, twigs, and more. Look for different colors, shapes, and textures.
- Design your suncatcher: Arrange your nature finds inside the plastic lids. Get creative—patterns, layers, or wild designs!
- Mix the gelatin base: Combine 1 part gelatin powder with 4 parts boiling water in a bowl. Stir until fully dissolved.
- Pour into molds: Carefully pour the warm gelatin over the nature items in each lid. Just a thin layer is enough.
- Add hanging loop: Press a loop of yarn gently into each mold while the gelatin is still warm.
- Let them dry: Leave them at room temperature for 1–2 days. To help flatten them, place a light board or tray on top.
- Hang and enjoy: Once firm and dry, pop out your suncatchers and hang them in a sunny window for a touch of natural beauty.
Notes
- Be creative with your nature finds; different textures add interest.
- Use natural dyes to add colors without chemicals.
- Ensure all materials used are non-toxic and safe.
- Prep Time: 30 minutes
- Cook Time: 0 minutes
- Category: Craft
- Method: Crafting
- Cuisine: N/A
Nutrition
- Serving Size: N/A
- Calories: N/A
- Sugar: N/A
- Sodium: N/A
- Fat: N/A
- Saturated Fat: N/A
- Unsaturated Fat: N/A
- Trans Fat: N/A
- Carbohydrates: N/A
- Fiber: N/A
- Protein: N/A
- Cholesterol: N/A

