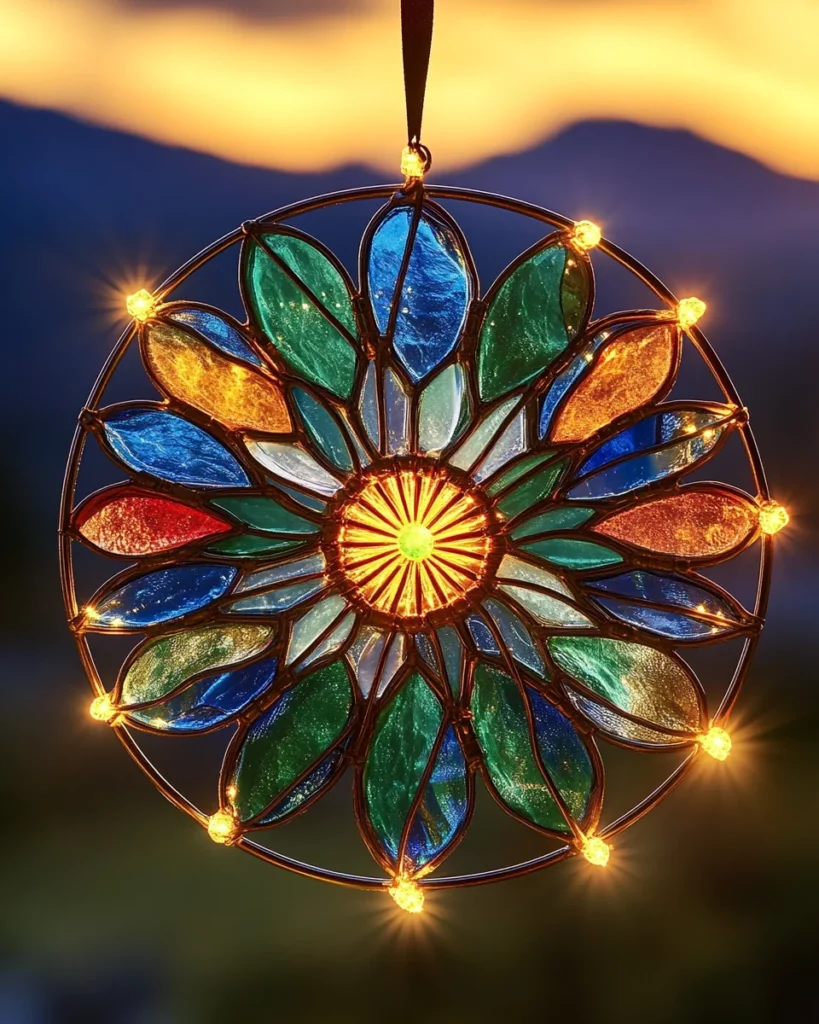
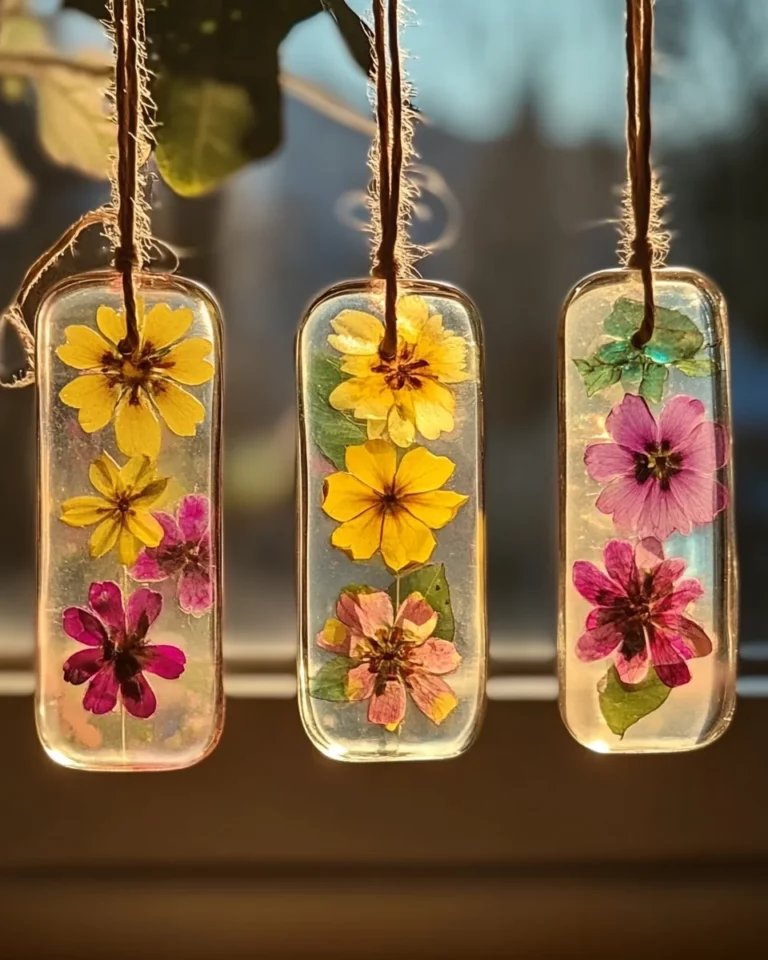
DIY Firework Suncatcher: Create Bright, Fun Decor Today!
Introduction to DIY Firework Suncatcher
Hey there! If you’re looking to add a splash of color to your space without spending hours, this DIY Firework Suncatcher is just for you. It’s simple, fun, and a fantastic way to brighten up any window. As a busy mom, I understand how precious time can be, and this quick craft is perfect for your hectic days. Plus, it brings joy not only to your home but also to the little ones who can help create it. Let’s dive into this joyful project that’s sure to be a hit with everyone!
Why You’ll Love This DIY Firework Suncatcher
This DIY Firework Suncatcher is a delightful way to express your creativity without breaking a sweat. It takes just 15 minutes! You can whip up colorful decor that instantly brightens your home. Plus, it’s a fantastic activity to do with kids or as a solo project. It’s budget-friendly and allows for endless creativity. What’s not to love about creating eye-catching art in a flash?

Ingredients for DIY Firework Suncatcher
Creating your vibrant DIY Firework Suncatcher is a joyful experience, and having the right ingredients is key. Here’s what you’ll need:
- Clear plastic sheet or transparent contact paper: This will serve as the base for your artwork, allowing those beautiful colors to shine through.
- Colored tissue paper (various colors): Torn or cut into pieces, these will be the firework bursts. Feel free to go wild with your favorite colors!
- Glue stick or liquid glue: This will help attach the tissue pieces to the base. I recommend using a glue stick for less mess.
- Scissors: Essential for cutting the shapes and tissue paper to your desired sizes. A fun, kid-friendly tool!
- Black construction paper or cardstock: This creates a nice frame for your suncatcher and adds depth to the design.
- Hole punch: A simple tool to make a hole at the top for hanging. If you don’t have one, you can carefully make a slit with scissors.
- String or ribbon: This will be used to hang your masterpiece. Choose a color that complements your suncatcher.
For those crafty souls, don’t be afraid to experiment with other materials! You can use different types of paper like wrapping paper or even fabric scraps for unique textures.
Exact quantities and printable options are at the bottom of this article, so feel free to take a peek there!
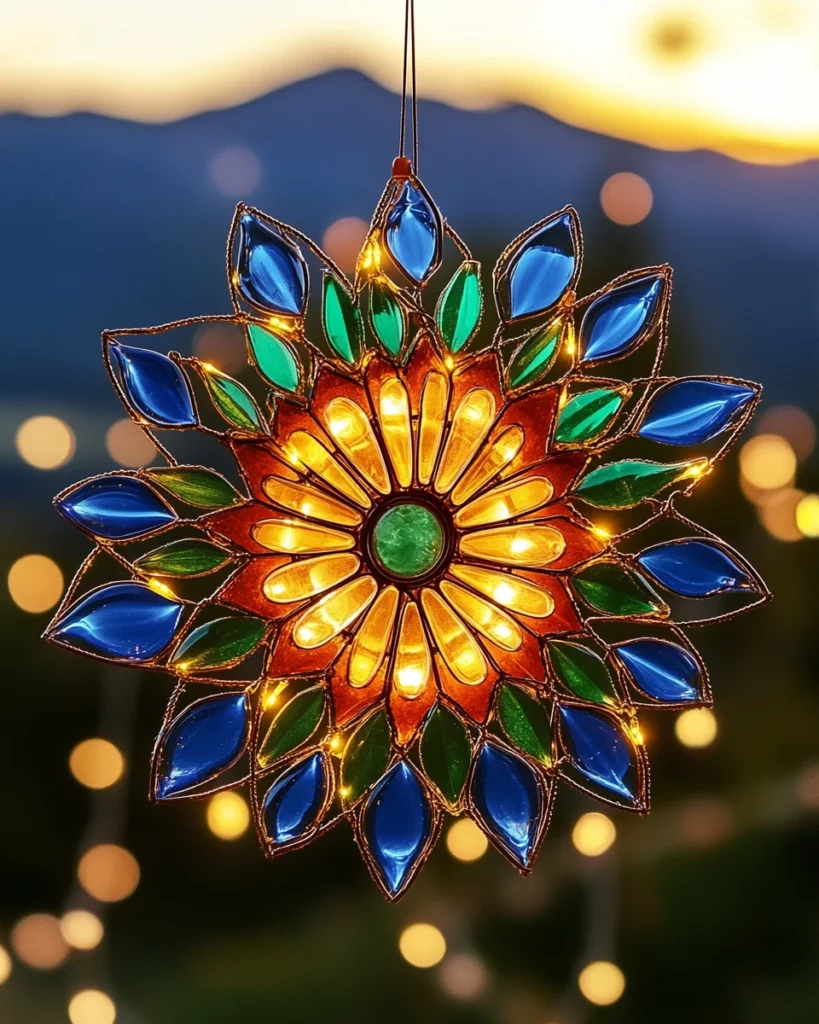
How to Make DIY Firework Suncatcher
Prepare the Base
Start your creative journey by preparing the base. Cut the clear plastic sheet or transparent contact paper into your desired shape. You could go for a star, circle, or even a quirky heart! The shape you choose will affect how the light plays with your colors later on, so pick something that makes you smile.
Cut Tissue Paper
Now for the fun part—cutting the tissue paper! Grab your scissors or your hands, and tear those colorful sheets into small pieces. Think confetti! The smaller the pieces, the better they’ll layer and blend together like fireworks bursting in the sky.
Glue Tissue Pieces
Time to bring those colors together. Apply glue evenly over the plastic base. Start sticking your tissue pieces onto the glued area in a beautiful firework pattern. Don’t worry about being perfect! Remember, art is all about fun and creativity. Mix colors and create overlapping bursts for a vibrant effect.
Create Frame
While your colorful masterpiece dries, let’s move on to the frame. Take your black construction paper or cardstock and cut it into a border that fits around your suncatcher. This will give a wonderful contrast to the bright colors and make your creation pop! Glue the frame around the edges of your suncatcher. Ta-da!
Punch Hole
Get your hole punch and make a hole at the top of the suncatcher. This is where your string will go. If you don’t have a hole punch, a pair of scissors can work in a pinch. Just be careful; safety first!
Attach String
Cut a length of string or ribbon. Thread it through the hole you created earlier. If your kids are helping, this is a great moment to practice those fine motor skills! Once you have it through, tie a knot to secure it. Your Suncatcher is almost ready for display!
Display
Finally, find a sunny spot to showcase your DIY Firework Suncatcher. Hang it in a window where sunlight will dance through the colors. Watch as it brightens your space and brings smiles all around. Trust me; it will be a delight every time you catch a glimpse!
Tips for Success
- Experiment with different shapes and sizes for more unique suncatchers.
- Use layers of tissue paper to create depth and richness in colors.
- Try mixing patterns and textures for a fun visual effect.
- Invite your kids to join in—it’s a great bonding activity!
- Secure your suncatcher with tape if needed for extra durability.
Equipment Needed
- Scissors: Essential for cutting shapes and tissue; kid-friendly safety scissors work wonders!
- Glue: A glue stick is perfect for less mess, but liquid glue will do the trick, too.
- Hole punch: If you don’t have one, simply use scissors to make a small slit.
- Ruler (optional): Handy for measuring if you want precise shapes.
Variations on DIY Firework Suncatcher
- Layered Textures: Instead of just tissue paper, experiment with fabric scraps or old wrapping paper to add different textures to your suncatcher.
- Color Themes: Create themed suncatchers based on seasonal colors—red, white, and blue for July 4th or pastels for spring. Themed colors elevate the decor for special occasions!
- Reusable Base: Try using a sturdy plastic sheet that can be cleaned off and reused for different designs. Change the look according to seasons or holidays!
- Outdoor-Friendly: Use weatherproof materials for an outdoor version. Consider using acrylic sheets instead of plastic for a more durable finish.
- 3D Effects: Layer your tissue paper pieces to create a 3D effect. Make sure to stagger the layers for added depth and impact!
Serving Suggestions for DIY Firework Suncatcher
- Sunlit Spots: Hang your suncatcher where it can catch the afternoon sun for maximum effect.
- Seasonal Displays: Integrate them into seasonal decorations, like hanging them among fall leaves or holiday lights.
- Kid-Friendly Spaces: Place them in playrooms or children’s areas to add a cheerful touch to their environment.
- Gifts: Create personalized suncatchers as gifts for friends or family, making each one uniquely colorful!
FAQs about DIY Firework Suncatcher
Can I use materials other than tissue paper?
Absolutely! You can use wrapping paper, old magazines, or even fabric scraps. Just ensure they are somewhat translucent to let the light shine through, creating those vibrant colors!
How do I clean the suncatcher if it gets dusty?
A simple wipe with a damp cloth will do the trick. Just be careful not to use too much water, especially if you used glue that can dissolve. Keep it colorful and sparkling!
Can I make multiple suncatchers at once?
Definitely! This is a fun group activity. Set up a crafting station and let everyone create their unique designs. You might just end up with a colorful collection to display!
How can I ensure my suncatcher won’t fall apart?
Using a glue stick is helpful for securing tissue paper, but also consider reinforcing the edges with tape for extra durability. A solid frame can also add strength!
What is the best way to hang the suncatcher?
Opt for a lightweight string or ribbon to hang your suncatcher. Make sure it’s securely tied, and then place it where it can catch the sun’s rays. Enjoy the view!
Final Thoughts
Creating a DIY Firework Suncatcher brings not just color, but joy into your home. This quick and easy project is a wonderful way to foster creativity, especially when you include your kids. Watching the sunlight dance through your vibrant creation adds a sparkle to any room. It’s more than a craft; it’s a moment shared, filled with laughter and imagination. So gather your ingredients, unleash your creativity, and hang those cheerful suncatchers in your favorite sunny spots. You’ll find joy in displaying your colorful art, bringing a smile to everyone who catches a glimpse!
Print
DIY Firework Suncatcher: Create Bright, Fun Decor Today!
- Total Time: 15 minutes
- Yield: 1 suncatcher
- Diet: Vegan
Description
Create bright and fun DIY Firework Suncatchers to add colorful decor to your space.
Ingredients
- Clear plastic sheet or transparent contact paper
- Colored tissue paper (various colors)
- Glue stick or liquid glue
- Scissors
- Black construction paper or cardstock
- Hole punch
- String or ribbon
Instructions
- Prepare the Base: Start by cutting the clear plastic sheet or the transparent contact paper into your desired suncatcher shape, such as a circle, star, or square.
- Cut Tissue Paper: Tear or cut the colored tissue paper into small pieces.
- Glue Tissue Pieces: Apply glue evenly on the plastic base. Begin sticking the tissue paper pieces onto the glued area in a firework pattern.
- Create Frame: Take the black construction paper or cardstock and cut a frame to border the suncatcher. Glue it around the edges.
- Punch Hole: Use a hole punch to make a hole at the top of the suncatcher for hanging.
- Attach String: Cut a piece of string or ribbon and thread it through the hole you just punched.
- Display: Hang your firework suncatcher in a sunny window.
Notes
- Experiment with different shapes and sizes for your suncatcher.
- Consider layering different shades of tissue paper for added texture.
- Prep Time: 15 minutes
- Cook Time: 0 minutes
- Category: Craft
- Method: DIY
- Cuisine: N/A
Nutrition
- Serving Size: N/A
- Calories: 0
- Sugar: 0g
- Sodium: 0mg
- Fat: 0g
- Saturated Fat: 0g
- Unsaturated Fat: 0g
- Trans Fat: 0g
- Carbohydrates: 0g
- Fiber: 0g
- Protein: 0g
- Cholesterol: 0mg

