DIY Glow-in-the-Dark Ghost Jars for Spooky Halloween Fun!

Introduction to DIY Glow-in-the-Dark Ghost Jars
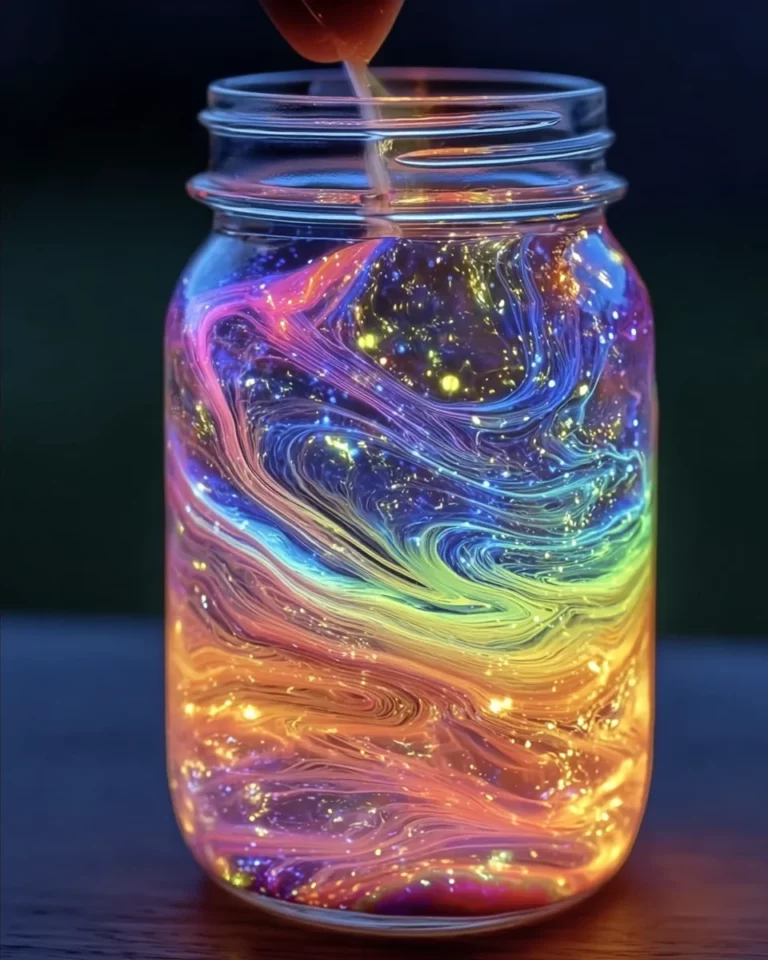
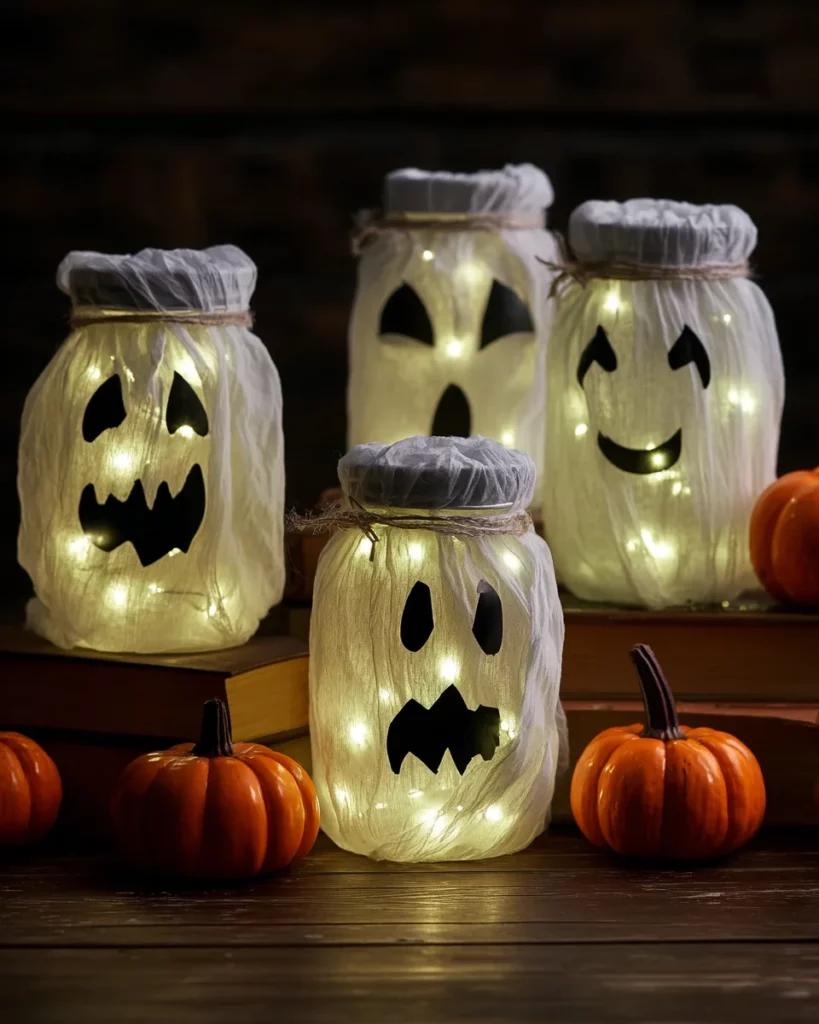
As the days grow shorter and nights darker, Halloween whispers to us, inviting a little magic into our homes. If you’re a busy mom or a professional looking for a fun and easy way to celebrate, these DIY Glow-in-the-Dark Ghost Jars are a must-try! Not only are they simple to make, but they also bring a whimsical charm to your Halloween décor. With just a few materials and a sprinkle of creativity, you can create glowing ghostly friends that’ll enchant both kids and adults alike. Let’s dive into this delightful craft!
Why You’ll Love This DIY Glow-in-the-Dark Ghost Jars
These DIY Glow-in-the-Dark Ghost Jars are the perfect solution for busy evenings. They’re quick to whip up, taking only about 15 minutes! Plus, crafting them is a wonderful way to engage with your kids and ignite their creativity. Just imagine their delight when they see these glowing ghosts flickering in the dark. It’s a simple, enjoyable project that adds festive charm to your Halloween celebrations without breaking the bank!
Ingredients for DIY Glow-in-the-Dark Ghost Jars
Gathering the right ingredients is the first step in creating your spooky ghost jars. Here’s what you’ll need:
- Empty glass jars: These will serve as your ghostly vessel. Old jars from sauces or jams work beautifully. The clearer, the better, as it helps with visibility.
- White tissue paper or gauze: This adds a whimsical and ghostly feel to your jars. You can even try using old white sheets for a rustic touch!
- Glow-in-the-dark paint (or glow spray): This is the magic potion! It creates the spooky glow. Safety first: be sure to choose non-toxic paint, especially if kids will be around.
- Foam brush: Great for a smooth painting application, and easy to use. If you don’t have one, a regular paintbrush will do just fine!
- Black construction paper: Perfect for creating the spooky faces of your ghosts. Feel free to get creative with other colors for fun variations!
- Scissors: Essential for cutting out those ghostly features. Make sure you have a good pair that cuts cleanly!
- Glue or Mod Podge: This will help secure the tissue paper and features in place. Mod Podge also gives a nice finish to your project.
For more detailed measurements, you can check at the end of this article. Happy crafting!
How to Make DIY Glow-in-the-Dark Ghost Jars
Step 1: Prepare Your Jars
To start your spooky project, clean your glass jars thoroughly. Wash them with warm, soapy water to remove any labels or residue. After rinsing, let them air dry completely. You want a spotless surface for the paint to adhere to. The clearer the jars are, the better the glow will show once night falls. Trust me; this step makes all the difference in the final look!
Step 2: Apply Glow-in-the-Dark Paint
Now for the fun part! Take your foam brush and dip it into the glow-in-the-dark paint. Applying the paint outside or in a well-ventilated area is a good idea. Carefully coat the outside of each jar, ensuring even coverage. I recommend using 2–3 coats for a brighter glow; just let each coat dry fully before adding the next. This step is where that magical glow begins to take shape!
Step 3: Wrap with Tissue Paper or Gauze
Once your jars are totally dry, it’s time to wrap them up! Take your white tissue paper or gauze and cut pieces that fit around the jars. Gently wrap the material around each jar, overlapping the edges slightly. Use glue or Mod Podge to secure the ends down, giving it a snug fit. This wrapping not only adds a haunting touch but also diffuses the glow beautifully. Get creative with your wrapping for added texture!
Step 4: Create Ghost Faces
Next, it’s time to bring your ghostly creations to life! Take your black construction paper and cut out spooky eyes and a mischievous mouth. Let your imagination run wild with different expressions! Once you have your pieces cut, stick them onto the tissue-wrapped jars. The contrast of the black against the white adds a perfect touch of eeriness. Remember, personality is everything in the world of ghostly ghouls!
Step 5: Charge and Display Your Ghost Jars
Finally, let’s watch that glow come to life! Place your finished ghost jars under a bright light for at least a few minutes. This charges the glow-in-the-dark paint. Once charged, turn off the lights and enjoy the spectral sight! Position your jars on porches, mantles, or window sills for a bewitching Halloween display that will captivate everyone who walks by. Happy haunting!
Tips for Success
- Make sure your jars are completely dry before wrapping with tissue paper.
- Use a well-ventilated area when applying glow-in-the-dark paint.
- Experiment with different types of fabric for unique spooky effects.
- Don’t rush the painting process; let each coat thoroughly dry for a better glow.
- Involve your kids in creating ghost faces for added fun!
Equipment Needed
- Foam brush: Perfect for smooth application. A regular paintbrush works too!
- Scissors: Essential for cutting shapes. Make sure they’re sharp for clean edges.
- Glue or Mod Podge: For securing the tissue paper. White school glue is a great alternative!
- Light source: Any bright light will do for charging your jars. A sunny spot works wonders!
Variations for DIY Glow-in-the-Dark Ghost Jars
- Colorful Glow Paint: Instead of just green glow paint, try using purple or blue for a fun twist! Each color creates a different mood.
- Faux Spider Webs: Add some creepy textures by draping faux spider webs around your jars for an extra spooky touch.
- Witch’s Brew Jars: Incorporate glow-in-the-dark glitter into your paint for a magical sparkle effect that enchants as it glows!
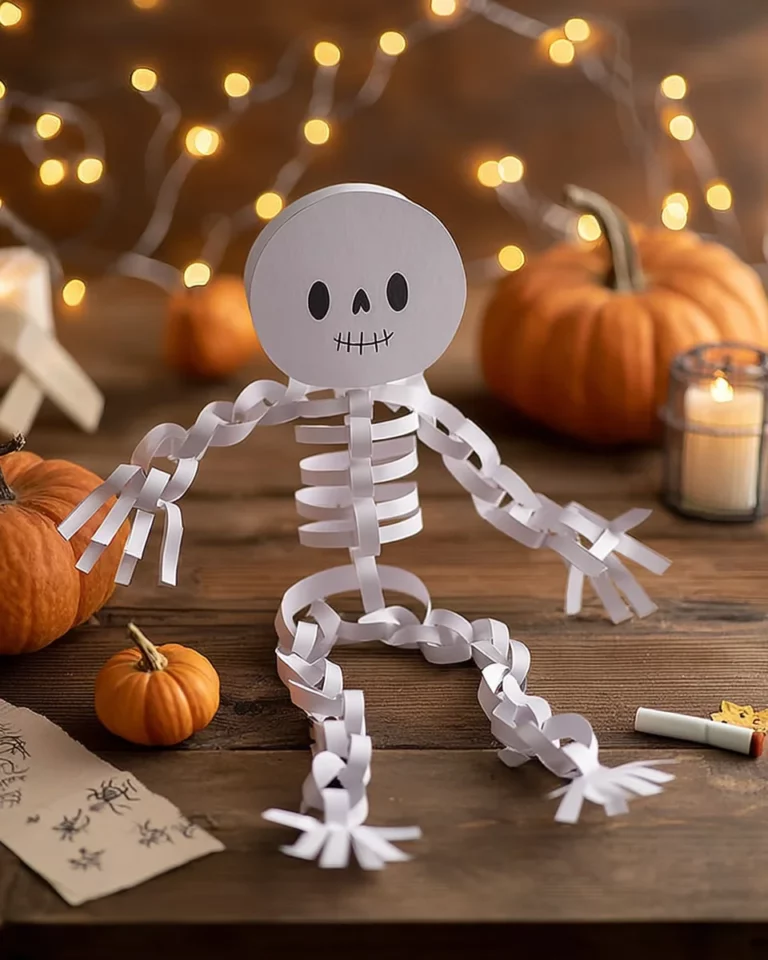
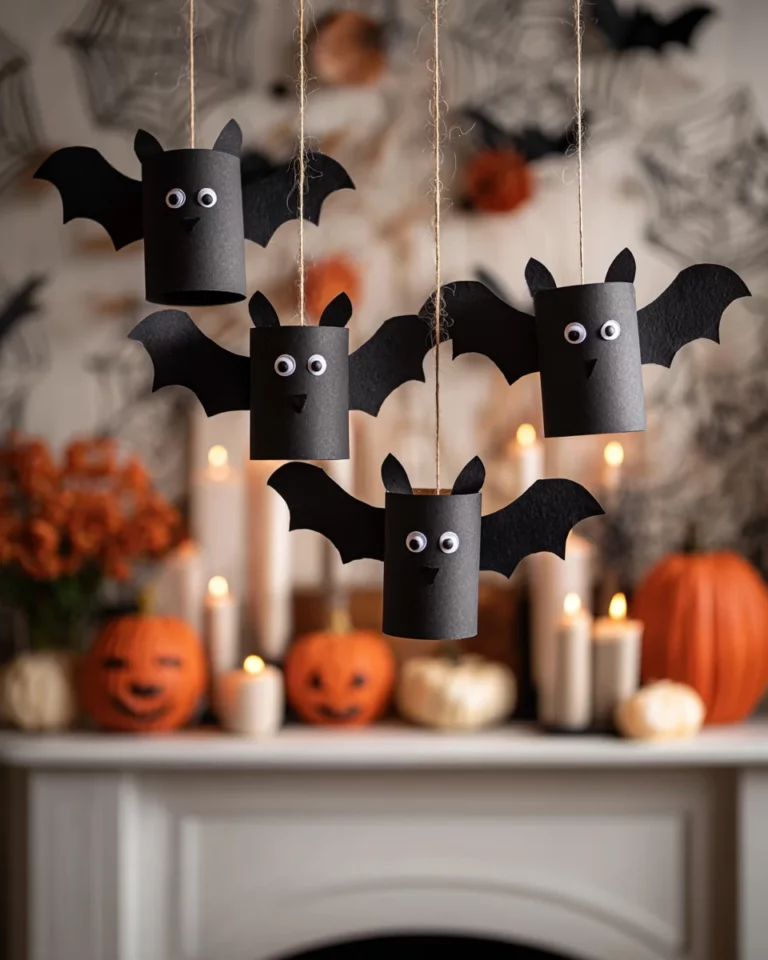
- Seasonal Themes: Along with ghosts, create shapes like pumpkins and bats using colored paper to switch up the theme for Halloween.
- Additional Accents: Stick on some small plastic spiders or glittery stars for extra decoration that really pops against the glow.
- Glow-in-the-Dark Stickers: Use small glow-in-the-dark stickers as accents on your jars for easy and creative facial features.
Serving Suggestions for Your Ghost Jars
- Use your glow-in-the-dark ghost jars as centerpieces on your Halloween dinner table to create an enchanting atmosphere.
- Position them along pathways or driveways to welcome trick-or-treaters with whimsical lights and festive cheer.
- Display them on windowsills or mantels for a hauntingly beautiful glow that delights from inside and out.
- Combine jars with other Halloween decorations for a vibrant display that stirs the spirit of the season.
FAQs about DIY Glow-in-the-Dark Ghost Jars
Can I use any type of glass jar for this project?
Absolutely! Any empty glass jar will work wonderfully for your DIY Glow-in-the-Dark Ghost Jars. Old sauce or jam jars are perfect, and the clearer the glass, the better the glow!
Is the glow-in-the-dark paint safe for kids?
Yes, just make sure to choose a non-toxic glow-in-the-dark paint. It’s a smart choice, especially if kids will be involved in the crafting process or if the jars are to be placed in children’s rooms.
How long does the glow last after charging?
The glow-in-the-dark effect can last for several hours, but its intensity will dim over time. Placing your jars under a bright light before use will help recharge their glow effect.
Can I customize the ghost faces?
Of course! Feel free to create any expressions you’d like with your black construction paper. Use different shapes and sizes for eyes and mouths to make each ghost unique and personalized.
How can I clean and store my ghost jars after Halloween?
Gently wipe them with a damp cloth, avoiding soaking. Store them in a cool, dry place wrapped in tissue paper to keep them safe until next Halloween or for future crafting sessions!
Final Thoughts about DIY Glow-in-the-Dark Ghost Jars
Creating DIY Glow-in-the-Dark Ghost Jars is more than just a fun craft; it’s an opportunity to make cherished memories with your family. As parents or busy professionals, we often juggle countless tasks. However, taking a little time to create these spooky decorations can be incredibly rewarding. It sparks joy, laughter, and creativity in our homes. Plus, seeing those glowing jars flicker in the dark brings a delightful sense of Halloween magic. So gather your loved ones, unleash your creativity, and relish in the eerie charm of your ghostly creations! Happy haunting, everyone!
Print
DIY Glow-in-the-Dark Ghost Jars for Spooky Halloween Fun!
- Total Time: 15 minutes plus drying time
- Yield: As many jars as desired
- Diet: Vegetarian
Description
Create spooky and magical glow-in-the-dark ghost jars for Halloween.
Ingredients
- Empty glass jars
- White tissue paper or gauze
- Glow-in-the-dark paint (or glow spray)
- Foam brush
- Black construction paper (for ghost faces)
- Scissors
- Glue or Mod Podge
Instructions
- Clean and dry your jars.
- Brush the outside with glow-in-the-dark paint and let it dry. Add 2–3 coats for extra glow.
- Wrap white tissue paper or gauze around the jar and glue it down.
- Cut out ghost eyes and a mouth from black paper and stick them on.
- Place your jar under a bright light for a few minutes — then turn off the lights and watch your spooky ghost glow!
Notes
- Ensure the jars are completely dry before wrapping them with tissue paper.
- Use non-toxic glow paint for safety, especially if using in children’s rooms.
- Experiment with different face designs to personalize your ghosts.
- Prep Time: 15 minutes
- Cook Time: None
- Category: Craft
- Method: DIY
- Cuisine: N/A
Nutrition
- Serving Size: N/A
- Calories: N/A
- Sugar: N/A
- Sodium: N/A
- Fat: N/A
- Saturated Fat: N/A
- Unsaturated Fat: N/A
- Trans Fat: N/A
- Carbohydrates: N/A
- Fiber: N/A
- Protein: N/A
- Cholesterol: N/A