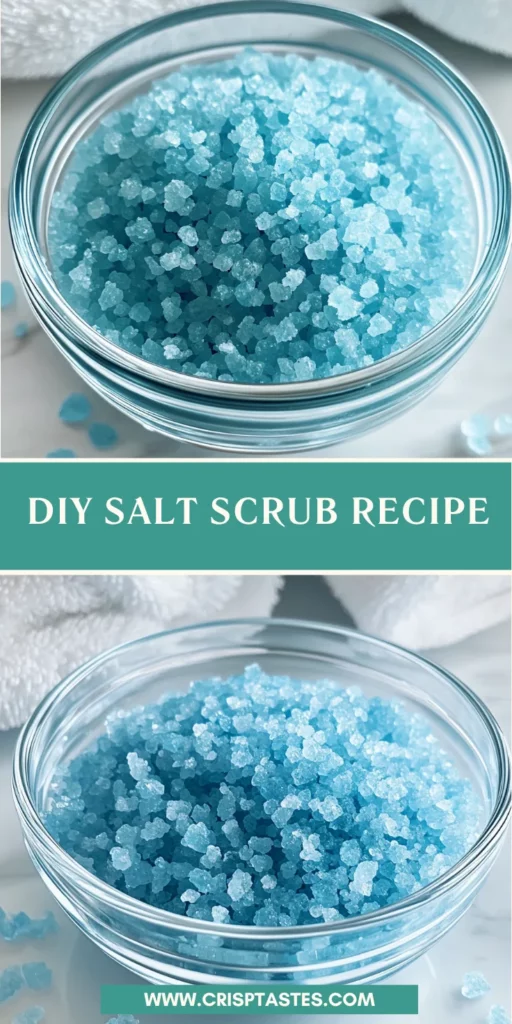
DIY Salt Scrub Recipe: Unlock Radiant, Smooth Skin!

Introduction to DIY Salt Scrub Recipe
As a busy mom, I understand how life can leave us feeling a little rough around the edges. That’s where this delightful DIY Salt Scrub Recipe comes into play! It’s not just an ordinary scrub; it’s my little oasis in a jar. Imagine pampering yourself with radiant, smooth skin without spending a fortune on spa treatments. This recipe is a quick and easy solution for those hectic days when you still want to feel rejuvenated. Plus, it makes for a thoughtful gift for friends and family, showing you care enough to share some self-love!
Why You’ll Love This DIY Salt Scrub Recipe
This DIY Salt Scrub Recipe is not only easy to whip up, but it’s also incredibly fast. In just 10 minutes, you’ll have a luxurious treat ready to enjoy! Plus, the natural ingredients mean you can feel good about what you’re applying to your skin. It’s an act of self-care that can easily fit into your busy schedule, making every shower a mini spa experience. Who wouldn’t love that?
Ingredients for DIY Salt Scrub Recipe
Gathering the right ingredients is half the fun, and trust me, you’ll love the natural flavors this DIY Salt Scrub Recipe brings to your skincare routine. Here’s what you’ll need:
- Fine Grain Salt: Choose from options like Pink Himalayan, Pacific, Dead Sea, or Epsom salt. These salts exfoliate while providing essential minerals, leaving your skin refreshed and invigorated.
- Fractionated Coconut Oil: This light oil helps to moisturize without clogging pores. Its smooth texture allows the scrub to glide effortlessly over your skin.
- Shea Butter: Rich in vitamins and fatty acids, shea butter deeply hydrates the skin, reducing dryness and promoting a soft, supple feel.
- Olivem 1000: An emulsifier that binds oil and water, ensuring an even distribution of ingredients. It also helps to improve the texture of the scrub.
- Blue Spirulina Powder: Not just a pretty color, this superfood is packed with antioxidants, promoting healthy skin while giving your scrub a wonderful hue.
- Lemon Essential Oil: This uplifting oil brings a bright citrus scent and skin-brightening properties. It’s like a little sunshine in each scoop!
- Lime Essential Oil: Adding a zesty twist, lime oil enhances the scrub’s scent while offering its own refreshing benefits for the skin.
- Spearmint Essential Oil: This oil adds a cooling sensation, making your shower feel extra invigorating and refreshing!
- Blue Cypress Essential Oil: A unique touch, it balances the blend while providing a luxurious aroma that promotes relaxation.
Remember, the specific quantities of these delightful ingredients can be found at the bottom of the article, ready for printing. Let’s get ready to pamper ourselves!

How to Make DIY Salt Scrub Recipe
Making your own DIY Salt Scrub Recipe is not just a rewarding experience; it’s also as easy as pie! Follow these simple steps to unlock a little bliss in your self-care routine.
Step 1: Prepare the Salt
Begin by addressing the salt. If you prefer a gentler exfoliation, consider processing the salt slightly in a food processor or blender. Just pulse it a couple of times to achieve a finer texture. But be careful! You may create a dust cloud when you open the lid. A smooth scrub feels luxurious on the skin, and your body will thank you for it!
Step 2: Melt the Shea Butter and Olivem 1000
Next, let’s melt the shea butter and Olivem 1000. Place them in a heat-proof measuring cup and set this into a warm water bath. This gentle melting method helps maintain their beneficial properties. Just be cautious; the tools might get hot! Always protect your hands to avoid burns. You don’t want to land in the emergency room instead of the spa!
Step 3: Combine the Oils and Spirulina
Once melted, add in the fractionated coconut oil, essential oils, and blue spirulina powder. Stir everything together to achieve a consistent blend. This step is key as even distribution ensures that each scoop of your scrub is perfect. The last thing you want is a patchy scrub experience—who wants just the salt without the delightful oils?
Step 4: Mix the Salt with the Oil Base
Now, it’s time to incorporate the salt! Pour the previously mixed oil base over the prepared sea salt in a large mixing bowl. Whisk everything together until well combined. This is where the magic truly happens! You’ll notice the salt absorbing the scents while bonding with the oils. It’s a therapeutic process that adds a lovely aroma to your home.
Step 5: Transfer and Store
Finally, it’s time to store your creation. Using a funnel, fill your airtight jar or storage container with the scrub. Make sure it’s sealed tight to keep it fresh for longer. Store it in a cool, dry place, away from humidity. If you follow these tips, your DIY Salt Scrub Recipe will remain as lovely as the day you made it, ready to pamper you whenever you need it!
Tips for Success
- Always do a patch test on your skin first to ensure no allergic reaction.
- Keep your mixing bowl and utensils dry to prevent clumping in the scrub.
- Feel free to tweak essential oil amounts for your preferred scent strength.
- Store the scrub away from direct sunlight to maintain its quality.
- Using a clean spoon, scoop out the scrub to prevent contamination.
Equipment Needed
- Mixing Bowl: A medium-sized bowl is perfect. You can use any large container if it’s handy!
- Heat-Proof Measuring Cup: A glass measuring cup works wonders. Just avoid plastic, as it may warp.
- Whisk: A simple whisk or fork is enough to blend everything together.
- Food Processor or Blender: For finer salt, but don’t stress if you don’t have one—manual grinding works too!
- Airtight Jar: Any reusable jar will keep your scrub fresh. Don’t forget to clean it first!
Variations
- Herbal Infusion: Add dried herbs like lavender or chamomile for an added aroma and soothing properties.
- Colorful Aesthetic: Experiment with different spirulina colors or even beetroot powder for a vibrant scrub that might just brighten your bathroom décor!
- Citrus Zest: Incorporate freshly grated lemon or orange zest for an extra zing and refreshing scent in your scrub.
- For Sensitive Skin: Substitute regular salt with finely ground oats for a gentler, soothing exfoliation experience.
- Shea Butter Alternative: If you don’t have shea butter, try cocoa butter or mango butter to experience different moisturizing benefits.
Serving Suggestions
- Pair your scrub with a soft washcloth for a more luxurious experience in the shower.
- Consider adding a homemade bath tea bag filled with herbs to enhance relaxation while you exfoliate.
- A soothing herbal tea can complement your at-home spa day wonderfully.
- Present the scrub as a gift in a decorated jar for a personal touch!
FAQs about DIY Salt Scrub Recipe
As you embark on your DIY Salt Scrub Recipe journey, you may have a few questions along the way. I’m right there with you, ready to help clear things up! Here are some of the most common inquiries I hear:
Can I use different types of salt?
Absolutely! You can experiment with various salts like Pink Himalayan, Epsom, or Dead Sea salt. Each type offers unique mineral benefits for your skin while providing that gentle exfoliation we love.
How often should I use this scrub?
I recommend using your DIY Salt Scrub 1-2 times a week. This frequency keeps your skin smooth and radiant while avoiding over-exfoliation, which can irritate your skin.
Can I substitute essential oils in this recipe?
Sure thing! You can tailor the essential oils to your preferences. Lavender or peppermint are fantastic alternatives that provides soothing properties or a calming scent. Just ensure they’re skin-safe!
How should I store my salt scrub?
Store your scrub in an airtight jar in a cool, dry place. Keeping it sealed tight prevents moisture from compromising its freshness, so it lasts longer!
Is this scrub suitable for all skin types?
This salt scrub is generally safe for most skin types. However, if you have sensitive skin or conditions like eczema, it’s best to do a patch test first. It’s always better to be cautious when trying something new!
Final Thoughts
Making this DIY Salt Scrub Recipe is more than just mixing ingredients; it’s a joyful journey toward self-care. I love how each scrub transforms a regular shower into a pampering ritual. The natural scents and soothing textures invite me to slow down, breathe deeply, and appreciate those precious moments of quiet. Whether you’re treating yourself or giving this scrub as a heartfelt gift, it brings the joy of relaxation and radiant skin. Embrace this little luxury, and let your worries wash away. You truly deserve it!
Print
DIY Salt Scrub Recipe
- Total Time: 10 minutes
- Yield: Approximately 1 jar (about 250 g) 1x
- Diet: Vegan
Description
A simple and effective DIY salt scrub recipe that helps unlock radiant, smooth skin.
Ingredients
- 1/2 cup / 180 g / 6.3 oz fine grain salt (e.g. Pink Himalayan, Pacific, Dead Sea salt or Epsom salt)
- 4 tbsp / 50 g / 1.7 oz fractionated coconut oil
- 2 tbsp / 30 g / 1 oz shea butter
- 3 tbsp / 15 g / 0.5 oz Olivem 1000
- 1/2 tsp blue spirulina powder
- 24 drops lemon essential oil (steam distilled)
- 15 drops lime essential oil (steam distilled)
- 10 drops spearmint essential oil
- 10 drops blue cypress essential oil
Instructions
- Optionally, place the salt in a food processor or blender and pulse a couple of times. Extra fine salt is gentler on the skin. Beware of the dust cloud when opening the food processor.
- Put the shea butter and Olivem 1000 in a heat-proof measuring cup and melt in a warm water bath until liquid. Protect your hands when handling hot tools.
- Add the fractionated coconut oil, essential oils and spirulina powder. Mix until well-combined.
- Fill the sea salt into a large mixing bowl. Pour the oil base over the salt and whisk until well combined.
- Transfer the salt scrub recipe into an airtight jar or storage container.
Notes
- Store the scrub in a cool, dry place for long-lasting use.
- Test a small amount on your skin before full application to ensure no allergic reactions.
- Use this scrub 1-2 times a week for best results.
- Prep Time: 10 minutes
- Cook Time: 0 minutes
- Category: Skincare
- Method: Mixing
- Cuisine: N/A
Nutrition
- Serving Size: 1 tablespoon
- Calories: 60
- Sugar: 0 g
- Sodium: 0 g
- Fat: 7 g
- Saturated Fat: 6 g
- Unsaturated Fat: 1 g
- Trans Fat: 0 g
- Carbohydrates: 0 g
- Fiber: 0 g
- Protein: 0 g
- Cholesterol: 0 mg