Easter Dirt Cups: A Fun Treat for the Holiday!
Introduction to Easter Dirt Cups
As the vibrant colors of spring bloom around us, it’s time to whip up something special for Easter! I can’t think of a more delightful treat than Easter Dirt Cups. These fun, whimsical desserts are not only a hit with kids but also bring a smile to adults. They’re a quick solution for busy days, requiring minimal effort yet delivering maximum joy. Plus, they’re perfect for impressing your loved ones at holiday gatherings. So, let’s dive into this easy recipe that will make your Easter celebrations even sweeter!
Why You’ll Love This Easter Dirt Cups
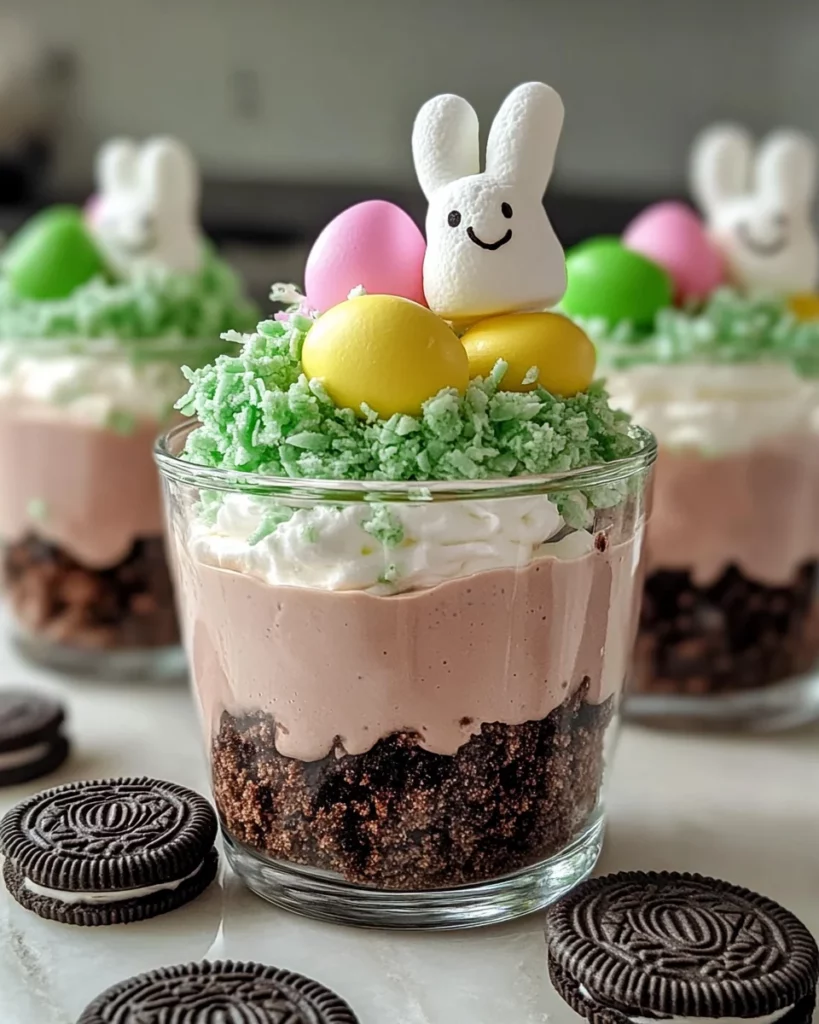
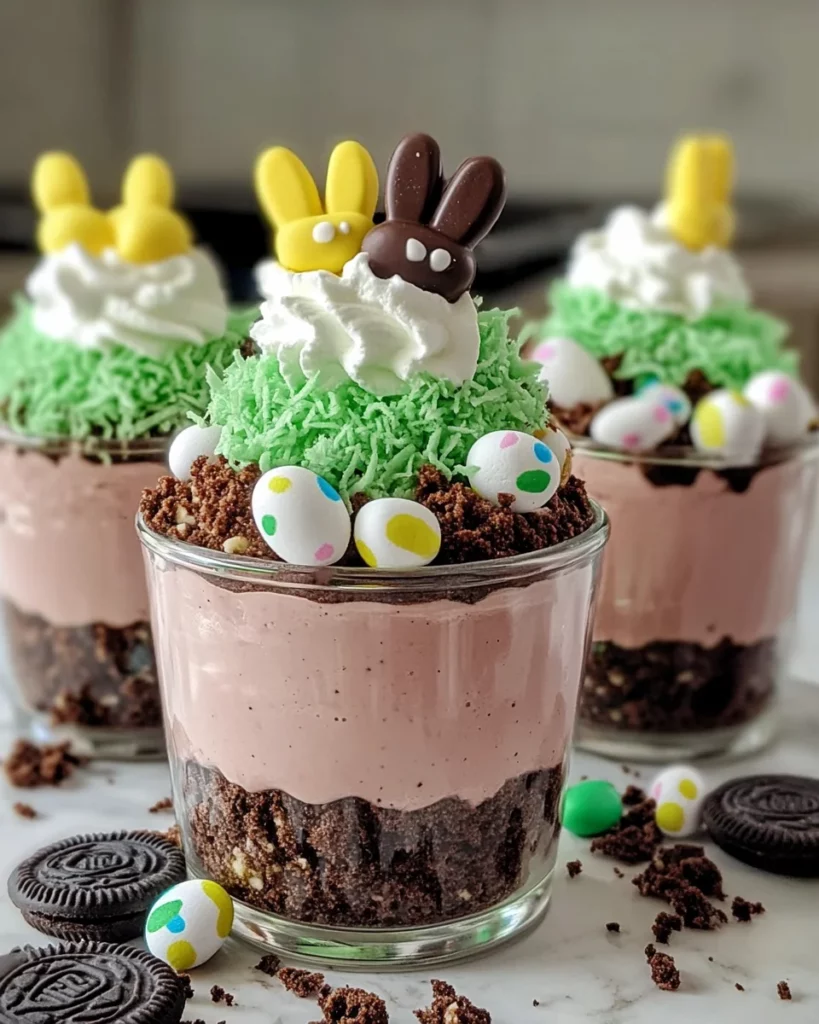
These Easter Dirt Cups are a dream come true for busy moms and professionals alike. They come together in just 15 minutes, making them a breeze to prepare. The rich chocolate pudding paired with crunchy cookie layers creates a delightful texture that’s hard to resist. Plus, the colorful gummy worms and candy eggs add a festive touch, making them a fun treat that everyone will adore. What’s not to love?
Ingredients for Easter Dirt Cups
Gathering the right ingredients is the first step to creating these delightful Easter Dirt Cups. Here’s what you’ll need:
- Chocolate instant pudding mix: This is the star of the show, providing that rich, creamy chocolate flavor.
- Milk: Essential for mixing with the pudding to achieve a smooth consistency. You can use any type of milk you prefer, including almond or oat milk for a dairy-free option.
- Whipped topping: This adds a light, fluffy texture to the pudding. You can use store-bought or make your own for a fresher taste.
- Chocolate sandwich cookies: Crushed to create the “dirt” layer. Feel free to swap these for gluten-free cookies if needed.
- Gummy worms and candy eggs: These fun decorations bring the Easter spirit to life! You can customize with your favorite candies or even use chocolate eggs for a richer flavor.
For exact measurements, check the bottom of the article where you can find everything listed for easy printing. Now that you have your ingredients ready, let’s get started on making these festive treats!
How to Make Easter Dirt Cups
Now that we have our ingredients ready, let’s dive into the fun part—making these delightful Easter Dirt Cups! Follow these simple steps, and you’ll have a festive dessert that’s sure to impress.
Step 1: Prepare the Pudding Mixture
Start by grabbing a mixing bowl. Whisk together the chocolate pudding mix and milk until it’s smooth and creamy. I love using a whisk for this; it really helps to break up any lumps. You want a velvety texture that’s just begging to be layered!
Step 2: Fold in the Whipped Topping
Next, gently fold in the whipped topping. Use a spatula to combine it with the pudding mixture. Be careful not to overmix; you want to keep that light, airy texture. This step is like giving your pudding a fluffy cloud of happiness!
Step 3: Layer the Ingredients
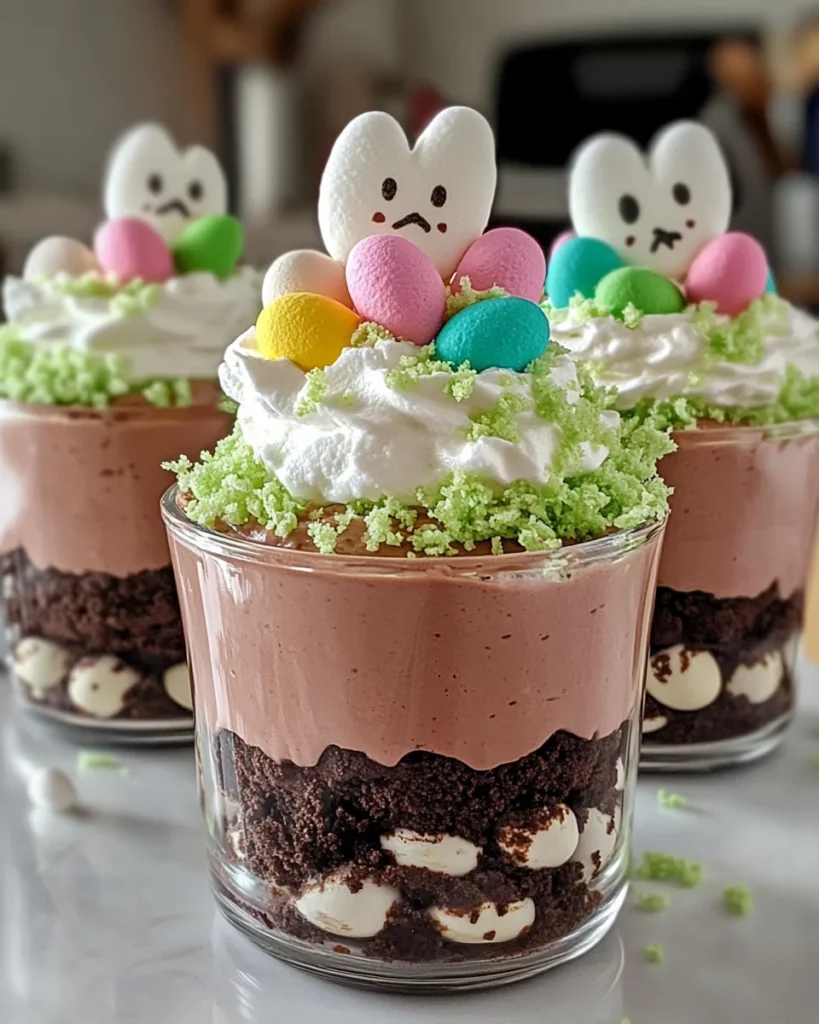
Now, it’s time to layer! Grab your clear cups or bowls and start with a layer of crushed cookies at the bottom. This will create the “dirt” layer. It’s like building a little garden of sweetness. Then, add a generous layer of the chocolate pudding mixture on top.
Step 4: Repeat the Layers
Continue layering until your cups are filled to the brim. I usually do two or three layers, depending on the size of my cups. Finish with a layer of crushed cookies on top. It’s like putting the finishing touch on a masterpiece!
Step 5: Add the Fun Toppings
Now for the best part—decorating! Sprinkle some crushed cookies on top and add gummy worms and candy eggs. This is where you can get creative! Let your imagination run wild. It’s all about making these cups look as fun as they taste.
Step 6: Chill Before Serving
Finally, pop your Easter Dirt Cups in the refrigerator for at least 30 minutes. Chilling helps the flavors meld together and gives the pudding a chance to set. Plus, it’s a great way to build anticipation for this delicious treat!
Tips for Success
- Use a whisk for smooth pudding; it makes a world of difference!
- Don’t rush the chilling time; it enhances the flavors and texture.
- Customize your layers with different candies for a unique twist.
- Make these cups a day ahead to save time on Easter morning.
- For a fun presentation, use clear cups to showcase the layers!
Equipment Needed
- Mixing bowl: A medium-sized bowl works best, but any bowl will do.
- Whisk: Essential for mixing the pudding; a fork can work in a pinch.
- Spatula: Perfect for folding in the whipped topping; a large spoon can substitute.
- Clear cups or bowls: Ideal for layering; mason jars or dessert glasses are great alternatives.
Variations of Easter Dirt Cups
- Fruit Layer: Add a layer of fresh strawberries or raspberries for a fruity twist. It adds a pop of color and flavor!
- Peanut Butter Delight: Mix in some creamy peanut butter with the pudding for a rich, nutty flavor that pairs beautifully with chocolate.
- Vegan Option: Use plant-based pudding mix and coconut whipped cream to create a vegan-friendly version of these Easter Dirt Cups.
- Chocolate Mint: Add a few drops of peppermint extract to the pudding for a refreshing minty flavor that’s perfect for spring.
- Cookie Variations: Swap out chocolate sandwich cookies for vanilla or even graham crackers for a different taste and texture.
Serving Suggestions for Easter Dirt Cups
- Pair with fresh fruit like strawberries or blueberries for a refreshing contrast.
- Serve alongside a light spring salad to balance the sweetness.
- Offer a selection of colorful drinks, like lemonade or iced tea, to complement the festive theme.
- For presentation, arrange the cups on a decorative platter with Easter-themed decorations.
FAQs about Easter Dirt Cups
As you prepare to make these delightful Easter Dirt Cups, you might have a few questions. Here are some common queries I’ve encountered, along with helpful answers to guide you through the process.
Can I make Easter Dirt Cups in advance?
Absolutely! These cups can be made a day ahead. Just keep them covered in the refrigerator. This not only saves time but also allows the flavors to meld beautifully.
What can I use instead of chocolate sandwich cookies?
If you’re looking for alternatives, graham crackers or vanilla cookies work well. For a gluten-free option, simply choose gluten-free chocolate cookies. The choice is yours!
How long do Easter Dirt Cups last in the fridge?
These treats can last up to three days in the refrigerator. Just make sure they’re covered to keep them fresh and delicious!
Can I customize the toppings?
Definitely! Feel free to get creative with your toppings. Use your favorite Easter candies, or even add some crushed nuts for a delightful crunch. The sky’s the limit!
Is there a way to make these cups healthier?
Sure! You can use low-fat pudding mix and whipped topping to reduce calories. Adding fresh fruit layers can also boost the nutritional value while keeping it fun!
Final Thoughts
Creating these Easter Dirt Cups is more than just whipping up a dessert; it’s about making memories with your loved ones. The joy on your kids’ faces as they dig into their “dirt” cups is priceless. Plus, the simplicity of this recipe means you can spend less time in the kitchen and more time enjoying the holiday festivities. Whether you’re hosting a family gathering or just looking for a fun treat, these cups are sure to bring smiles all around. So, roll up your sleeves and let the Easter magic unfold with this delightful dessert!
Print
Easter Dirt Cups
- Total Time: 30 minutes (plus chilling time)
- Yield: 4 servings 1x
- Diet: Vegetarian
Description
Easter Dirt Cups are a fun and festive dessert perfect for celebrating the holiday. They combine layers of chocolate pudding, crushed cookies, and gummy candies to create a delightful treat that resembles dirt.
Ingredients
- 1 package (3.9 oz) chocolate instant pudding mix
- 2 cups milk
- 1 package (8 oz) whipped topping, thawed
- 1 package (15 oz) chocolate sandwich cookies, crushed
- Gummy worms and candy eggs for decoration
Instructions
- In a mixing bowl, whisk together the chocolate pudding mix and milk until smooth.
- Fold in the whipped topping until well combined.
- In clear cups or bowls, layer the crushed cookies at the bottom.
- Add a layer of the chocolate pudding mixture on top of the cookies.
- Repeat the layers until the cups are filled, finishing with a layer of crushed cookies.
- Top with gummy worms and candy eggs for decoration.
- Chill in the refrigerator for at least 30 minutes before serving.
Notes
- For a gluten-free version, use gluten-free chocolate sandwich cookies.
- Feel free to customize the toppings with your favorite Easter candies.
- These can be made a day in advance for convenience.
- Prep Time: 15 minutes
- Cook Time: 0 minutes
- Category: Dessert
- Method: No-bake
- Cuisine: American
Nutrition
- Serving Size: 1 cup
- Calories: 250
- Sugar: 20g
- Sodium: 150mg
- Fat: 10g
- Saturated Fat: 5g
- Unsaturated Fat: 3g
- Trans Fat: 0g
- Carbohydrates: 35g
- Fiber: 1g
- Protein: 3g
- Cholesterol: 15mg

