Easy DIY Bioplastic Suncatchers: Create Colorful Crafts Today!

Introduction to Easy DIY Bioplastic Suncatchers
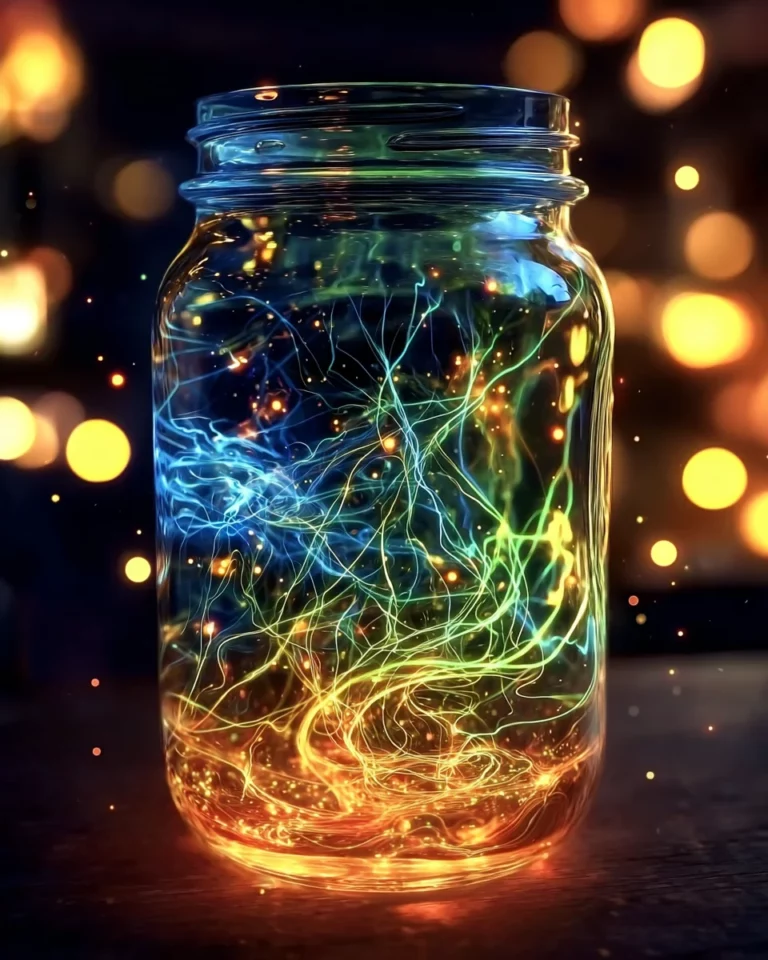
Hey there, fellow craft enthusiasts! If you’re looking for a delightful way to brighten up your windows, you’re in for a treat with these easy DIY bioplastic suncatchers. Picture colorful, shimmering decorations dancing in the sunlight, bringing joy to your home. This project is not just fun; it’s a great way to engage your kids, spark creativity, and make something beautiful together. Whether you’re a busy mom trying to fill a rainy afternoon or a professional looking to unwind after a hectic day, these suncatchers are the perfect solution—quick, easy, and oh-so-satisfying!
Why You’ll Love This Easy DIY Bioplastic Suncatchers
These easy DIY bioplastic suncatchers are not just a fun project; they’re a breeze to create! In only a few short steps, you can turn simple ingredients into vibrant art. The kids will love experimenting with colors and decorations. Plus, making them is a guilt-free way to contribute to our planet, ensuring that your creative outlet is also eco-friendly—what’s not to love?
Ingredients for Easy DIY Bioplastic Suncatchers
Gathering the right ingredients is the key to creating your colorful masterpieces! Here’s what you’ll need:
- Water: The foundation of our bioplastic. Use fresh water to mix with the other ingredients for the perfect consistency.
- Cornstarch: This is your thickening agent, making sure our suncatchers hold their shape. It’s a pantry staple that’s both affordable and versatile!
- White vinegar: A surprising yet crucial player, it helps stabilize the mixture while also contributing to the eco-friendly nature of this project.
- Unflavored gelatin: This adds a delightful firmness to your suncatchers, ensuring they won’t droop or break easily.
- Natural or food-safe coloring: Here’s where the magic happens! You can find a variety of colors at your local craft store. Try different hues to create your dream design.
- Optional decorations: Get creative! Fine glitter, flower petals, or tissue paper can be added for an artistic touch. Each addition makes your suncatchers uniquely yours.
Want precise measurements? No problem! Find all the exact quantities at the bottom of the article, and feel free to print them for convenience.
How to Make Easy DIY Bioplastic Suncatchers
Creating your own easy DIY bioplastic suncatchers is a rewarding adventure! With just a few simple steps, you’ll transform basic ingredients into vibrant decorations that catch the sunlight beautifully. Let’s dive into the process!
Step 1: Prepare the Mixture
Start by measuring out your water, cornstarch, white vinegar, and unflavored gelatin. All these ingredients can go straight into your saucepan. Stir them together until you reach a smooth consistency. No lumps, please! If you find yourself staring at a clumpy mix, don’t panic; just whisk it a little longer. This step is crucial as it sets the foundation for your suncatchers, so take your time to mix well!
Step 2: Heat the Mixture
Once your mixture is ready, it’s time to heat things up! Place the saucepan over medium-low heat. Stir constantly, watching as the mixture thickens and becomes translucent. This process usually takes about 3 to 5 minutes. Remember, we don’t want it to boil vigorously. Keeping a close eye helps prevent any mishaps and ensures the perfect texture for your bioplastic.
Step 3: Add Colors
Now comes the fun part—adding colors! Divide the warm mixture into small bowls and stir in your chosen coloring. Whether you have natural dyes or food-safe colors, let your creativity shine. Mix until you achieve the vibrant shades you love. It’s your chance to play artist! Don’t be afraid to try new combinations or hues; the more adventurous, the better!
Step 4: Pour and Decorate
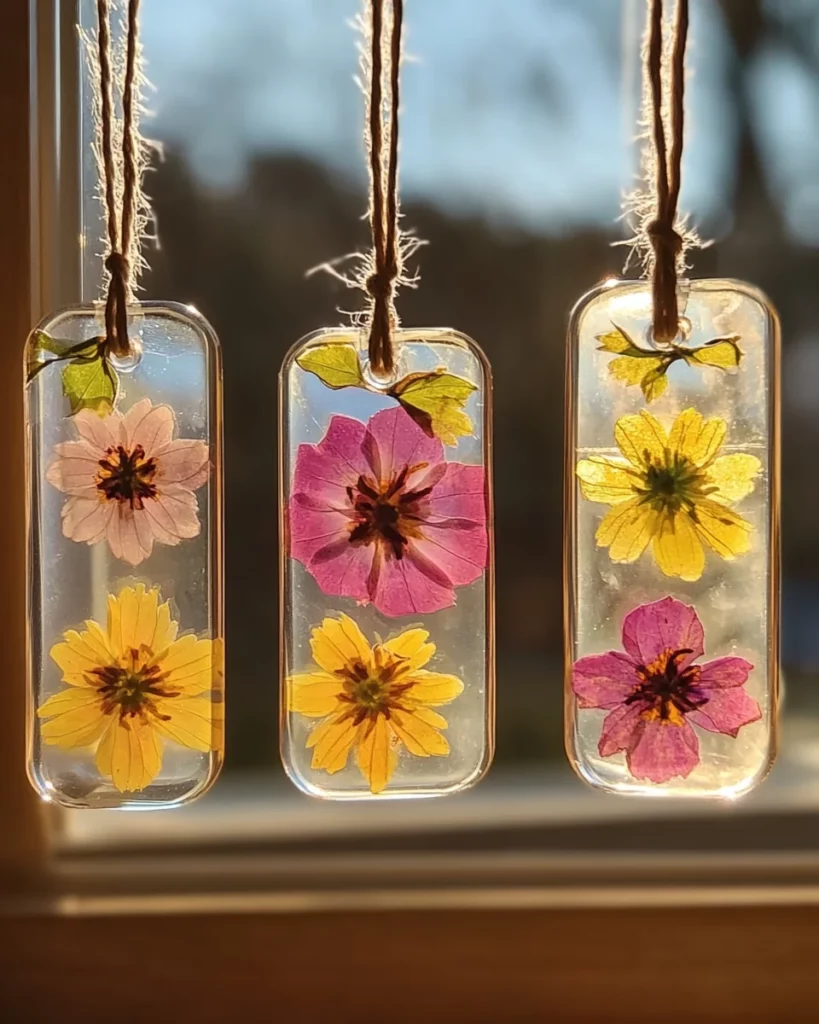
Gently pour thin layers of your colored mixture onto a non-stick surface. This can be parchment paper or a silicone mat—anything that prevents sticking. While the mixture is still wet, it’s time to sprinkle on your optional decorations. Think sparkles from fine glitter or delicate flower petals. Each suncatcher will tell a unique story, bursting with personality!
Step 5: Drying Process
Patience is key, my friends. Allow your lovely suncatchers to dry completely at room temperature for 24 to 48 hours. After about 12-24 hours, carefully peel them off and flip them over. This ensures they dry evenly and prevents any soggy areas. If you’re in a humid environment, consider using a fan to speed up the process—no one likes a sticky suncatcher!
Step 6: Finishing Touches
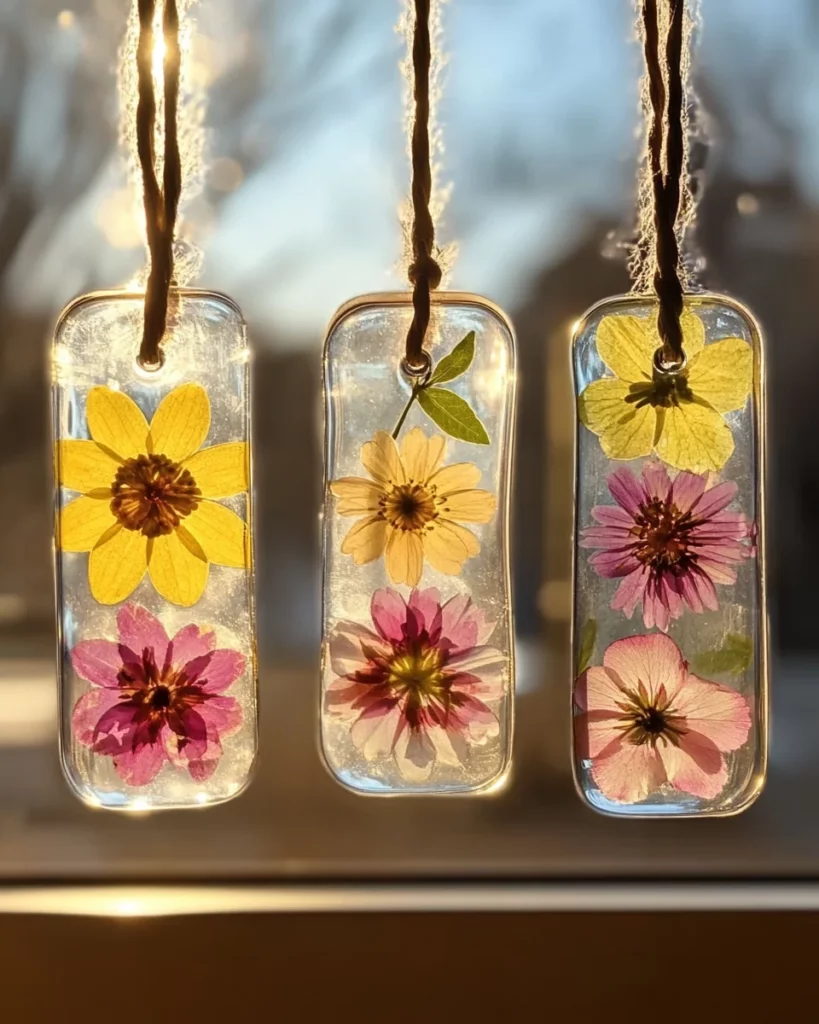
Once fully dry, it’s time to add the final touches. Grab a hole punch and create a hole near the top edge of each suncatcher. Next, thread some string or wire through the hole and tie a lovely loop for hanging. Voila! Your beautiful suncatchers are now ready to dance in the sunlight!
Tips for Success
- Always mix thoroughly to avoid lumps in your bioplastic mixture.
- Use a low heat setting to prevent burning or boiling over.
- Experiment with color ratios for vibrant, eye-catching designs.
- Add decorations right after pouring to ensure they stick well.
- Consider using a fan to speed up drying in humid conditions.
- Explore recycled materials for creative hanging options!
Equipment Needed
- saucepan: A medium-sized pot works well. A non-stick pan can help prevent sticking, too.
- spatula: Use a heat-resistant spatula for stirring. A wooden spoon can be a charming alternative.
- mixing bowls: Any bowls will do, but I recommend ones you don’t mind getting a bit colorful!
- hole punch: A standard hole punch creates perfect holes for hanging. If you don’t have one, a sharp knife can work in a pinch.
Variations on Easy DIY Bioplastic Suncatchers
- Natural Dyes: Experiment with beet juice for a deep red or turmeric for a sunny yellow. It’s a fun way to create art with kitchen ingredients!
- Herbal Infusions: Add a hint of your favorite herbs, like lavender or mint, to the mixture for a soothing scent while crafting.
- Layered Designs: Pour different colors in layers for a 3D effect. This adds depth and complexity to your suncatchers!
- Seasonal Themes: Try using festive colors for holidays. Think orange and black for Halloween or red and green for Christmas!
- Textured Surfaces: Use crushed leaves or thin fabric pieces to add texture, giving your suncatchers a unique tactile feel.
Serving Suggestions for Easy DIY Bioplastic Suncatchers
- Display them in sunny windows where they can catch the light beautifully.
- Pair with a matching seasonal wreath for festive decor.
- Use a colorful string to hang, creating a delightful mobile effect.
- Present them as charming gifts for friends or family members.
- Include them in outdoor playdates for added fun and creativity!
FAQs about Easy DIY Bioplastic Suncatchers
How long do the suncatchers last?
These easy DIY bioplastic suncatchers can last several months if stored properly. Keep them away from direct sunlight for extended periods to maintain their vibrant colors and integrity.
Can I make suncatchers with kids?
Absolutely! This project is perfect for kids. They’ll enjoy mixing colors and adding their own creative touches. Just be sure to supervise them during the heating process.
What can I do if my mixture is too thick?
If your mixture turns out too thick, simply add a touch more water and heat it gently while stirring until the desired consistency is achieved. It’s a quick fix!
Are these suncatchers safe for the environment?
Yes! These easy DIY bioplastic suncatchers are made from natural ingredients, making them eco-friendly. You can enjoy crafting while being kind to Mother Earth!
Can I use larger or smaller quantities of ingredients?
Definitely! Feel free to scale the recipe up or down depending on how many suncatchers you’d like to create. Just adjust the ingredient amounts proportionally to maintain the right consistency!
Final Thoughts
Creating easy DIY bioplastic suncatchers is truly a joyful experience that brings families together. It’s not just about crafting; it’s about sparking creativity and fostering meaningful moments with your loved ones. Each colorful piece will remind you of the laughter shared and the beauty made. You’ll feel a sense of pride every time the sunlight floods through them, illuminating your home with warmth and cheer. So gather your supplies, invite the kids, and spark some joy through art! Trust me, you’ll cherish these vibrant memories for years to come!
Print
Easy DIY Bioplastic Suncatchers
- Total Time: 24-48 hours (including drying time)
- Yield: Multiple suncatchers depending on size
- Diet: Vegan
Description
Create colorful and fun suncatchers using a simple DIY bioplastic method that is both engaging and eco-friendly.
Ingredients
- 0.5 cup water
- 2 tbsp cornstarch
- 1 tbsp white vinegar
- 1 tbsp unflavored gelatin
- Natural or food-safe coloring
- Optional decorations (fine glitter, flower petals, or tissue paper)
Instructions
- Measure out water, cornstarch, white vinegar, and unflavored gelatin directly into your saucepan. Stir until smooth and no clumps remain.
- Place the saucepan over medium-low heat and stir constantly for about 3 to 5 minutes until the mixture thickens and becomes translucent.
- Divide the warm mixture into small bowls and stir in your chosen coloring until you achieve the desired shade.
- Pour thin layers of your colored mixture onto a non-stick surface and add optional decorations while the mixture is wet.
- Let the suncatchers dry completely at room temperature for 24 to 48 hours.
- After about 12-24 hours, carefully peel them off and flip them to assist in the drying process.
- Once fully dry, use a hole punch to create a hole near the top edge of each suncatcher, thread string or wire through the hole, tie a loop, and hang your creations.
Notes
- Make sure the mixture does not boil vigorously.
- Experiment with different colors and decorations for unique designs.
- Drying times may vary based on thickness and humidity.
- Prep Time: 15 minutes
- Cook Time: 5 minutes
- Category: Crafts
- Method: DIY
- Cuisine: N/A
Nutrition
- Serving Size: N/A
- Calories: N/A
- Sugar: N/A
- Sodium: N/A
- Fat: N/A
- Saturated Fat: N/A
- Unsaturated Fat: N/A
- Trans Fat: N/A
- Carbohydrates: N/A
- Fiber: N/A
- Protein: N/A
- Cholesterol: N/A