Easy DIY Lava Lamp: Spark Joy with This Fun Project!
Introduction to Easy DIY Lava Lamp
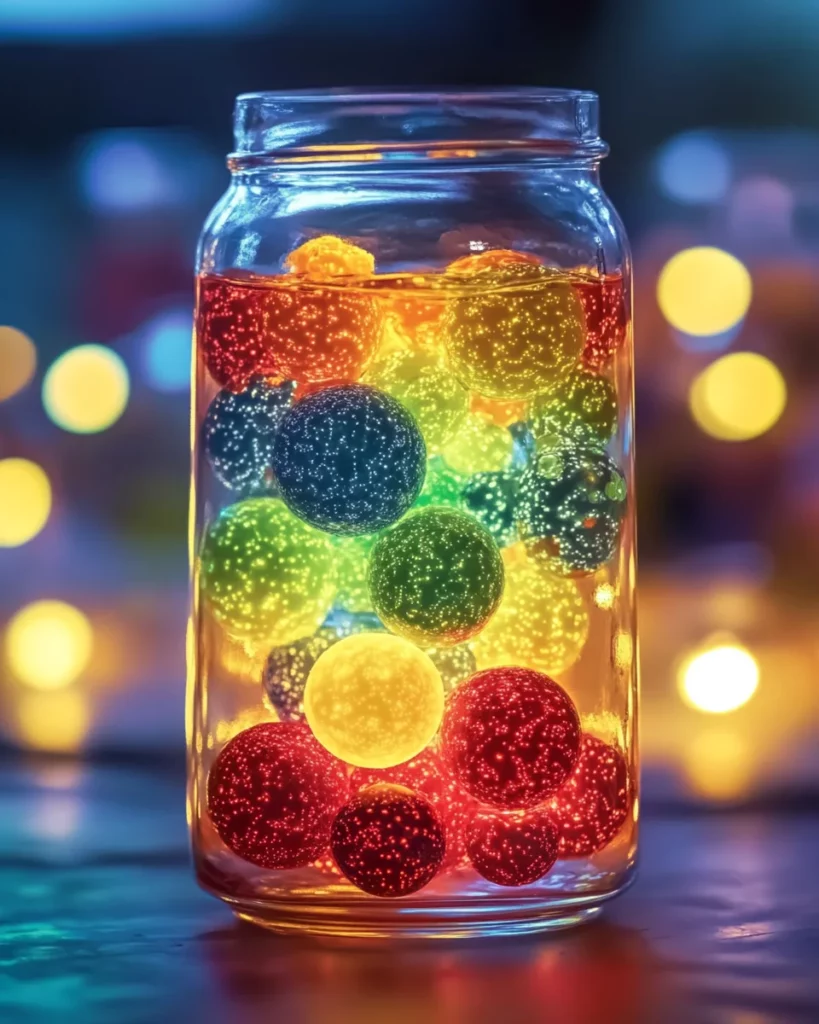
Hey there, fellow home cooks! Have you ever found yourself in need of a fun, quick project to add some sparkle to your day? Well, look no further! This easy DIY Lava Lamp is not only a delightful craft to make but also a fantastic way to engage your kids in some science magic right at home. Picture the joy on their faces as colorful bubbles dance and swirl in a mesmerizing show. It’s a simple solution that fits neatly into your busy lifestyle. Let’s create some enchanting moments together!
Why You’ll Love This Easy DIY Lava Lamp
This easy DIY Lava Lamp project is a win-win! It’s super quick, taking only about five minutes from start to finish. You’ll feel the satisfaction of creating something magical right at home, all while spending quality time with your kids. Plus, it’s a fantastic hands-on science experiment that sparks curiosity. You’ll love how it’s the perfect distraction from a busy day, while also providing endless fun!
Ingredients for Easy DIY Lava Lamp
Gather your supplies, and let the magic begin! Here’s what you’ll need for your easy DIY Lava Lamp:
- Clear Plastic Bottle or Glass Jar: This will be the stage for your mesmerizing show. Choose something transparent for the best effect.
- Water: Acts as the base for your lava lamp. It’s what the bubbly fun collapses and rises in.
- Vegetable Oil or Baby Oil: This is what creates the stunning separation from the water. Your choice of oil determines how dramatic the movement is!
- Food Coloring: Bring your lava lamp to life with vibrant colors. Use any shade that excites you—red, blue, or even a funky green!
- Alka-Seltzer Tablet: This magical ingredient creates the fizzing reaction, generating the iconic lava bubbles. Break it into pieces for optimal effects!
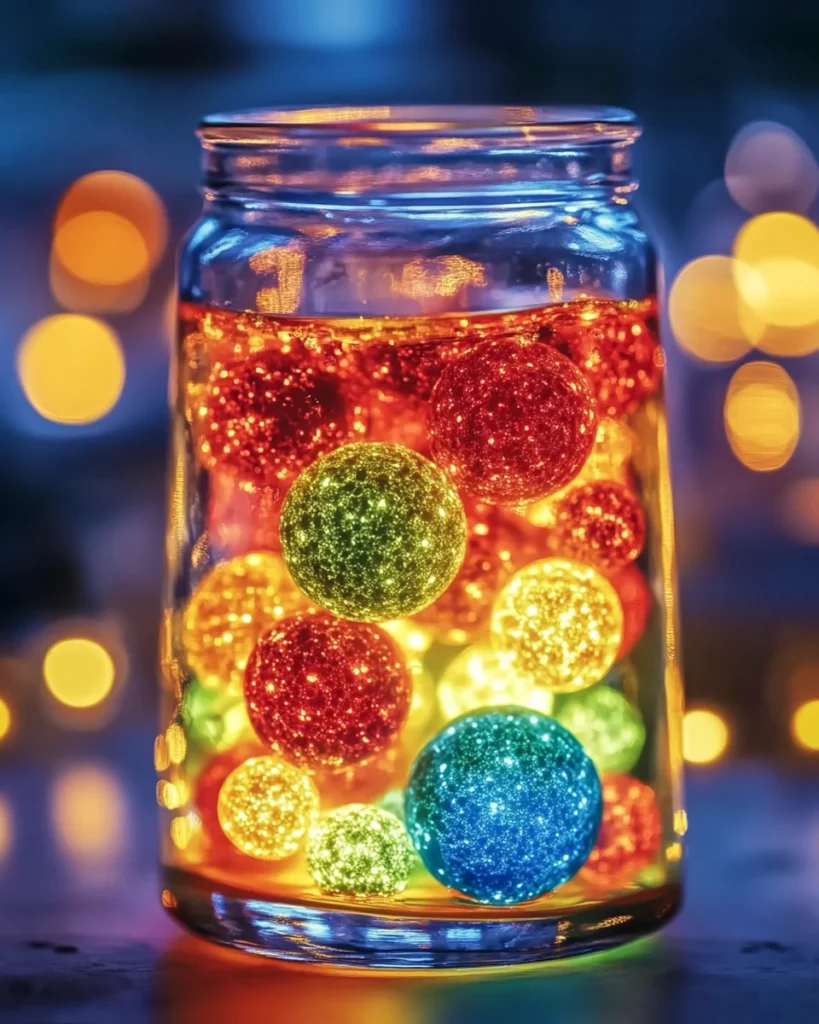
- Optional: Glitter or Small Glow Beads: Add sparkle or shine to your creation! These little extras make watching the lava lamp even more fun.
All the ingredient quantities you’re going to need are listed at the bottom of this article—feel free to print it out for easy reference. Now, let’s get sparkly!
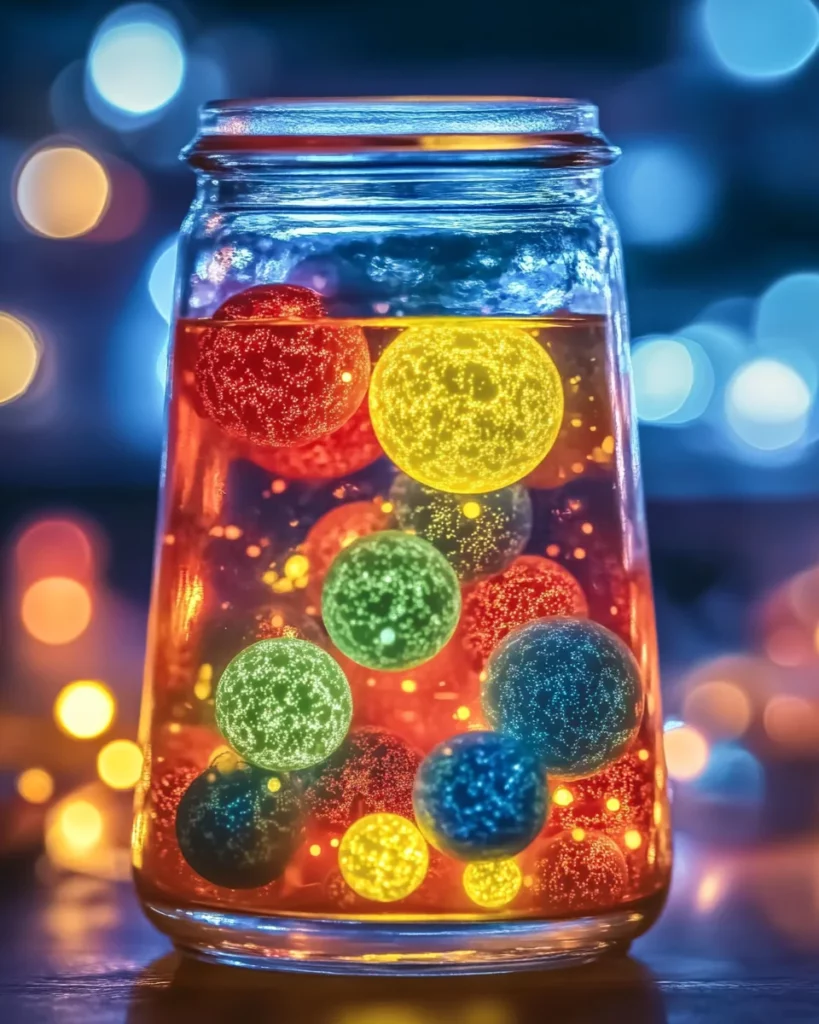
How to Make Easy DIY Lava Lamp
Time to bring your lava lamp to life! Follow these simple steps, and you’ll be mesmerized in no time. Let’s get started on this easy DIY project that will surely enchant both you and your kids!
Step 1: Prepare Your Container
Begin by selecting your clear plastic bottle or glass jar. Make sure it’s clean and dry to allow clear viewing. This is going to be the home for your bubbling masterpiece!
Step 2: Add Water
Carefully pour water into your container until it’s about one-quarter full. This will act as the base for your colorful concoction. Don’t stress about getting it perfect; a little variation adds character!
Step 3: Pour in the Oil
Now, gently pour in the vegetable or baby oil until the bottle is nearly full. Go slow and watch as the oil floats on top of the water. This separation is part of the magic!
Step 4: Add Food Coloring
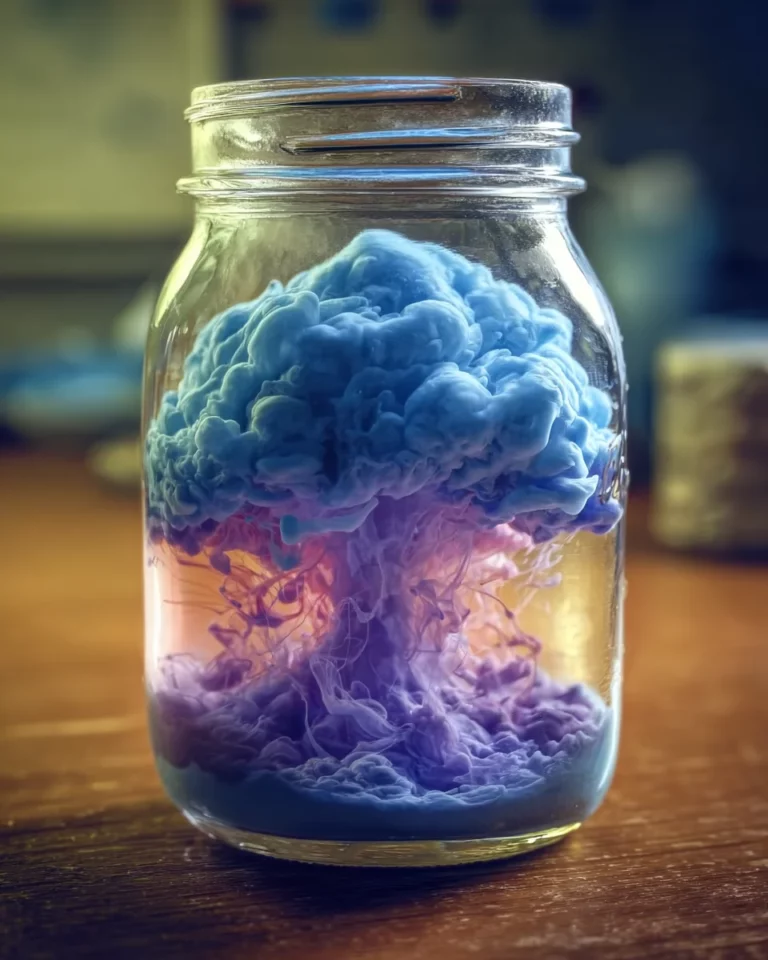
Here comes the fun part! Add ten drops of your chosen food coloring. Watch closely as it dances and swirls through the oil! It’s a delightful sight, isn’t it? It’s like adding a splash of excitement to your evening!
Step 5: Sparkle It Up (Optional)
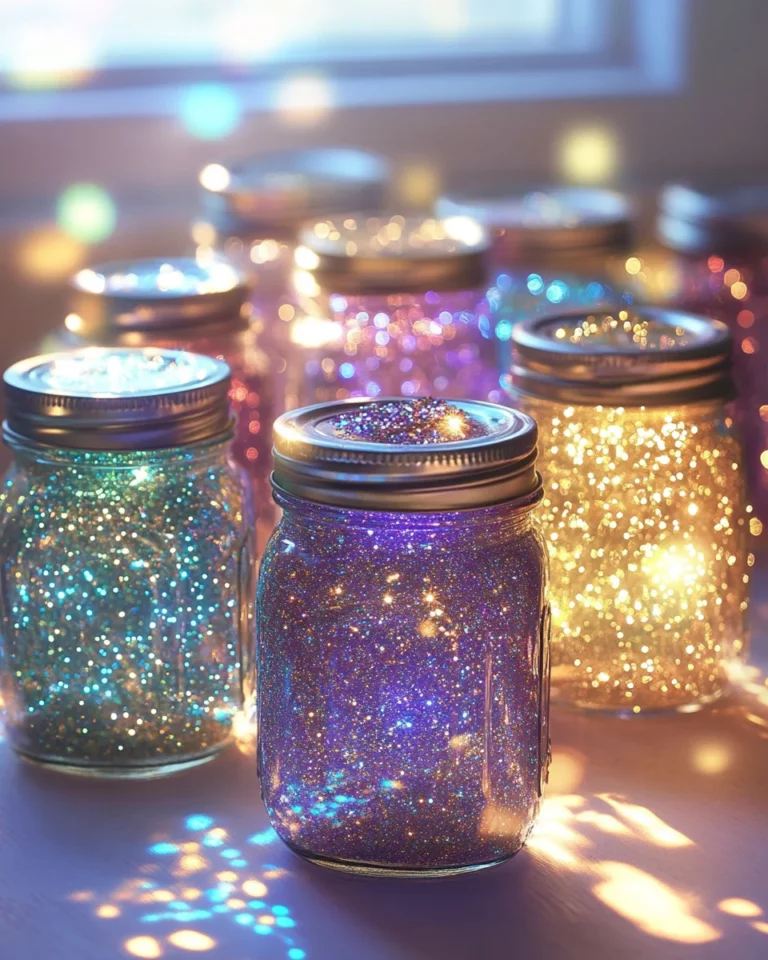
If you want to add a little extra pizzazz, sprinkle in some glitter or small glow beads. Just a pinch will do! This not only adds to the visual beauty but also makes watching the reaction even more captivating.
Step 6: Create the Lava Effect
Take an Alka-Seltzer tablet and break it into 2–3 pieces. Drop one piece into your sticky mixture and watch the bubbles form and rise. This is where the lava magic truly starts. You’ll be smiling in awe!
Step 7: Keep the Fun Going
Once the action begins to slow down, simply drop in another piece of Alka-Seltzer. This will reignite the bubbly show. You can repeat this to keep enjoying your homemade lava lamp! Each piece will create a new display of color and movement.
And there you have it, your very own easy DIY lava lamp that sparkles and glows! It’s a delightful project enjoyed by kids and adults alike, giving you a fun reason to gather together and marvel at the chemistry!
Tips for Success
- Choose a larger bottle for a more dramatic effect; it allows for greater liquid movement.
- Use warm water to help the food coloring mix beautifully and more quickly.
- Experiment with different concentrations of oil for various lava lamp effects—mix it up!
- Supervise little ones to ensure safety as they make this memorable project.
- Reuse the mixture for future fun; just add fresh Alka-Seltzer when you’re ready!
Equipment Needed
- Measuring Cup: For pouring your liquids accurately. A regular cup works too!
- Mixing Spoon: Use a spoon to stir, or even a chopstick for reaching the base!
- Knife (Optional): To carefully break the Alka-Seltzer tablet if it’s not already pre-scored.
- Paper Towels: Handy for any spills; because let’s face it, messes happen!
Variations on the Easy DIY Lava Lamp
- Color Themes: Tailor the color of your food coloring to fit an occasion. Think red and green for the holidays, or bright pastels for spring!
- Glow in the Dark: Use glow-in-the-dark paint instead of food coloring for a night-time extravaganza. Just a few drops will create a magical, glowing effect!
- Mini Lava Lamps: Use smaller containers like mason jars for adorable mini lava lamps. Perfect for party favors or desk decorations!
- Scented Oils: If using baby oil, try adding a few drops of essential oils to create a fragrant experience. Choose scents that help with relaxation or focus!
- Layering Colors: Experiment with layering different colors of food coloring. Drop them in slowly to create a beautiful rainbow effect as they mix.
Serving Suggestions for Easy DIY Lava Lamp
- Themed Parties: Set up a fun science-themed party and have everyone create their own lava lamps!
- Drink Pairings: Serve sparkling water or colorful fruit juices to complement the vibrant visuals!
- Display Tips: Use a colorful tablecloth as a backdrop to enhance the visual appeal of your lava lamp.
- Interactive Activity: Host a crafting session where each person creates their own unique lava lamp!
FAQs about Easy DIY Lava Lamp
Got questions about creating your easy DIY lava lamp? Don’t worry! I’ve got you covered with some common queries that pop up while making this delightful project.
Can I reuse the ingredients in my lava lamp?
Absolutely! You can reuse the same bottle for multiple experiments. Just add fresh Alka-Seltzer whenever you want to rev up the fun again!
Is this project safe for children?
Yes! Just remember to supervise your kids while they make the lava lamp. It’s a great learning experience about chemical reactions in a safe way.
What if I don’t have Alka-Seltzer?
If you’re in a pinch, you can use other fizzy tablets like Effervescent vitamin C. However, Alka-Seltzer provides the best results for that captivating lava effect!
Can I use different types of liquids for the lava effect?
While vegetable and baby oils work best for clarity, you can explore using other oils. Just keep in mind the separation effect might differ, so feel free to experiment!
How can I make my lava lamp last longer?
To extend the life of your lava lamp, keep it out of direct sunlight and avoid shaking it too much. This helps preserve the clarity and beauty of the liquids inside!
Final Thoughts
Creating your easy DIY lava lamp is more than just a fun craft; it’s a charming way to engage your family in imagination and learning. The joy of watching colorful bubbles rise and fall is a shared experience that can spark delight in both kids and adults. Each swirly moment brings laughter and amazement, serving as a reminder that amazing things often come from simple ingredients. Plus, it offers a break from the daily hustle to savor those little moments of magic. So grab your supplies, and let the bubbling begin—adventure awaits in your very own living room!
Print
Easy DIY Lava Lamp: Spark Joy with This Fun Project!
- Total Time: 5 minutes
- Yield: 1 lava lamp 1x
- Diet: Vegetarian
Description
Create your own enchanting lava lamp at home with this simple DIY project that’s perfect for kids and fun science experimentation.
Ingredients
- 1 clear plastic bottle or glass jar
- 3/4 cup water
- 1 cup vegetable oil or baby oil
- 10 drops of food coloring (any vibrant color)
- 1 Alka-Seltzer tablet (broken into smaller pieces)
- Optional: Glitter or small glow beads for visual effect
Instructions
- Start by filling your bottle or jar with water until it’s about 1/4 full.
- Gently pour in the vegetable oil until the bottle is nearly full. Give it a minute to see the liquids separate beautifully.
- Add 10 drops of your chosen food coloring and watch as it dances through the oil and mixes with the water below—so mesmerizing!
- For a little extra sparkle, sprinkle in some glitter or small glow beads.
- Break an Alka-Seltzer tablet into 2–3 pieces and drop one piece into the bottle.
- Sit back and enjoy the show as bubbles rise and fall, creating your very own lava lamp effect.
- When the action starts to slow down, simply add another piece of Alka-Seltzer to keep the fun going.
Notes
- Ensure to supervise children when making this project.
- This project is a great way to teach kids about chemical reactions.
- You can reuse the same bottle for multiple experiments by adding more Alka-Seltzer.
- Prep Time: 5 minutes
- Cook Time: 0 minutes
- Category: Craft, Experiment
- Method: DIY
- Cuisine: N/A
Nutrition
- Serving Size: N/A
- Calories: 0
- Sugar: 0
- Sodium: 0
- Fat: 0
- Saturated Fat: 0
- Unsaturated Fat: 0
- Trans Fat: 0
- Carbohydrates: 0
- Fiber: 0
- Protein: 0
- Cholesterol: 0

