Exploding Pop Rockets: Unleash Fun with Science!

Introduction to Exploding Pop Rockets
I know finding time for fun and learning can feel impossible sometimes. That’s why I love creating memorable moments with my kids through simple experiments like Exploding Pop Rockets. This exhilarating science project combines learning and laughter, all while satisfying your child’s curious nature. It’s perfect for those sunny afternoons when you need to unleash some energy without too much effort. Plus, you’ll be amazed at how a few household items can turn into a thrilling adventure. So, let’s dive into this delightful explosion of science!
Why You’ll Love This Exploding Pop Rockets
First off, these Exploding Pop Rockets are incredibly easy to whip up, making them the ideal activity for a bustling day. In just about an hour, you can create multiple launches that will keep your kids entertained and engaged. Plus, they offer a unique blend of education and excitement, sparking curiosity about chemical reactions. It’s a fun way to sneak in some science without the kids even realizing it!
Ingredients for Exploding Pop Rockets
Gathering the ingredients for your Exploding Pop Rockets is half the fun! Here’s what you’ll need to get the party started:
- Empty 35 mm film canisters or mini condiment cups: These will be your rockets. Just make sure they have tight-fitting lids to contain the excitement!
- Baking soda or Alka-Seltzer tablets: Both create that thrilling fizz when combined with vinegar. Baking soda is versatile, while Alka-Seltzer gives a quicker reaction.
- Vinegar (white or apple cider): This acidic component interacts with baking soda or Alka-Seltzer to create the magical fizz. Choose a type based on your flavor preference!
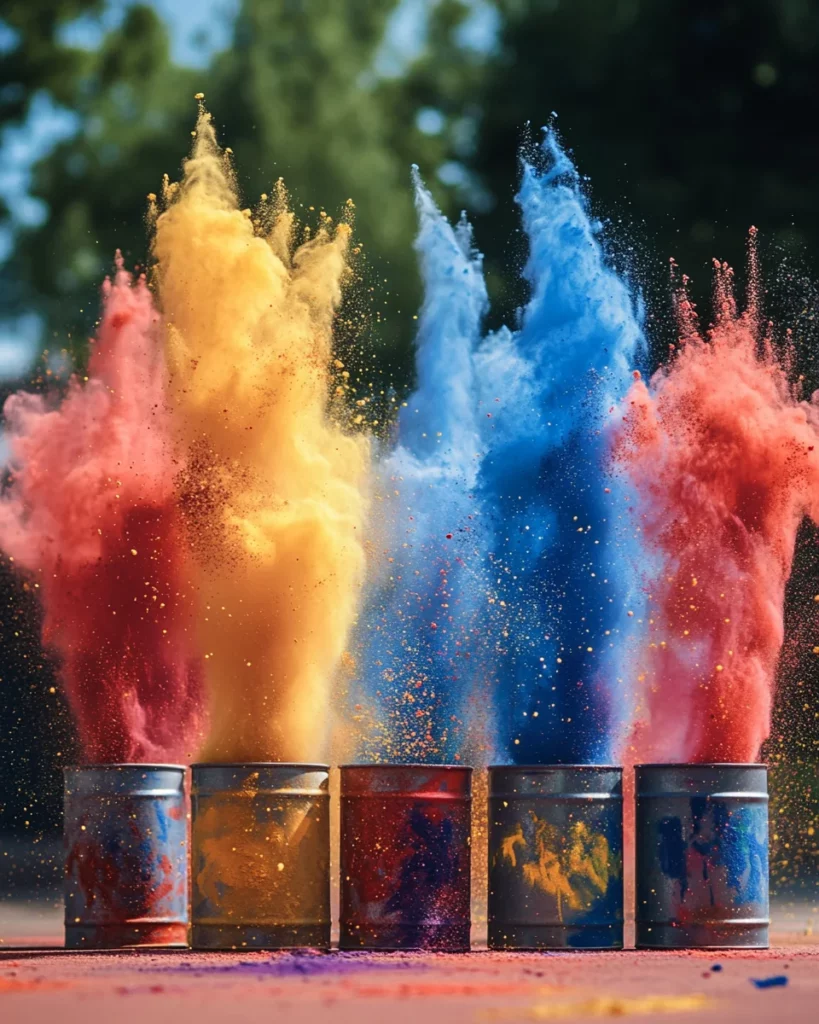
- Optional: Food coloring: Use this to brighten up your explosions. It’s like painting with chemistry—imagine colorful eruptions painting the sky!
- Optional: Fine glitter: For a sparkle effect, add a dash of fine glitter. It makes the whole experience feel extra special, like fireworks in the sky.
- Funnel or small spoon: This handy tool helps you pour vinegar into the canisters without spilling. Trust me, you’ll want to keep the mess to a minimum!
- Safety goggles: Protect those eyes! Safety should always come first with science experiments, especially when things might get fizzy and fun!
- Outdoor space: A spacious area outside is perfect for this experiment. After all, no one wants an indoor explosion—unless it’s from laughter!
For exact measurements of these ingredients, be sure to check the bottom of the article where I’ve included everything you need for printing.
How to Make Exploding Pop Rockets
Now that you have all your ingredients, let’s get started on making your Exploding Pop Rockets. This process is as exciting as it sounds! Just follow these simple steps, and soon you’ll see the magic of chemical reactions unfold before your eyes. Buckle up for this fun ride!
Step 1: Prepare Your Space
First things first: find an outdoor area where your kids can run around safely. A park or your backyard works great! Lay down a tarp or some newspaper to catch any stray bits. Don’t forget to wear those safety goggles—protecting those eyes is key! Gather everyone around to watch the fun, but remember to keep a safe distance once the rockets are ready to launch.
Step 2: Fill the Canister
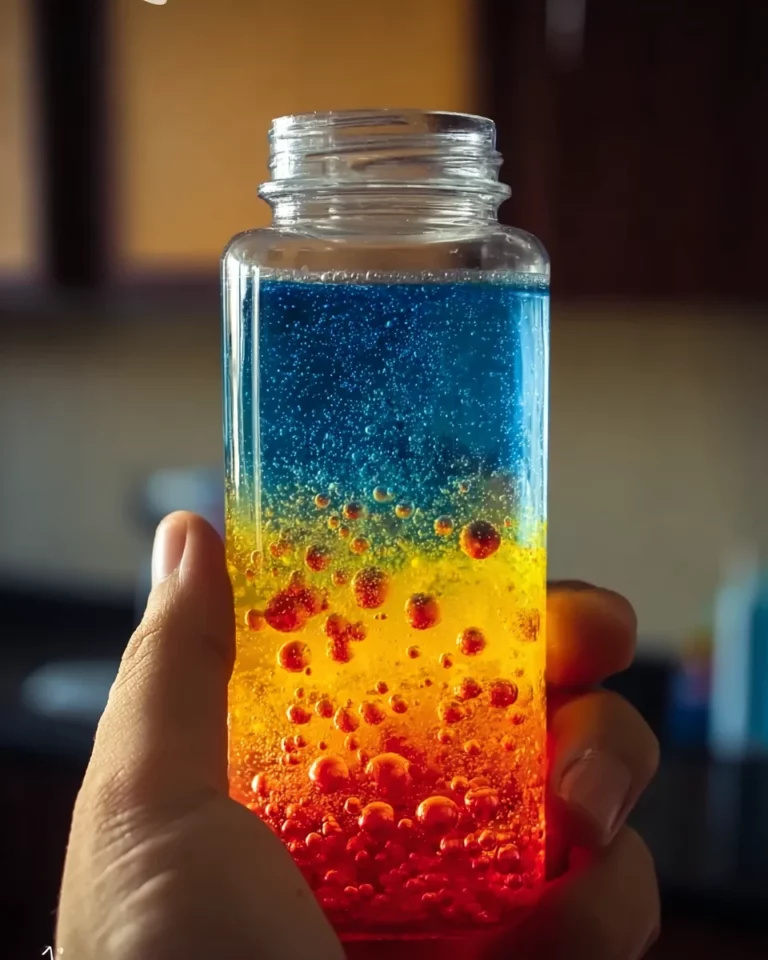
Next, grab your film canister and pour in about one-third full of vinegar. The amount isn’t set in stone, so feel free to experiment a bit! If you want to kick up the excitement, add a few drops of food coloring for some vibrant explosions. And if you’re feeling fancy, sprinkle in a pinch of fine glitter to make your eruptions sparkle!
Step 3: Prepare the Reactant
Now for the science magic! If you’re using baking soda, place a teaspoon of it in a small piece of tissue. Twist the tissue closed to create a “packet”. This keeps the baking soda separate until you’re ready for launch. If you opted for Alka-Seltzer tablets, simply break one in half and set it aside for later. Each option will produce thrilling results!
Step 4: Assemble and Launch
Time for the grand finale! Drop your baking soda packet or half of an Alka-Seltzer tablet into the canister. Quickly snap the lid on tightly and flip it lid-side down on the ground. Now, back up at least six feet! Give it a moment, and watch with glee as the pressure builds, culminating in a magnificent explosion of fun as your rocket takes flight!
Repeat with fresh ingredients for more poppin’ excitement. Each explosion will be a thrilling adventure that your kids will cherish. Trust me; they’ll be asking for round two before the dust settles!
Tips for Success
- Always wear safety goggles to keep everyone’s eyes protected from splashes.
- Pre-measure vinegar and prepare baking soda packets ahead of time to speed things up.
- Choose a breezy day for extra excitement, as wind can add an unpredictable element!
- Experiment with varying amounts of baking soda and vinegar for different explosion effects.
- Have a camera ready to capture the joy and surprise on your kids’ faces!
Equipment Needed for Exploding Pop Rockets
- 35 mm film canisters: Old film canisters work, but mini condiment cups with snap lids are a great alternative.
- Funnel or small spoon: Use a funnel for easy pouring, but a spoon can get the job done too.
- Safety goggles: Any protective eyewear will suffice to keep those eyes safe during the fun!
- Tarp or newspaper: Lay these down to catch any mess and keep your outdoor area clean.
Variations for Your Exploding Pop Rockets
- Fruit-Scented Vinegar: Try infusing your vinegar with fruit scents like lemon or berry to add delightful aromas to your eruptions. Just let a few fruit peels sit in the vinegar for a day before using it.
- Glow-in-the-Dark Fun: Add glow-in-the-dark paint or powder to your vinegar for a spectacular night-time launch. Just be sure to use safe, non-toxic products!
- Eco-Friendly Options: Use baking soda and vinegar without food coloring or glitter for a completely natural experience. You can even skip the canister and use eggshells for Earth-friendly eruptions!
- Theme Parties: Create themed rockets by using colored ingredients based on a favorite holiday or event. For example, red and green for Christmas or pastel colors for Easter.
- DIY Rocket Decorations: Encourage your kids to decorate their canisters with stickers or markers before starting. This personal touch makes the experiment even more memorable.
Serving Suggestions for the Ultimate Fun
- Snack Time: Serve some popcorn or fruit skewers on the side for a tasty treat while watching the rockets soar.
- Drinks: Offer refreshing lemonade or fruit-infused water to keep everyone hydrated during the excitement.
- Presentation: Create a launch station with colorful tablecloths and fun decorations to set the mood for your outdoor adventure.
FAQs about Exploding Pop Rockets
What is the science behind Exploding Pop Rockets?
Exploding Pop Rockets are all about chemical reactions! When vinegar, an acid, meets baking soda or Alka-Seltzer, a base, they react to create carbon dioxide gas. This gas builds pressure inside your rocket until—POP!—it launches skyward, giving everyone a reason to cheer.
Can I do this experiment indoors?
I highly recommend sticking to outdoor spaces for your Exploding Pop Rockets. The eruptions can create a mess, and it’s much easier to clean up in an open area. Plus, the excitement feels even more special outside with room to run around!
How can we make the eruptions more exciting?
To amp up the action, try varying the amounts of vinegar and baking soda. More baking soda and vinegar creates a bigger reaction! Adding optional ingredients, like food coloring and glitter, will also make your launches more vibrant and memorable.
What age group is this experiment suitable for?
This fun activity is great for children of all ages, from little ones to pre-teens. Just make sure they have adult supervision—to keep the fun safe! This way, you can enjoy the science behind Exploding Pop Rockets together.
Can we use different containers for this experiment?
Although film canisters are ideal, you can use any container with a tightly fitting lid, like mini condiment cups. Just ensure it’s sturdy enough to handle the pressure build-up during your Exploding Pop Rockets adventure!
Final Thoughts on Exploding Pop Rockets
Creating Exploding Pop Rockets is more than just an experiment; it’s about making lasting memories with your kids. The laughter, the anticipation, and those priceless reactions when the rockets launch are truly heartwarming. This adventure not only sparks curiosity but also bonds your family through a shared experience of discovery. Even on a busy day, taking a moment to dive into science like this is incredibly rewarding. So, gather your ingredients and enjoy a day filled with excitement and learning. Trust me, these moments will be cherished for years to come!
Print
Exploding Pop Rockets: Unleash Fun with Science!
- Total Time: 1 hour (including setup and multiple launches)
- Yield: Multiple eruptions
- Diet: Vegan
Description
Exploding Pop Rockets is a fun and exciting science experiment that teaches children about chemical reactions while providing entertainment.
Ingredients
- 6 empty 35 mm film canisters with tight-fitting lids (or mini condiment cups with snap lids)
- 1 box baking soda OR Alka-Seltzer tablets
- Vinegar (white or apple cider)
- Optional: food coloring for colorful eruptions
- Optional: fine glitter for sparkle trails
- Funnel or small spoon
- Safety goggles
- Outdoor space for launching
Instructions
- Wear safety goggles and prepare your outdoor launch area.
- Fill the film canister about ⅓ full with vinegar.
- Add 2–3 drops of food coloring and a pinch of glitter for a colorful launch.
- If using baking soda: place 1 tsp baking soda in a small piece of tissue and twist it closed to create a time-delay “packet.”
- Quickly drop the baking soda packet into the canister (or add ½ an Alka-Seltzer tablet if using), snap the lid on tightly, and immediately flip the canister lid-side down on the ground.
- Step back at least 6 feet and wait for the pressure to build and the rocket to POP and launch into the air!
- Repeat with fresh ingredients for multiple rounds of fun.
Notes
- Make sure to conduct this experiment outdoors to avoid messes indoors.
- Always wear safety goggles to protect your eyes from any splashes.
- Adjust the amount of vinegar and baking soda for different eruption effects.
- Prep Time: 10 minutes
- Cook Time: N/A
- Category: Science Experiment
- Method: Chemical Reaction
- Cuisine: N/A
Nutrition
- Serving Size: N/A
- Calories: N/A
- Sugar: N/A
- Sodium: N/A
- Fat: N/A
- Saturated Fat: N/A
- Unsaturated Fat: N/A
- Trans Fat: N/A
- Carbohydrates: N/A
- Fiber: N/A
- Protein: N/A
- Cholesterol: N/A