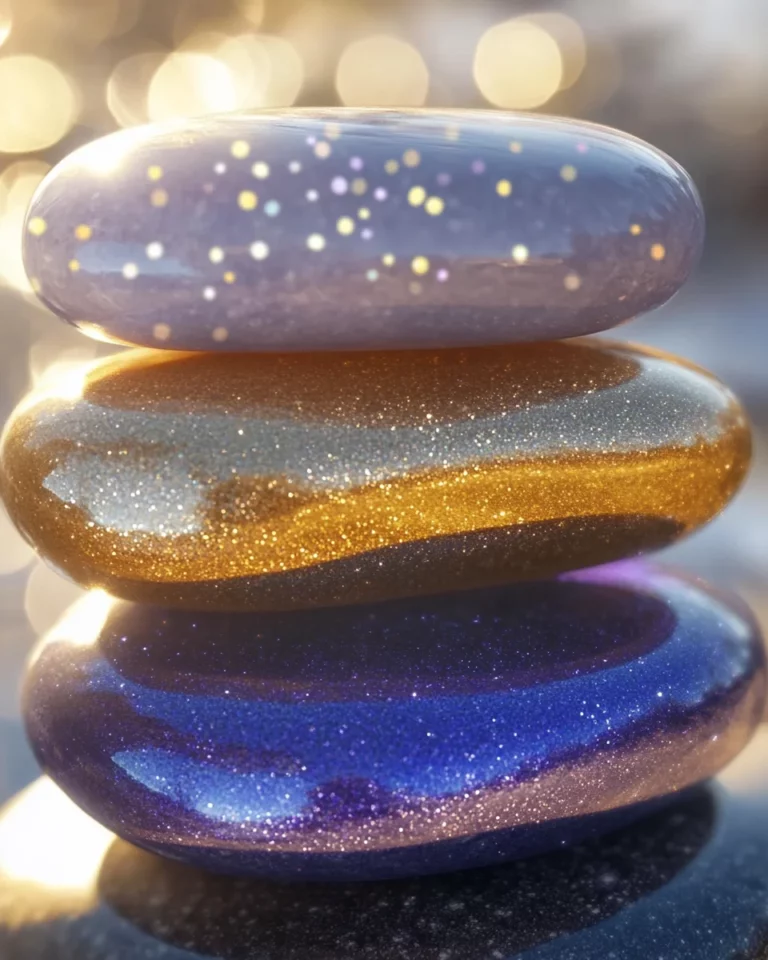
GLOW IN THE DARK MOON ROCKS: Craft Your Own Magic!

Introduction to GLOW IN THE DARK MOON ROCKS
As a busy mom, I’ve often found myself chasing magic in the chaos of everyday life. That’s why I absolutely love creating my own GLOW IN THE DARK MOON ROCKS! These delightful little creations shimmer in the night, offering a fun break from screen time and a perfect way to bond with the kids. Whether you’re looking for a sensory adventure or a charming room decor idea, these rocks shine bright in every sense. Plus, they’re a quick and simple solution for those hectic afternoons when the kids just need something special to lift their spirits!
Why You’ll Love This GLOW IN THE DARK MOON ROCKS
You’ll adore how easy and fun it is to make GLOW IN THE DARK MOON ROCKS. Not only do they bring a little sparkle to the night, but the process can also be a wonderful family bonding experience. In just 10 minutes of prep time, you can create a magical piece of decor. Kids will love crafting their own glowing treasures, and you’ll enjoy the beautiful results together.
Ingredients for GLOW IN THE DARK MOON ROCKS
Making these enchanting GLOW IN THE DARK MOON ROCKS is super simple! Here’s what you’ll need to gather for this fun craft adventure:
- Baking Soda: This is the magical base that brings our moon rocks to life. It helps create the right texture and acts as a binder.
- Water: Just a touch is needed! Water brings our mixture together and helps it achieve that perfect damp sand consistency.
- Glow-in-the-Dark Non-Toxic Paint or Pigment Powder: This is where the magic happens! Look for a kid-safe option, so everyone can enjoy crafting without worry.
- Optional: Glitter: Want to add a little sparkle? Glitter serves as the fairy dust in our rocks, making them even more delightful!
- Optional: Food-Safe Coloring: A splash of color can go a long way. Use food-safe coloring to brighten your rocks with personality!
- Optional: Small Rocks or Crumbled Chalk: For those who like texture, adding small rocks or crumbled chalk gives your moon rocks an extra dimension, making them feel more authentic.
For exact measurements, check the bottom of the article where you can find everything listed for easy printing. Gather these ingredients, and you’ll soon be creating your own glowing treasures!
How to Make GLOW IN THE DARK MOON ROCKS
Creating your own GLOW IN THE DARK MOON ROCKS is a delightful process, and I can’t wait to walk you through each magical step! Let’s dive into this creative adventure together. Remember, every part of this process is about having fun—so get ready for a glowing good time!
Step 1: Mix the Glow Base
Start by grabbing a large mixing bowl. In it, combine your baking soda with the glow-in-the-dark paint or powder. Stir it all together until every particle is a vivid shade of glow. This is where your rocks begin to shine, so make sure it’s evenly coated!
Step 2: Add Water Slowly
Now, it’s time to introduce water to the mix. Slowly pour it in, a little at a time. Stir as you go, until the texture resembles damp sand. If things feel too dry, feel free to add more water. If it’s too wet, simply sprinkle in a bit more baking soda.
Trust me; achieving the right consistency is key to crafting the perfect moon rock!
Step 3: Boost the Fun
Feeling extra creative? This is your chance to jazz it up! Stir in some glitter or a splash of food-safe coloring for a little pizzazz. If you want added texture, toss in small rocks or crumbled chalk to create an authentic rocky feel. The more personal touches, the better!
Step 4: Shape the Rocks
Now comes the fun part—shaping! Use your hands to mold the mixture into small, rocky shapes. Think about how a moon rock might look; it doesn’t have to be perfect! Let those creative juices flow and craft little treasures that catch your eye.
Step 5: Dry & Set
Once you’ve shaped your rocks, it’s time to let them dry. Carefully place them on a tray and leave them to air-dry overnight. Patience is important here—let them harden fully to ensure they glow bright and last long.
Step 6: Light Up the Night
The moment has arrived! Charge your moon rocks under a bright light for a while. Once they’re energized, turn off the lights and watch the magic unfold! The glowing effects are sure to mesmerize you and the kids.
Enjoy your glowing creations and remember to share the shine with friends and family!
Tips for Success
- Use a mixing bowl that’s larger than you think; it keeps things tidy and allows for easy stirring.
- Test the glow intensity by using different lights before drying the rocks. Some lights work better than others!
- Encourage your kids to get creative; no two moon rocks need to be the same!
- Wear gloves if you’d like to avoid any paint on your hands. It comes off, but why not keep it mess-free?
- Finally, let your rocks dry in a location where they won’t be disturbed. Safety first leads to glowing results!
Equipment Needed for GLOW IN THE DARK MOON ROCKS
- Large mixing bowl: Any bowl will do, but a larger one helps with mixing.
- Spoon or spatula: Use a sturdy spoon or spatula for stirring all those ingredients together.
- Tray: Any flat surface for drying works; a baking sheet will do just fine.
- Gloves (optional): These keep your hands clean if you’re working with paint.
Variations of GLOW IN THE DARK MOON ROCKS
- Cosmic Color Blast: Use multiple colors of glow-in-the-dark paint to create a vibrant mix. Swirl different colored batches together for a multi-hued effect that’s simply stunning!
- Textured Wonders: Instead of small rocks, try using crushed shells or sand for a beachy vibe. This gives your moon rocks a unique texture that feels fabulous to the touch.
- Fragrant Fun: Add a few drops of essential oils like lavender or peppermint to the mixture. Just ensure the oils are kid-safe, and let the soothing scents delight your senses while crafting.
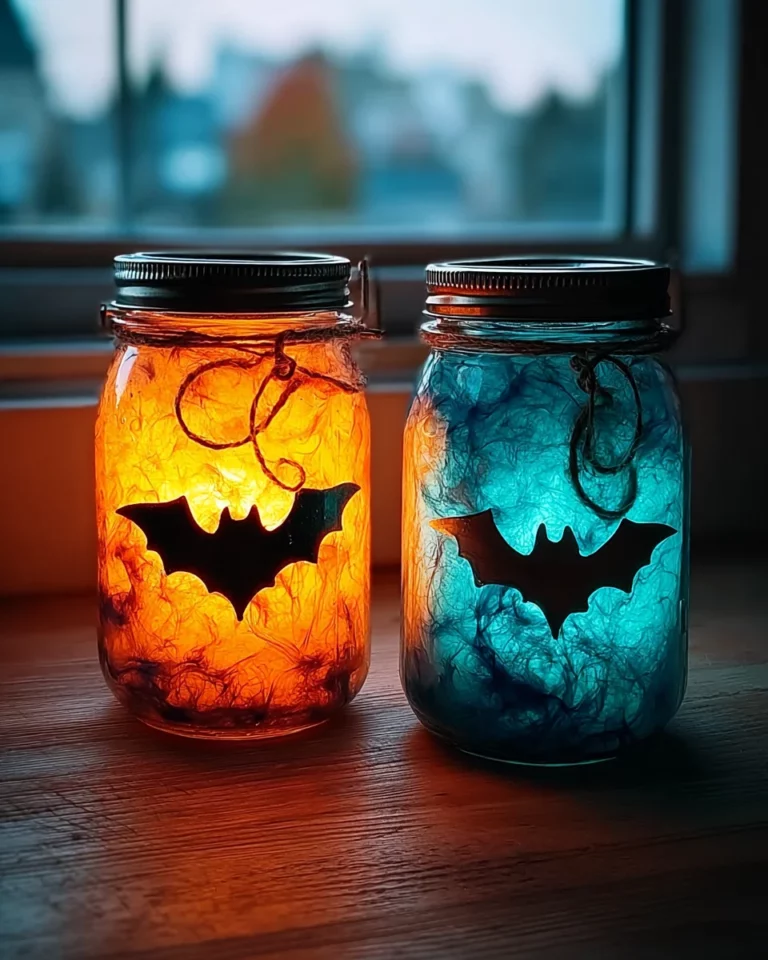
- Seasonal Themes: For a festive touch, use glitter or paint in seasonal colors—think spooky black and orange for Halloween or festive red and green for Christmas. Crafting (and decorating) is always in season!
- Dark & Sparkly: If you want to kick the sparkle up a notch, try adding metallic glitter or star-shaped confetti. It’ll create a festival of twinkling lights that’s out of this world!
Serving Suggestions for GLOW IN THE DARK MOON ROCKS
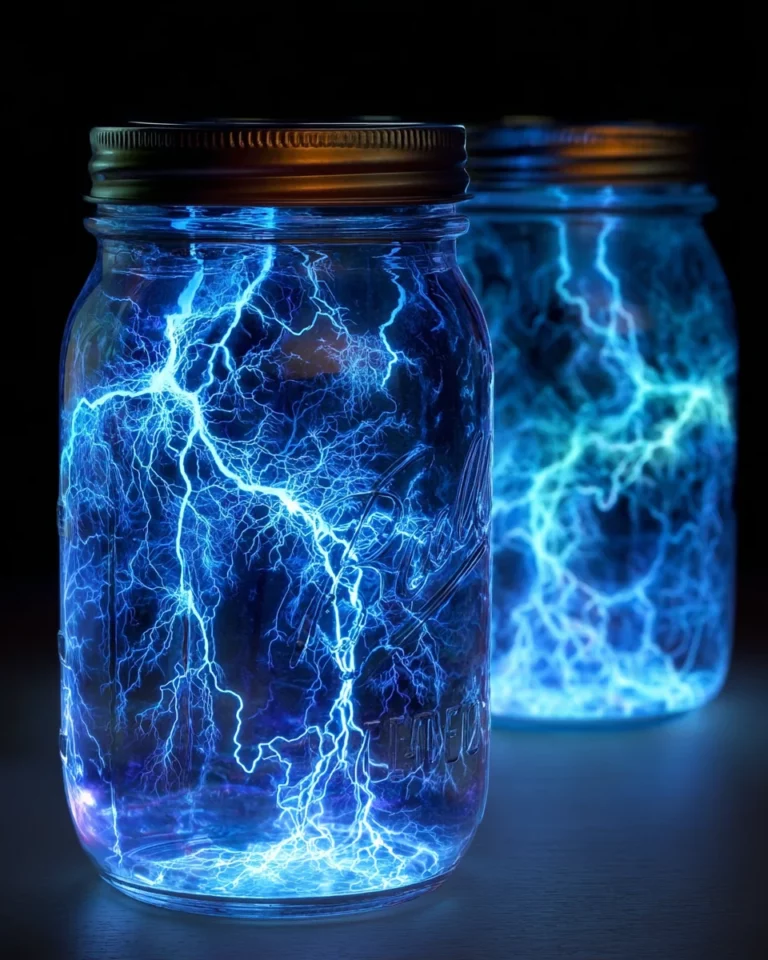
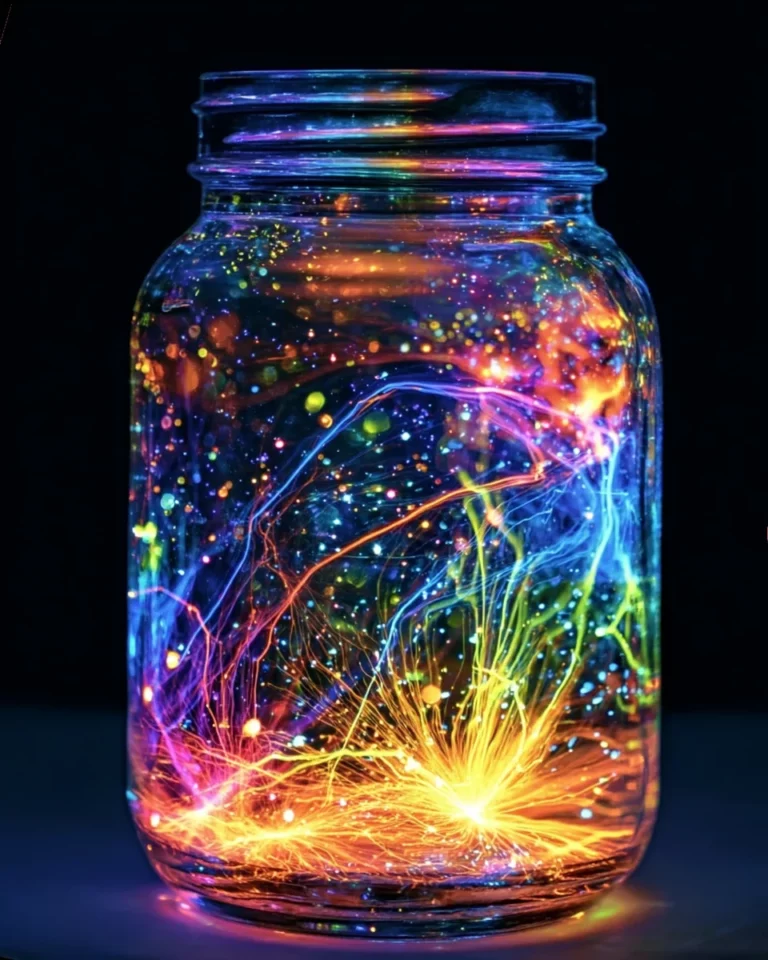
- Display in jars: Fill mason jars with moon rocks for a captivating nightstand or shelf decor.
- Use as party favors: Kids will love taking home their glowing treasures as memorable party gifts!
- Pair with a space-themed movie: Set the mood by enjoying your glowing creations while watching a cosmic adventure together.
- Create a sensory experience: Use your moon rocks as part of a whimsical play setting under a dimmed light for maximum glow!
FAQs about GLOW IN THE DARK MOON ROCKS
I know you might have some questions about these enchanting GLOW IN THE DARK MOON ROCKS. Here are a few commonly asked ones that may help guide your crafting journey!
Can you reuse the rocks if they lose their glow?
Absolutely! You can recharge your moon rocks by placing them under a light. If they stop glowing altogether, simply mix in more glow-in-the-dark paint or powder for a fresh start.
Are these moon rocks safe for kids to play with?
Yes, just be sure you use non-toxic materials, especially the glow-in-the-dark paints or powders. Always supervise younger kids during crafting time for added safety.
How long do the rocks last?
The glow should last for many uses. However, if you want to keep them shining bright, store them in a sealed container away from moisture and direct sunlight!
Can I make a larger batch of moon rocks?
Definitely! Feel free to double or triple the ingredients. Just remember to mix everything thoroughly, so each rock glows beautifully.
What can I do to make them even more special?
Consider personalizing your moon rocks! Use different shapes or even paint markings on them. It’s all about creativity—so let your imagination lead the way!
Final Thoughts on GLOW IN THE DARK MOON ROCKS
Crafting GLOW IN THE DARK MOON ROCKS with your family is an unforgettable experience filled with laughter, creativity, and a sprinkle of magic. Each glowing rock tells a story, reminding us of the joy found in little things. Watching the kids’ eyes light up as their creations radiate in the dark is nothing short of heartwarming. Whether displayed in jars or enjoyed during a cozy movie night, these moon rocks bring a sense of wonder to any space. So grab those ingredients and let your imaginations soar; the universe is waiting for your glow!
Print
GLOW IN THE DARK MOON ROCKS: Craft Your Own Magic!
- Total Time: Overnight (for drying)
- Yield: Varies (about 8-10 moon rocks)
- Diet: Gluten Free
Description
Create your own magical GLOW IN THE DARK MOON ROCKS that light up the night! Perfect for sensory play, room decor, or a fun science project.
Ingredients
- 1 cup baking soda
- ¼ cup water (more if needed)
- Glow-in-the-dark non-toxic paint or glow pigment powder (kid-safe if for play)
- Optional: Glitter or food-safe coloring for extra sparkle
- Optional: Small rocks or crumbled chalk (for texture)
Instructions
- Mix the Glow Base – In a bowl, combine baking soda with a few teaspoons of glow paint or powder. Stir until evenly colored.
- Add Water Slowly – Gradually mix in water until the texture resembles damp sand (adjust with more water or baking soda as needed).
- Boost the Fun – Stir in glitter, food coloring, or small rocks for extra texture and shine.
- Shape the Rocks – Mold the mixture into small, rocky shapes with your hands.
- Dry & Set – Place on a tray and let air-dry overnight until hard.
- Light Up the Night – Charge the rocks under a light, then turn off the lights to watch them glow!
Notes
- For extra glow, use a blacklight to intensify the effect.
- Kid-friendly version? Ensure all materials are non-toxic and supervise playtime.
- Make them last – Store in a sealed container to keep moisture out.
- Prep Time: 10 minutes
- Cook Time: 0 minutes
- Category: Craft
- Method: Mixing and molding
- Cuisine: N/A
Nutrition
- Serving Size: N/A
- Calories: N/A
- Sugar: N/A
- Sodium: N/A
- Fat: N/A
- Saturated Fat: N/A
- Unsaturated Fat: N/A
- Trans Fat: N/A
- Carbohydrates: N/A
- Fiber: N/A
- Protein: N/A
- Cholesterol: N/A