Glowing Thundercloud in a Jar: Discover the Magic!

Introduction to Glowing Thundercloud in a Jar
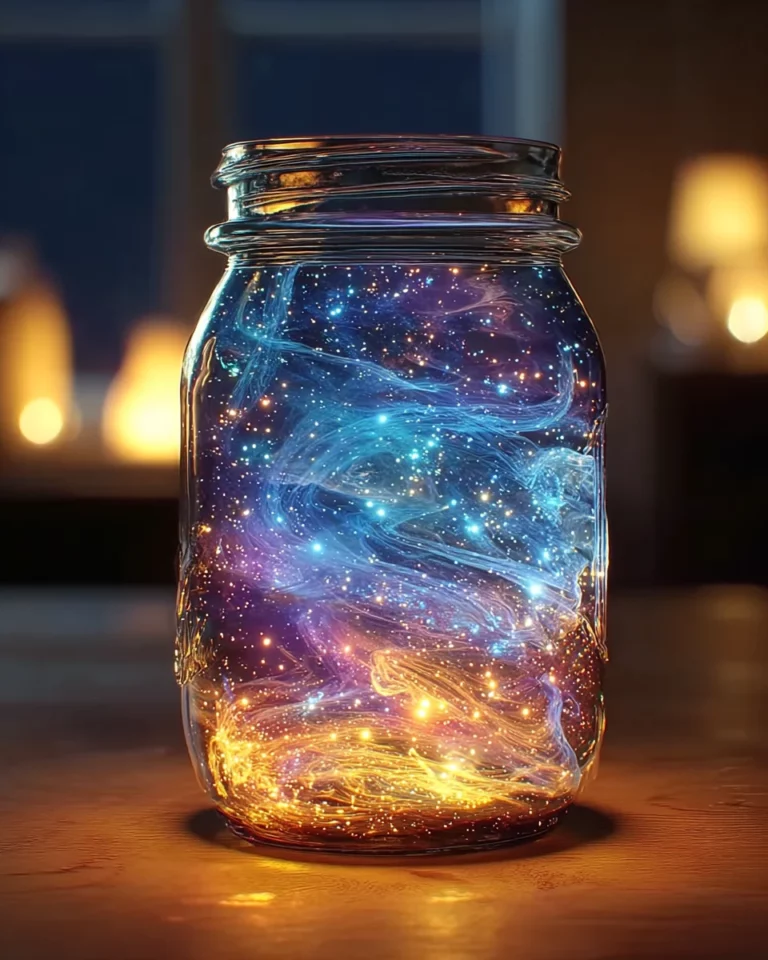
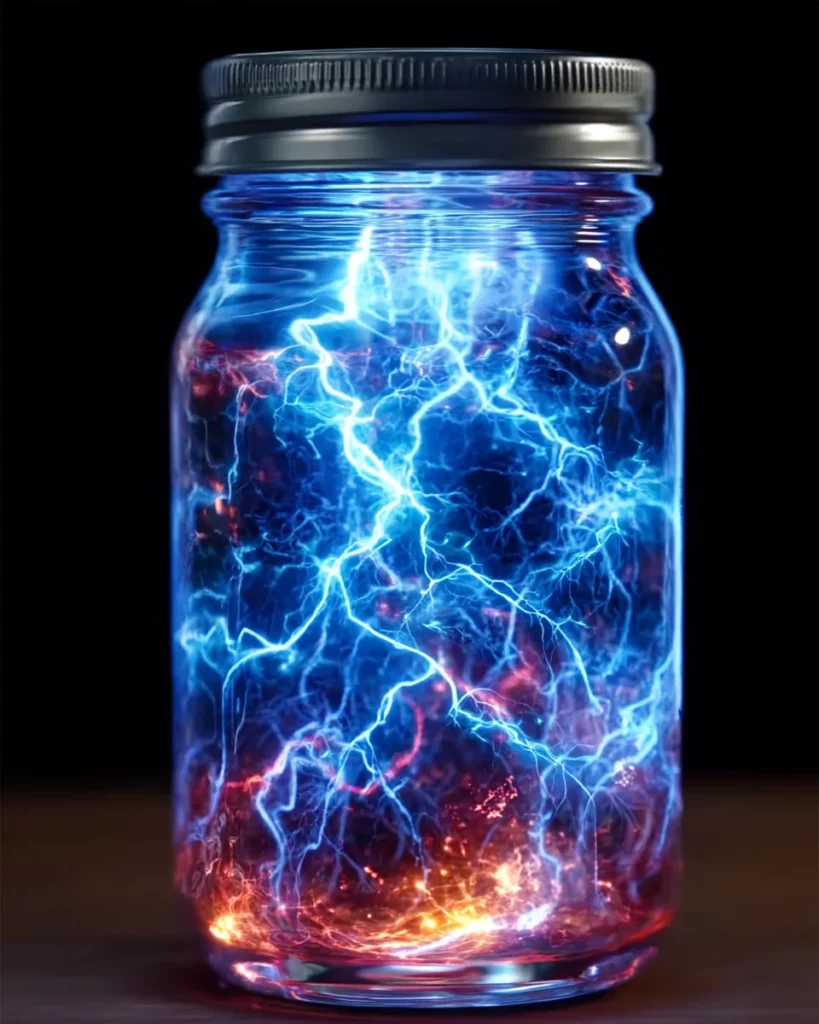
Welcome to the magical world of science experiments! Today, I’m thrilled to share with you a delightful activity that will spark curiosity and creativity in your home: the Glowing Thundercloud in a Jar!
As a busy mom, I understand how challenging it can be to engage our kids with fun yet educational activities. This quick and fascinating project is perfect for those evenings when you want to create something special without spending hours in the kitchen. Get ready to dazzle your loved ones with this unique combination of fizz, color, and wonder!
Why You’ll Love This Glowing Thundercloud in a Jar
This Glowing Thundercloud in a Jar is not just fun; it’s incredibly easy and quick to make! With only a handful of ingredients and a mere ten minutes of prep, you can create a mesmerizing experience for your kids. It’s a stress-free way to encourage curiosity while having loads of fun together. Plus, the awe in their eyes when the storm begins is priceless—it’s a small sprinkle of magic on a busy day!
Ingredients for Glowing Thundercloud in a Jar
Let’s gather our ingredients for this dazzling experiment! Here’s what you’ll need to create your very own Glowing Thundercloud in a Jar:
- Clear glass jar with lid: The perfect vessel, allowing you to watch the magic unfold!
- Water: This will form the “sky,” setting the stage for our stormy creation.
- Shaving cream or foam soap: Acts as our fluffy cloud, providing that light and airy texture!
- White glue (optional): Adding this helps thicken the cloud, making it even more impressive.
- Baking soda: A crucial ingredient that helps kickstart our fizzy reaction!
- Vinegar: This is what creates our storm effect, partnering beautifully with baking soda.
- Neon or glow-in-the-dark food coloring: Choose your favorite hue to add a touch of magic to the rain!
- Small flashlight or LED light (optional): For those extra glowing effects in the dark.
- Pipette or dropper: Helps you add the colored vinegar with precision for maximum impact.
Don’t worry about exact measurements just yet! You can find them listed at the bottom of the article, along with an easy-to-print version. Let’s gather these ingredients, and get ready to create some stormy fun!
How to Make Glowing Thundercloud in a Jar
Now that we have our ingredients ready, it’s time for the fun part! Follow these simple steps to create your enchanting Glowing Thundercloud in a Jar. Prepare for a little science magic and a lot of giggles!
Build the Base
Fill the jar ¾ full with water
Begin by pouring water into your clear glass jar, filling it about three-quarters full. This water layer acts as the “sky,” providing the perfect environment for our stormy creation. It gives depth and sets the stage for the magical effects to come. Make sure the jar is stable, so it won’t tip over during your experiment.
Fluffy Cloud Mix
Whip shaving cream and glue (if using) until airy
In a separate bowl, grab your shaving cream or foam soap. If you’re feeling adventurous, add a touch of white glue to the mix. Whip the combination until it becomes light and fluffy. This mixture mimics the texture of real clouds, making it all the more fun to work with. Plus, the fluffiness amplifies that “wow” factor!
Cloud Layer
Spoon the mixture on top
Now comes the exciting part! Carefully spoon the fluffy cloud mixture onto the surface of the water in your jar. Gently layer it on top to avoid disrupting the water too much. The goal is to create a puffy, cloud-like appearance that sits beautifully above the water. You can even swirl it a little for added effect; after all, nature is never perfect!
Glowing Rain
Mix vinegar with food coloring
Time to add some color! In a small cup, mix vinegar with a few drops of your chosen neon or glow-in-the-dark food coloring. This step is crucial because it creates the stunning “storm” effect. The vibrant color will transform the reaction, making it a visual delight when the rain starts pouring down.
Storm Time!
Use a dropper for colored vinegar
Using your pipette or dropper, carefully add the colored vinegar onto the cloud. As it hits the fluffy layer, watch it fizz and bubble down into the water below! This is where the magic truly happens. Try to add the vinegar gently, so it spreads across the cloud instead of plummeting straight down—creating a spectacular mini-storm effect.
Light It Up (Optional)
Shine a flashlight under the jar
If you want to enhance the experience, turn off the lights and shine a small flashlight or LED light under the jar. The glow will illuminate your thundercloud concoction beautifully! This effect adds an eerie yet exciting dimension to your experiment, making it feel like you’re peering into a magical storm.
Keep the Fun Going
Add more vinegar drops
The fun doesn’t have to stop! You can keep adding more vinegar drops to your cloud to extend the reaction and observe new fizzy patterns. Challenge your kids to see how many drops it takes to create the biggest storm. This way, you keep the excitement alive while learning some scientific principles about chemical reactions.
Tips for Success
- ✨ Use a large enough jar to give your cloud space to expand!
- ✨ Experiment with different food coloring combinations for stunning visual effects.
- ✨ Always supervise kids while making the experiment for safety and to share the fun!
- ✨ Clean up any spills quickly to prevent slippery surfaces.
- ✨ Have fun and encourage questions—it’s a great learning opportunity!
Equipment Needed
- Clear glass jar: A mason jar works great if you don’t have a clear glass jar.
- Bowl: Any mixing bowl will do for whipping up your cloud mixture.
- Pipette or dropper: A kitchen baster can be a fun alternative.
- Whisk or spatula: Use what you have to whip your cream!
Variations
- ✨ Try using different types of colored vinegar—apple cider or red wine vinegar can create a fun twist!
- ✨ For a more festive touch, add a few drops of edible glitter to represent ‘lightning’ within the storm.
- ✨ Swap out food coloring for natural alternatives like beet juice or turmeric for a healthier option.
- ✨ Experiment with scented shaving creams to add delightful aromas to your stormy experience.
- ✨ Create a ‘snowstorm’ by using white glitter in the cloud mix for a winter-themed activity!
Serving Suggestions
- ✨ Pair your experiment with a cozy science-themed book for an enriching learning experience.
- ✨ Offer popcorn or cookies as a tasty treat to enjoy while watching the magic unfold.
- ✨ Create a fun display with glow sticks around the jar for an eye-catching setup.
- ✨ Use a colorful tablecloth to enhance the overall visual appeal of your science session.
FAQs about Glowing Thundercloud in a Jar
Curious minds often have burning questions about the Glowing Thundercloud in a Jar, and I’m here to help! Here are some common inquiries that might come to mind:
What age group is this activity suitable for?
This science experiment is perfect for children aged 5 and up, with adult supervision. Younger kids will enjoy watching the fizzy action, while older kids can explore the chemical reactions at play.
Can I use different colors for the clouds?
Absolutely! Feel free to experiment with different food coloring shades for your clouds. Mixing colors can create stunning visual effects. Try layering colors for an even brighter, cheerful storm!
How long will the reaction last?
The reaction usually lasts a few minutes, but you can keep adding more vinegar drops to reignite the fizz! It’s like a never-ending storm right in your jar.
Is this experiment safe to do indoors?
Yes, it’s safe for indoor fun! Just be sure to supervise younger kids and clean up any spills quickly. It’s best to do it in an area that’s easy to clean, just in case of an adventurous splash!
Can I use this activity for a school project?
Definitely! The Glowing Thundercloud in a Jar makes a wonderful school project. It combines creativity with science, allowing kids to learn while having fun. It’s a great way to impress teachers and classmates alike!
Final Thoughts
Creating the Glowing Thundercloud in a Jar is more than just an experiment; it’s a delightful journey into the world of science that brings families together.
The joy of watching those thrilled expressions on your kids’ faces is truly magical. As the fizzing storm swirls in the jar, connections deepen and memories are made.
Whether it’s a quiet afternoon or a little backyard adventure, this project offers both education and endless fun! So, gather your supplies and prepare to bask in awe and laughter. After all, every day can be a little brighter with a sprinkle of creativity!
Print
Glowing Thundercloud in a Jar
- Total Time: 10 minutes
- Yield: 1 jar 1x
- Diet: Vegan
Description
A magical science experiment that creates a dazzling, fizzing storm cloud in a jar, perfect for curious minds.
Ingredients
- 1 clear glass jar with lid
- 1 cup water
- ½ cup shaving cream (or foam soap)
- ¼ cup white glue (optional for thicker clouds)
- 1 tsp baking soda
- ½ cup vinegar
- Neon or glow-in-the-dark food coloring (blue, purple, or your favorite)
- Small flashlight or LED light (for extra glow)
- Pipette or dropper
Instructions
- Build the Base – Fill the jar ¾ full with water—this is your ‘sky.’
- Fluffy Cloud Mix – In a bowl, whip shaving cream and glue (if using) until light and airy.
- Cloud Layer – Gently spoon the mixture on top of the water to create a puffy cloud.
- Glowing Rain – Mix vinegar with neon food coloring in a small cup.
- Storm Time! – Use a dropper to add colored vinegar onto the cloud. Watch it ‘rain’ with fizzy magic!
- Light It Up (Optional) – Shine a flashlight under the jar in a dark room for an eerie glow.
- Keep the Fun Going – Add more vinegar drops to extend the reaction!
Notes
- ✨ Use glow paint instead of food coloring for a longer-lasting glow effect.
- ✨ Try layering different colors for a rainbow thunderstorm!
- ✨ For bigger ‘lightning,’ add a pinch of glitter to the vinegar mix.
- Prep Time: 10 minutes
- Cook Time: 0 minutes
- Category: Science Experiment
- Method: Mixing
- Cuisine: N/A
Nutrition
- Serving Size: N/A
- Calories: 0
- Sugar: 0g
- Sodium: 0mg
- Fat: 0g
- Saturated Fat: 0g
- Unsaturated Fat: 0g
- Trans Fat: 0g
- Carbohydrates: 0g
- Fiber: 0g
- Protein: 0g
- Cholesterol: 0mg