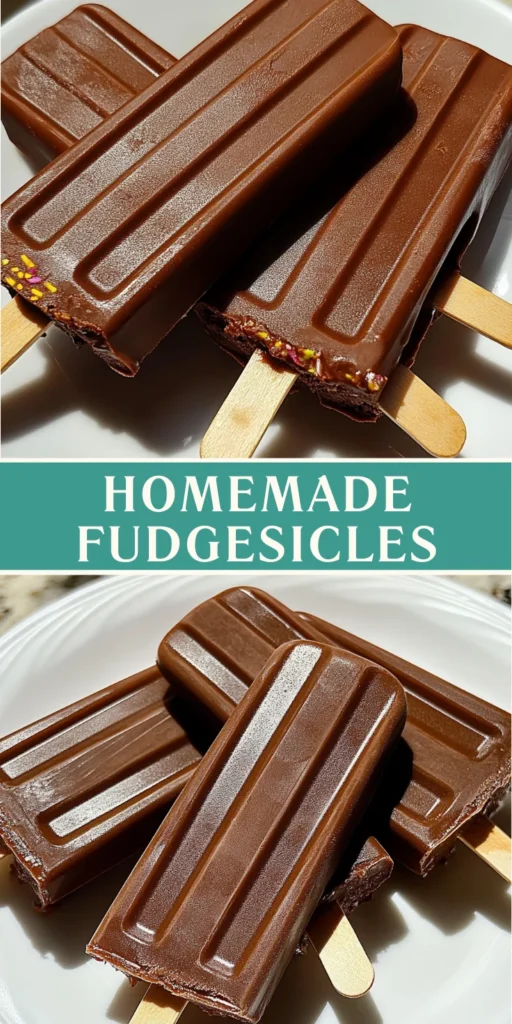
Homemade fudgesicles: Discover this easy recipe today!

Introduction to Homemade Fudgesicles
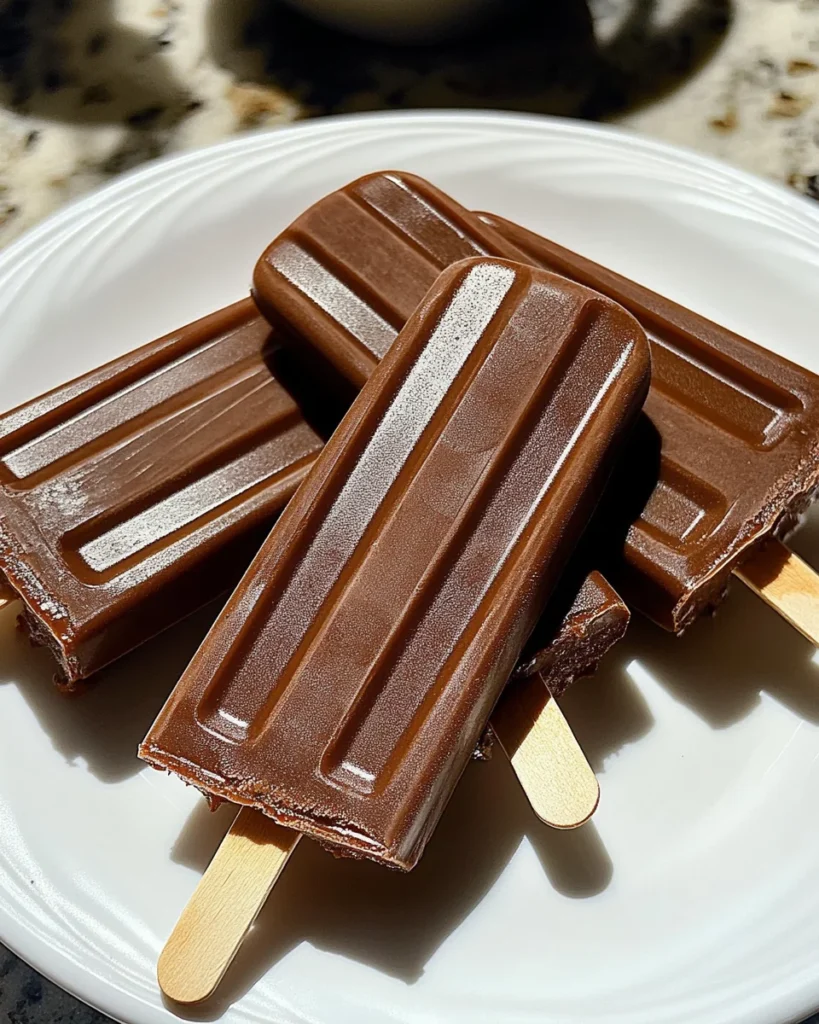
As a busy mom, I know how important it is to have quick and delightful treats on hand. That’s why I absolutely love making homemade fudgesicles! These chocolatey popsicles are not only a breeze to whip up, but they also bring a smile to my family’s faces. Imagine a hot summer day, and you reach into the freezer for a creamy, chocolatey fudgesicle. It’s the perfect way to cool down and indulge without the guilt. Plus, you can customize them to suit your family’s tastes. Let’s dive into this easy recipe that’s sure to become a favorite!
Why You’ll Love This Homemade Fudgesicles
These homemade fudgesicles are a game-changer for busy days. They come together in just 10 minutes, making them a quick solution for satisfying sweet cravings. The rich chocolate flavor is a hit with both kids and adults alike. Plus, you can feel good knowing exactly what’s in them. No artificial ingredients here! Just pure, delicious chocolate goodness that’s perfect for any occasion.
Ingredients for Homemade Fudgesicles
Gathering the right ingredients is the first step to creating these delightful homemade fudgesicles. Here’s what you’ll need:
- Instant Jello chocolate pudding: This is the star of the show! It provides that rich, chocolatey flavor we all crave.
- Cold milk: Milk adds creaminess to the fudgesicles. You can use whole milk for a richer texture or low-fat milk if you prefer a lighter option.
- Popsicle molds: These are essential for shaping your fudgesicles. If you don’t have molds, small paper cups can work in a pinch!
- Popsicle sticks: These help you enjoy your fudgesicles without the mess. If you’re using cups, wooden sticks or even plastic spoons can do the trick.
Feel free to get creative! You can experiment with different flavors of pudding, like vanilla or butterscotch, to switch things up. The exact quantities for each ingredient are listed at the bottom of the article, so you can easily print them out for your next kitchen adventure!
How to Make Homemade Fudgesicles
Making homemade fudgesicles is a fun and straightforward process. Follow these simple steps, and you’ll have delicious treats ready to enjoy in no time!
Prepare Your Molds
First things first, let’s get those molds ready! It’s crucial to have clean and dry molds for your fudgesicles. Any leftover residue can affect the taste and texture. If you’re using plastic molds, give them a quick rinse and dry them thoroughly. If you don’t have molds, small paper cups work just as well. Just make sure they’re sturdy enough to hold the mixture!
Whisk the Pudding and Milk
Now, grab a mixing bowl and combine the instant chocolate pudding mix with the cold milk. Whisk vigorously for about a minute or two. You want the mixture to be smooth and slightly thickened. This step is essential for achieving that creamy fudgesicle texture. If you see any lumps, keep whisking until it’s perfectly blended!
Fill the Molds
Next, it’s time to fill those molds! Carefully pour the pudding mixture into each mold, filling them about three-quarters full. This leaves some space at the top to prevent overflow as the mixture expands while freezing. If you’re using cups, just pour until they’re about 1/4 inch from the top. It’s a little messy, but that’s part of the fun!
Add Sticks and Lids
If your molds come with lids, snap them on before inserting the sticks. This helps keep the sticks centered while freezing. If you’re using cups, gently place a stick in each one, pushing it about an inch deep. This way, you’ll have a perfect handle for your fudgesicles when they’re ready to eat!
Freeze Until Solid
Finally, it’s time to freeze! Place your molds in the freezer and let them sit for at least six hours. For the best results, I recommend freezing them overnight. This ensures they’re completely solid and ready to enjoy. Just try to resist the temptation to sneak a taste before they’re fully frozen!
Tips for Success
- Use whole milk for a creamier texture that melts in your mouth.
- Don’t rush the whisking! A smooth mixture is key to fudgesicle perfection.
- Experiment with different pudding flavors for a fun twist on the classic.
- Let the molds sit at room temperature for a few minutes before removing the fudgesicles for easier release.
- Store any extras in an airtight container to keep them fresh and delicious.
Equipment Needed
- Popsicle molds: Essential for shaping your fudgesicles. If you don’t have any, small paper cups work just fine!
- Mixing bowl: A medium-sized bowl is perfect for whisking the pudding and milk together.
- Whisk: A simple whisk will do, but a hand mixer can save time if you prefer.
- Measuring cups: Handy for measuring your milk accurately.
Variations
- Fruit-Infused Fudgesicles: Add pureed fruit like bananas or strawberries to the pudding mixture for a fruity twist.
- Nutty Delight: Stir in some chopped nuts or nut butter for added texture and flavor.
- Vegan Option: Substitute the milk with almond or coconut milk and use a dairy-free pudding mix.
- Chocolate Mint: Add a few drops of peppermint extract to the pudding for a refreshing minty flavor.
- Swirled Fudgesicles: Layer different pudding flavors in the molds for a fun marbled effect.
Serving Suggestions
- Pair your fudgesicles with fresh fruit like strawberries or raspberries for a colorful plate.
- Serve with a dollop of whipped cream on top for an extra indulgent treat.
- Enjoy alongside a glass of cold milk or a refreshing iced tea.
- For a fun presentation, place fudgesicles in a decorative cup filled with ice.
FAQs about Homemade Fudgesicles
As you embark on your journey to make these delightful homemade fudgesicles, you might have a few questions. Here are some common queries I’ve encountered, along with helpful answers!
Can I use different flavors of pudding for my fudgesicles?
Absolutely! While chocolate is a classic choice, feel free to experiment with vanilla, butterscotch, or even cheesecake pudding. The possibilities are endless!
How long do homemade fudgesicles last in the freezer?
These tasty treats can last up to two months in the freezer if stored properly in an airtight container. Just make sure to label them so you don’t forget about them!
Can I make these fudgesicles dairy-free?
Yes! Simply substitute the milk with almond, coconut, or oat milk, and use a dairy-free pudding mix. You’ll still get that creamy texture and delicious flavor!
What’s the best way to remove fudgesicles from the molds?
To make removal easier, let the molds sit at room temperature for a few minutes. You can also run warm water over the outside of the molds for a few seconds to help loosen them.
Can I add mix-ins to my fudgesicles?
Definitely! Chopped nuts, chocolate chips, or even swirls of peanut butter can add a delightful twist to your fudgesicles. Just fold them in gently before pouring the mixture into the molds.
Final Thoughts
Making homemade fudgesicles is more than just a recipe; it’s a delightful experience that brings joy to both the cook and the family. The simple act of whisking together chocolate pudding and milk can transform a busy day into a moment of sweetness. Watching my kids’ faces light up as they enjoy these creamy treats is priceless. Plus, knowing I’ve created something wholesome and delicious makes it all the more rewarding. So, grab your molds and get ready to create some delicious memories with your loved ones. Trust me, these fudgesicles will become a cherished family favorite!
Print
Homemade fudgesicles
- Total Time: 6 hours 10 minutes
- Yield: 10 fudgesicles 1x
- Diet: Vegetarian
Description
A simple and delicious recipe for homemade fudgesicles made with chocolate pudding and milk.
Ingredients
- 1 package Instant Jello chocolate pudding (113g or 3.9 oz)
- 2 2/3 cups cold milk
Instructions
- Prepare your molds: Make sure your popsicle mold and sticks are clean, dry, and ready to go. If your mold has a lid, have that nearby too.
- Whisk the pudding and milk: In a mixing bowl, combine the instant chocolate pudding mix with the cold milk. Whisk vigorously for a minute or two until the mixture is smooth and thickened slightly.
- Fill the molds: Carefully pour the pudding mixture into your popsicle molds, filling each cavity about 3/4 full or leaving around 1/4 inch at the top. This helps avoid overflow once the mixture expands during freezing.
- Add sticks and lids: If your mold includes a lid, snap it on before inserting the sticks. Otherwise, gently place a stick in each mold slot about 1 inch deep.
- Freeze until solid: Place the molds in the freezer and let the fudgesicles freeze for at least six hours, or until completely solid. Overnight freezing is even better.
Notes
- For a creamier texture, you can use whole milk instead of low-fat milk.
- Feel free to experiment with different flavors of pudding for variety.
- Prep Time: 10 minutes
- Cook Time: 0 minutes
- Category: Dessert
- Method: Freezing
- Cuisine: American
Nutrition
- Serving Size: 1 fudgesicle
- Calories: 100
- Sugar: 10g
- Sodium: 150mg
- Fat: 2g
- Saturated Fat: 1g
- Unsaturated Fat: 0g
- Trans Fat: 0g
- Carbohydrates: 18g
- Fiber: 0g
- Protein: 2g
- Cholesterol: 5mg