Hot Cocoa Peppermint Cheesecake Bites Delight You!

Introduction to Hot Cocoa Peppermint Cheesecake Bites
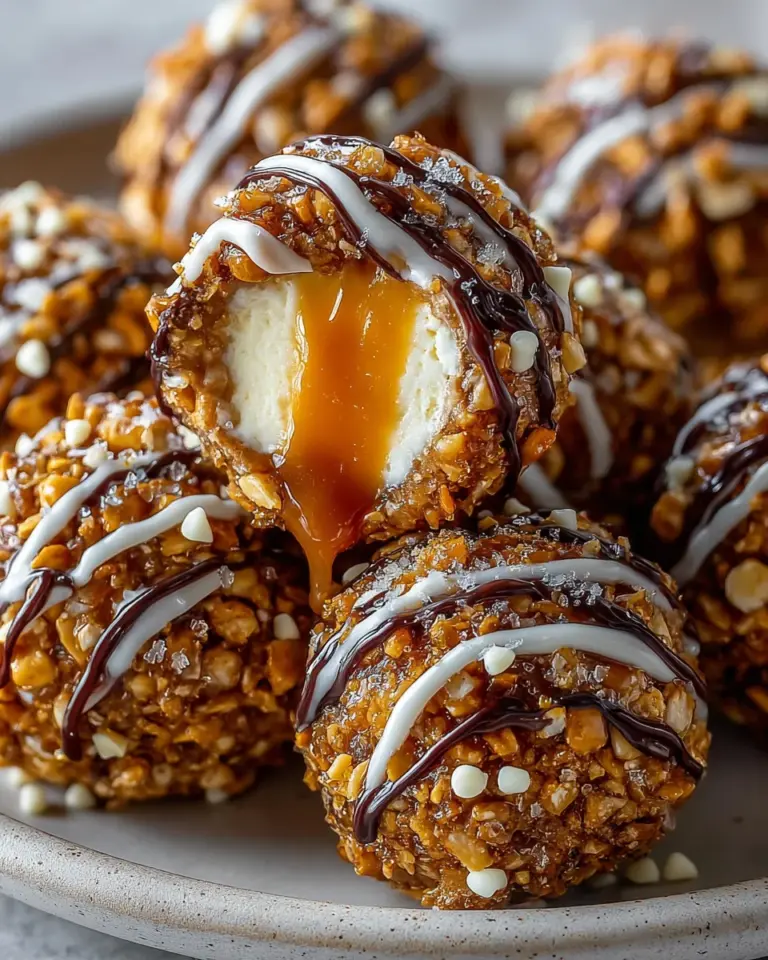
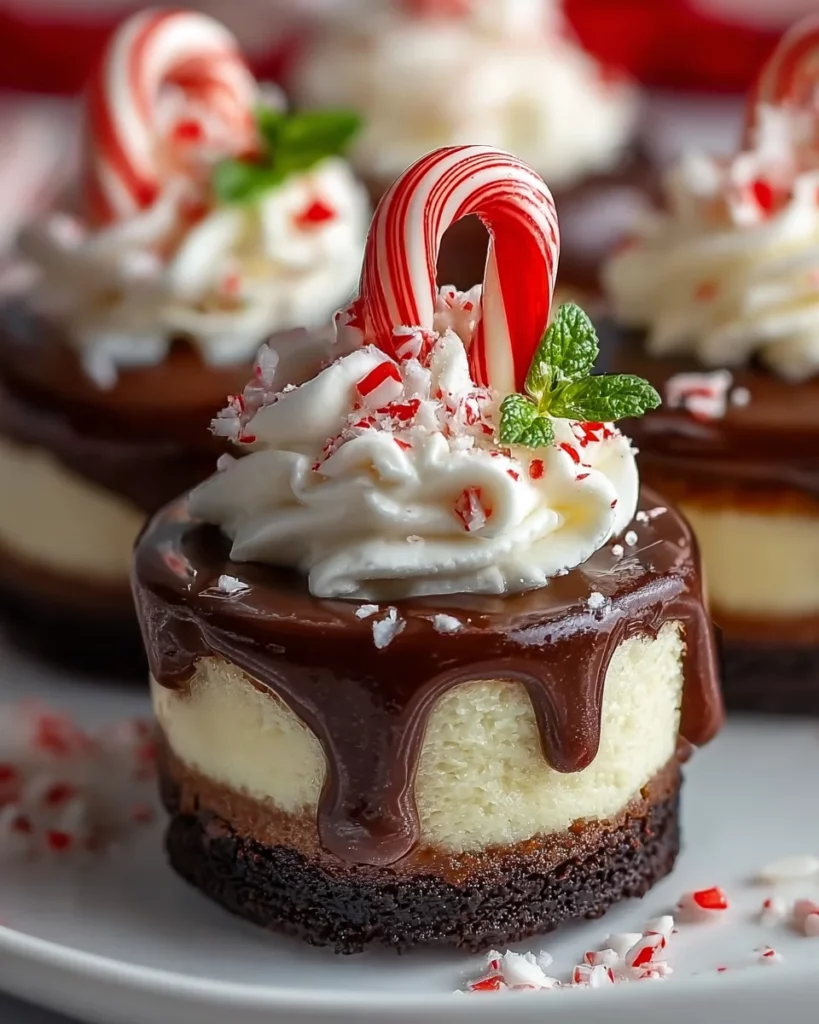
As the holiday season rolls in, my kitchen transforms into a cozy haven, filled with delightful scents and warm memories. One of my favorite introductions to this festive time is making **Hot Cocoa Peppermint Cheesecake Bites**. These little treasures are the perfect balance between rich, creamy cheesecake and the nostalgic flavors of hot cocoa, all wrapped in a peppermint twist. They’re not just delicious; they’re a quick solution for busy days, bringing joy to my family and friends while sparking smiles all around. Let’s make sweet magic and create a little holiday cheer together!
Why You’ll Love This Hot Cocoa Peppermint Cheesecake Bites
You’ll adore these **Hot Cocoa Peppermint Cheesecake Bites** for their incredible taste and simplicity. In just a few steps, you can create something special that looks and tastes like a holiday treat from a five-star bakery. They are also a fabulous way to impress guests without spending hours in the kitchen. Plus, each bite is a delightful burst of holiday cheer, sure to bring joy to everyone who tries them!
Ingredients for Hot Cocoa Peppermint Cheesecake Bites
Gathering the right ingredients is half the fun of cooking! For these delightful **Hot Cocoa Peppermint Cheesecake Bites**, you’ll need a selection of both pantry staples and special treats. Here’s what you’ll need:
- Chocolate graham cracker crumbs: These create a tasty and crispy crust, giving a nod to traditional S’mores. If you can’t find them, regular graham cracker crumbs work just as well!
- Melted butter: This binds the crust together, making it rich and buttery. You can substitute with coconut oil for a dairy-free option.
- Sugar: Just a touch to sweeten your crust and filling. You may replace granulated sugar with coconut sugar for a different flavor profile.
- Cream cheese: The star of the show! Softened cream cheese gives the cheesecake its luxurious and creamy texture. Allow it to come to room temperature to blend smoothly.
- More sugar: This sweetens the cheesecake filling, balancing out all those rich flavors.
- Peppermint extract: This adds the beloved wintery flavor! Be careful—too much can overwhelm, so adjust according to your taste.
- Vanilla extract: It deepens the flavors and enhances sweetness, creating a perfect harmony with the other ingredients.
- Eggs: These are crucial for binding the filling, providing structure and richness for each bite.
- Sour cream: It adds creaminess and tang, rounding out the flavors beautifully.
- Heavy cream: Use this to make an indulgent ganache later; it adds richness that you’ll love.
- Semi-sweet chocolate chips: These melt into velvety ganache, completing your cheesecake bites with a deliciously sweet topping.
- Whipped cream: Perfect for topping your bites, adding a light and fluffy finish.
- Crushed candy canes: These not only add a festive pop of color but also a delightful crunch that beautifully contrasts with the creamy cheesecake.
- Mini peppermint sticks: A charming garnish that adds whimsy. They can bring back childhood memories of holiday treats!
You can find more specifics on the ingredient quantities at the bottom of the article, along with an option for printing, making it easy to keep handy while you create your festive bites!
How to Make Hot Cocoa Peppermint Cheesecake Bites
Creating these delightful **Hot Cocoa Peppermint Cheesecake Bites** is a simple and rewarding process. Follow my easy steps to make them come to life—trust me, it’s worth every moment spent in the kitchen!
Step 1: Prepare the Crust
First things first, let’s get the crust ready. Preheat your oven to 325°F (163°C). In a mixing bowl, combine chocolate graham cracker crumbs, sugar, and melted butter. This mixture should resemble wet sand.
Next, press it firmly into mini cheesecake molds or lined muffin tins. I use the bottom of a glass to make this easier. Bake for 5 to 7 minutes, then let them cool. The crust will be slightly crispy, adding a crunch to your cheesecake bites.
Step 2: Make the Cheesecake Filling
Now, onto the filling! In a large bowl, beat softened cream cheese until it’s smooth and creamy—get rid of those lumps! Add in sugar, peppermint extract, and vanilla extract, mixing until well incorporated.
Crack the eggs in one at a time, ensuring each fully blends in before adding the next. This helps achieve the smoothest texture. After that, gently fold in the sour cream. Spoon the delicious mixture over your cooled crusts, filling them about three-quarters full!
Step 3: Bake the Cheesecake Bites
It’s time for baking! Place the filled molds in the oven and bake for 18 to 22 minutes. Keep an eye on them. The centers should be set, yet slightly wobbly. Once done, take them out and let them cool completely at room temperature.
After that, pop them in the refrigerator for at least 2 hours. Chilling is crucial for that perfect cheesecake texture!
Step 4: Prepare the Ganache
While waiting for the cheesecake bites to chill, let’s whip up the ganache. In a small saucepan, heat heavy cream until it’s just simmering, then remove it from the heat. Pour it over the semi-sweet chocolate chips in a bowl and let it sit for about 2 minutes.
Stir until smooth and glossy. This will become the decadent topping for your cheesecake bites!
Step 5: Decorate the Bites
Once the cheesecake bites have chilled and your ganache is ready, it’s time to decorate. Spoon the silky ganache over each bite, letting it drape deliciously down the sides.
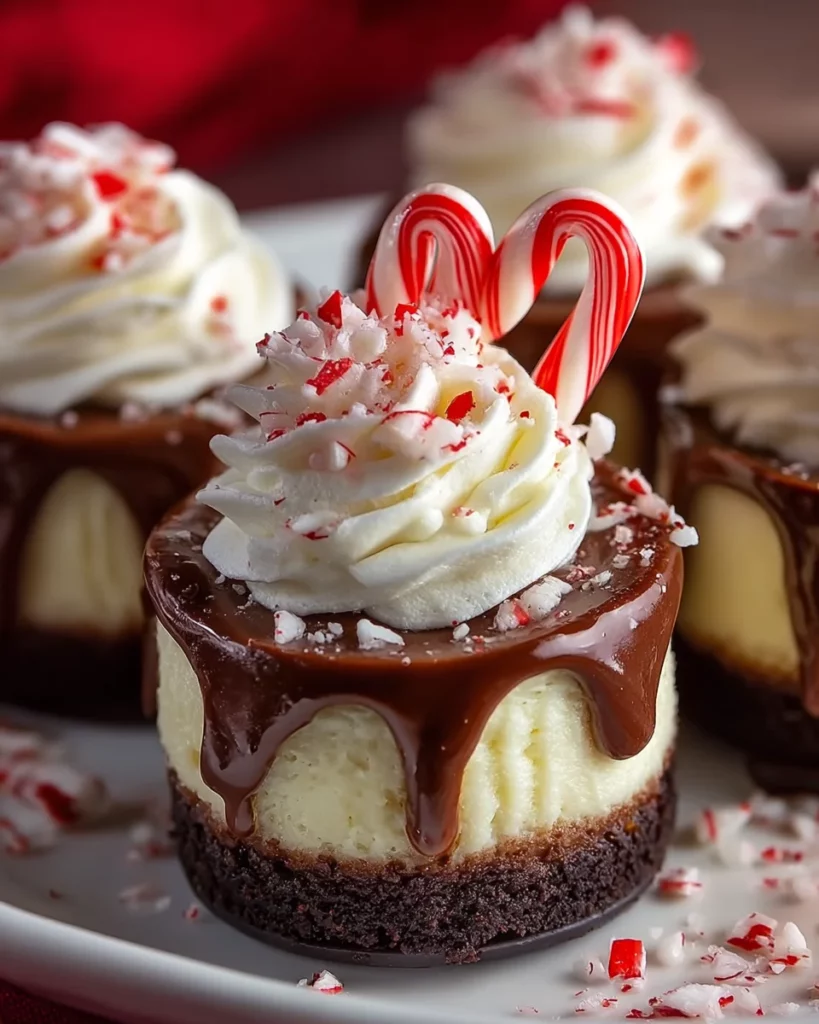
Now, it’s playtime! Pipe whipped cream on top and sprinkle with crushed candy canes for that festive touch. Add a tiny peppermint stick for extra charm. Your **Hot Cocoa Peppermint Cheesecake Bites** are ready to shine!
Tips for Success
- Ensure your cream cheese is softened for easier mixing—no one likes lumps!
- Chill the cheesecake bites for at least two hours to achieve that perfect creamy texture.
- Adjust the peppermint extract based on your personal taste; start with less and add more if needed.
- Keep an eye on the baking time—the centers should be set but still slightly wobbly.
- Have fun with the toppings! Customize them based on your family’s favorites.
Equipment Needed
- Mixing bowls: Any size will do, but a large bowl is best for the filling.
- Mini cheesecake molds or lined muffin tins: If you don’t have these, use a standard muffin tin.
- Hand mixer or whisk: A hand mixer is quicker, but a whisk works well too!
- Spatula: Essential for scraping down sides and folding ingredients gently.
- Small saucepan: Perfect for heating the cream for ganache.
Variations
- Dairy-Free Option: Use vegan cream cheese and coconut cream in place of heavy cream for a delicious dairy-free treat.
- Gluten-Free Crust: Substitute the chocolate graham cracker crumbs with gluten-free cookie crumbs or crushed gluten-free graham crackers.
- Chocolate Lovers Delight: Incorporate cocoa powder into the filling for an extra chocolatey kick, enhancing that hot cocoa flavor!
- Mint Chocolate Swirl: Fold in mini chocolate chips or chunks into the filling for added texture and bursts of chocolate flavor.
- Nutty Crust: Mix in finely chopped nuts like almonds or walnuts with the crust for added crunch and flavor.
Serving Suggestions
- Pair your **Hot Cocoa Peppermint Cheesecake Bites** with a warm cup of hot chocolate for an extra cozy treat.
- Serve alongside a scoop of vanilla ice cream for a delightful contrast in temperature and texture.
- Garnish with fresh mint leaves for a refreshing touch that complements the peppermint flavor.
- Arrange on a festive platter for parties, adding a sprinkle of edible glitter for a magical finish.
FAQs about Hot Cocoa Peppermint Cheesecake Bites
Let’s dive into some frequently asked questions about these delightful **Hot Cocoa Peppermint Cheesecake Bites**. I know that cooking can sometimes come with a few inquiries, so here are some answers to help you along the way!
Can I make these cheesecake bites ahead of time?
Absolutely! You can prepare them a day or two in advance. Just keep them covered in the refrigerator. They actually taste even better after resting, as the flavors meld together beautifully.
What can I substitute for cream cheese?
If you’re looking for a lighter version, Greek yogurt is a good alternative, though it will change the flavor and texture. For dairy-free alternatives, opt for vegan cream cheese, which offers a similar consistency.
How do I store the leftover cheesecake bites?
Store any leftovers in an airtight container in the fridge for up to five days. They make a fantastic snack or dessert, just be sure to keep them chilled for the best texture!
Can I freeze the Hot Cocoa Peppermint Cheesecake Bites?
Yes! They freeze beautifully. Just be sure to wrap them well in plastic wrap and place them in an airtight container. When you’re ready to enjoy, let them thaw in the fridge overnight.
Why is chilling so important for this recipe?
Chilling enhances the texture, making your cheesecake bites creamy and delicious. It allows the flavors to develop and helps with set stability, ensuring you get that delightful bite every time!
Final Thoughts
As I reflect on my journey with these **Hot Cocoa Peppermint Cheesecake Bites**, I can’t help but smile. They’re not just a dessert; they’re a delightful experience that brings warmth to gatherings and joy to my family. Each creamy bite, buoyed by that festive crunch, reminds me of laughter shared around holiday tables. Whether you’re a busy mom or a professional seeking a sweet escape, these bites are your golden ticket. So, put on your apron, gather loved ones, and enjoy this delicious adventure. Here’s to making sweet memories in the kitchen—all wrapped in a peppermint bow!
Print
Hot Cocoa Peppermint Cheesecake Bites
- Total Time: 2 hours 50 minutes
- Yield: 12 bites 1x
- Diet: Vegetarian
Description
Delicious bites of cheesecake flavored with hot cocoa and peppermint, perfect for the holiday season.
Ingredients
- 1 cup chocolate graham cracker crumbs
- 3 tbsp melted butter
- 1 tbsp sugar
- 16 oz cream cheese, softened
- 1/2 cup sugar
- 1/2 tsp peppermint extract
- 1 tsp vanilla extract
- 2 eggs
- 1/4 cup sour cream
- 1/2 cup heavy cream
- 4 oz semi-sweet chocolate chips
- Whipped cream (for topping)
- Crushed candy canes (for topping)
- Mini peppermint sticks (for topping)
Instructions
- Preheat oven to 325°F (163°C). Mix chocolate graham cracker crumbs, sugar, and melted butter. Press mixture into mini cheesecake molds or lined muffin tins. Bake for 5–7 minutes and let cool.
- In a bowl, beat cream cheese until smooth. Add sugar, peppermint extract, and vanilla extract. Mix in eggs one at a time, then fold in sour cream. Spoon filling over cooled crusts.
- Bake for 18–22 minutes or until centers are set. Remove from oven, cool completely, then chill in the refrigerator for at least 2 hours.
- To make ganache, heat heavy cream until just simmering. Pour over chocolate chips and let sit for 2 minutes. Stir until smooth. Spoon ganache over chilled cheesecakes.
- Decorate by piping whipped cream on top, sprinkling with crushed candy canes, and topping with mini peppermint sticks. Serve chilled.
Notes
- Make sure cream cheese is softened for easy mixing.
- Let the cheesecake bites chill for proper texture.
- Use more or less peppermint extract according to taste preference.
- Prep Time: 20 minutes
- Cook Time: 30 minutes
- Category: Dessert
- Method: Baking
- Cuisine: American
Nutrition
- Serving Size: 1 bite
- Calories: 150
- Sugar: 10g
- Sodium: 120mg
- Fat: 10g
- Saturated Fat: 5g
- Unsaturated Fat: 3g
- Trans Fat: 0g
- Carbohydrates: 15g
- Fiber: 1g
- Protein: 2g
- Cholesterol: 50mg