Magic Candy Cane Cookies

Introduction to Magic Candy Cane Cookies
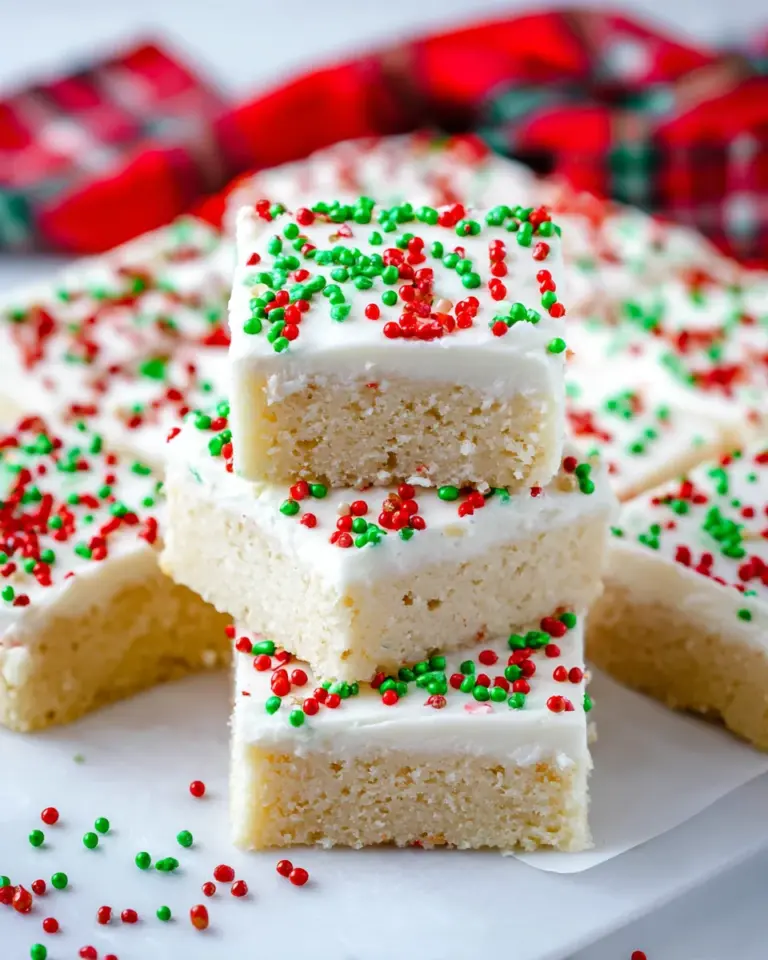
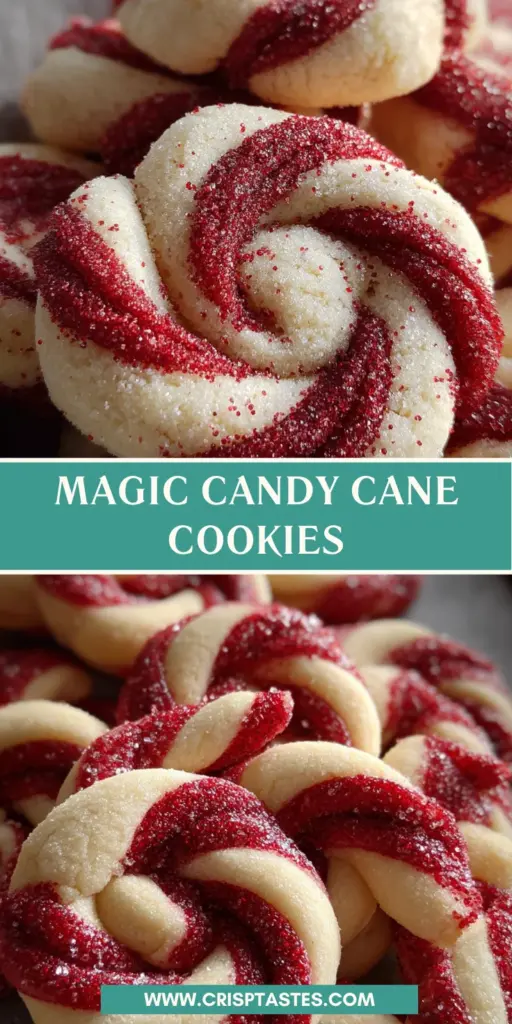
As the holiday season approaches, I find myself dreaming of delightful treats that fill my kitchen with warmth and cheer. These Magic Candy Cane Cookies aren’t just visually stunning with their signature red and white swirls; they also pack a punch of peppermint bliss that makes them utterly irresistible. Perfect for busy moms like me, this recipe is a quick solution for making a festive impression on family and friends. Whether you’re hosting a holiday gathering or just want to surprise the kids, these cookies are sure to bring a smile to everyone’s face!
Why You’ll Love This Magic Candy Cane Cookies
These Magic Candy Cane Cookies are not only a feast for the eyes but are also incredibly easy to make! With just a handful of ingredients and straightforward steps, you can whip up a delightful batch in no time. The taste? Think peppermint heaven wrapped in buttery goodness. Perfect for busy days, these festive cookies will have your loved ones raving, making your holiday season that much brighter!
Ingredients for Magic Candy Cane Cookies
Gathering your ingredients is half the fun, and trust me, these Magic Candy Cane Cookies require some delightful components that are easy to find! Here’s what you’ll need:
- Unsalted butter: This adds richness and creaminess to your cookies. Make sure it’s softened for easy mixing!
- Powdered sugar: This sweet ingredient gives the cookies their lovely texture and makes them melt in your mouth.
- Egg: A large egg brings moisture and binds the ingredients together, ensuring a soft dough.
- Vanilla extract: This adds a warm and sweet aroma that balances the peppermint flavor beautifully.
- Peppermint extract: Essential for that refreshing, minty zing! Feel free to increase the quantity for a stronger taste.
- All-purpose flour: The backbone of your cookie dough, providing structure. Sift it for a lighter texture!
- Salt: A pinch enhances all the flavors, making each bite even more delicious!
- Red gel food coloring: This gives your dough that signature candy cane look. Liquid coloring can work, but gel creates a richer hue.
How to Make Magic Candy Cane Cookies
Now, let’s dive into the fun part: making these delightful Magic Candy Cane Cookies! I promise you, the process is easier than unwrapping a present. With a few simple steps, you’ll have a batch ready to share (or keep all to yourself!).
Step 1 – Cream the Butter and Sugar
Start by taking your softened unsalted butter and powdered sugar. Using a hand mixer, beat them together in a large bowl until the mixture is smooth and fluffy. It should look like a cloud of sweetness! This step is crucial because it incorporates air into the dough, giving your cookies that light texture.
Step 2 – Mix in Eggs and Extracts
Next, add in one large egg, along with both the vanilla and peppermint extracts. Mix until well combined. This is where the magic really begins, as the extracts fill the room with that inviting holiday aroma. Trust me, you’re going to want to take a moment to breathe it all in!
Step 3 – Combine Dry Ingredients
In a separate bowl, whisk together the all-purpose flour and salt. Slowly add this dry mixture to the wet ingredients. Stir until a soft dough forms. You want it to be well-mixed but don’t overdo it! That would result in tough cookies, and nobody wants that! Keep your eyes peeled for those dreamy smooth edges.
Step 4 – Divide and Color the Dough
Once your dough is mixed, divide it in half. Tint one half with red gel food coloring until you achieve your desired festive shade. The other half remains pure and white. Wrap both portions in plastic wrap and chill in the fridge for about 1 hour. This helps the dough hold its shape while baking, so please don’t skip this step!
Step 5 – Roll and Shape
After the dough has chilled, preheat your oven to 180°C. Roll out equal portions of both the red and white dough into thin ropes. Twist them together and shape into those iconic candy cane forms. The twisting technique creates that stunning swirl effect. Just imagine how beautiful they’ll look on your holiday table!
Step 6 – Bake and Cool
Now, place your shaped candies on a parchment-lined baking sheet. Bake for 8 to 10 minutes or until they are set but not browned. The cookies should be firm to the touch. Allow them to cool on the trays before serving. You’ll want to resist the urge to eat them straight from the oven; they’ll be worth the wait!
Tips for Success
- Always use softened butter for optimal mixing and texture.
- Don’t skip chilling the dough; this helps maintain shape and prevents spreading.
- Feel free to adjust the peppermint extract for a bolder flavor.
- For a colorful touch, sprinkle crushed candy canes on top before baking!
- Store cookies in an airtight container to keep them fresh and chewy.
Equipment Needed
- Mixing bowl: A large bowl works best; you can use a stand mixer if you have one for ease.
- Hand mixer: Essential for creaming the butter and sugar; a whisk will do in a pinch!
- Parchment paper: For lining your baking sheet; aluminum foil can be a suitable substitute.
- Baking sheets: Make sure you have a couple on hand for all your cookie baking!
- Plastic wrap: To keep the dough chilled and fresh; a reusable container can also work.
Variations
- Chocolate Drizzle: Melt some dark chocolate and drizzle it over the cooled cookies for an indulgent twist.
- Gluten-Free Option: Substitute all-purpose flour with a gluten-free blend for a gluten-free version.
- Vegan Delight: Use vegan butter and replace the egg with a flax egg (1 tablespoon of flaxseed meal mixed with 2.5 tablespoons of water).
- Fun Sprinkles: Before baking, sprinkle some festive holiday-themed sprinkles on top for an extra pop of color.
- Flavor Variance: Experiment with other extracts like almond or orange to create unique flavor profiles.
Serving Suggestions for Magic Candy Cane Cookies
- Pair these cookies with a warm cup of hot chocolate for a cozy treat.
- Serve them alongside peppermint tea to enhance the minty flavor.
- For a festive touch, arrange them on a decorative platter sprinkled with powdered sugar.
- Gift them in a cute tin as a sweet homemade present for friends.
FAQs about Magic Candy Cane Cookies
Have questions about these enchanting Magic Candy Cane Cookies? You’re not alone! Here are some common queries I’ve come across, along with my answers to make your baking adventure smooth and delightful.
Can I make the dough ahead of time?
Absolutely! You can make the dough in advance and chill it for up to three days in the fridge. Just remember to wrap it tightly in plastic wrap so it stays fresh.
How can I store the cookies after baking?
These cookies can be stored in an airtight container at room temperature for up to one week. If you’re feeling particularly generous, you might want to share some with friends.
What can I do if the dough is too sticky?
If you find your dough getting sticky, just sprinkle a bit of flour on a clean surface and your hands while shaping. This helps manage any stickiness without compromising texture.
Can I freeze the cookies?
Yes! Once they’ve cooled, place the cookies in a freezer-safe container. They’ll stay fresh for up to three months. Just let them thaw at room temperature before serving.
Can I adjust the peppermint flavor?
For sure! If you adore that minty kick, feel free to increase the peppermint extract. Just add a little at a time; tasting as you go helps you find that perfect balance!
Final Thoughts on Magic Candy Cane Cookies
Making these Magic Candy Cane Cookies is more than just baking; it’s about creating joyful moments in your kitchen. The delightful dance of red and white, coupled with that minty aroma, fills your home with holiday spirit. Each bite takes you back to cherished memories of the season, uniting family and friends in sweet bliss. Whether enjoyed warm with a cup of cocoa or gifted in beautiful wrapping, these cookies are a delightful way to spread love and cheer. Trust me, with each crunchy-sweet morsel, you’re not just making cookies; you’re making memories!
Print
Magic Candy Cane Cookies
- Total Time: 1 hour 30 minutes (including chilling)
- Yield: 24 cookies 1x
- Diet: Vegetarian
Description
These Magic Candy Cane Cookies are a festive delight, perfect for the holiday season. With a beautiful red and white spiral design, they’re not only delicious but also visually appealing.
Ingredients
- 225 g unsalted butter, softened
- 120 g powdered sugar
- 1 large egg, at room temperature
- 1 teaspoon vanilla extract
- 0.5 teaspoon peppermint extract
- 315 g all-purpose flour
- 0.5 teaspoon salt
- Red gel food coloring
Instructions
- Beat the softened butter with powdered sugar until the mixture is smooth and fluffy.
- Mix in the egg along with vanilla and peppermint extracts until fully combined.
- In a separate bowl, whisk together flour and salt. Gradually add the dry mixture to the wet ingredients, mixing until a soft dough forms.
- Divide the dough in half. Tint one half with red gel food coloring until desired shade is achieved. Wrap each portion in plastic and chill for 1 hour.
- Preheat the oven to 180°C.
- Roll equal portions of red and white dough into thin ropes. Twist together and shape into candy cane forms.
- Place shaped dough on a parchment-lined baking sheet. Bake for 8 to 10 minutes, or until set but not browned. Cool on trays before serving.
Notes
- For a stronger peppermint flavor, you can increase the amount of peppermint extract.
- Ensure the butter is softened for easy mixing.
- Chilling the dough helps maintain the cookie shape while baking.
- Prep Time: 20 minutes
- Cook Time: 10 minutes
- Category: Dessert
- Method: Baking
- Cuisine: American
Nutrition
- Serving Size: 1 cookie
- Calories: 120
- Sugar: 8 g
- Sodium: 25 mg
- Fat: 6 g
- Saturated Fat: 4 g
- Unsaturated Fat: 1 g
- Trans Fat: 0 g
- Carbohydrates: 14 g
- Fiber: 0 g
- Protein: 1 g
- Cholesterol: 20 mg