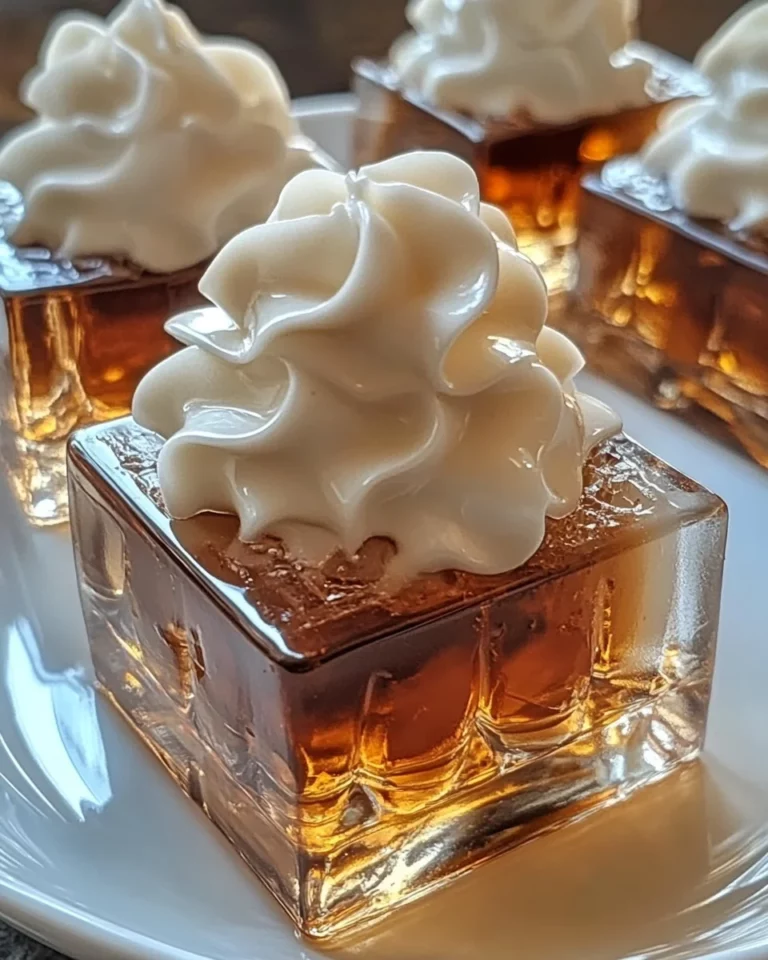
No-Bake Christmas Oreo Lasagna
Introduction to No-Bake Christmas Oreo Lasagna
Hey there, fellow dessert lovers! If you’re juggling a busy schedule but want to whip up something festive, the No-Bake Christmas Oreo Lasagna is here to save the day. Picture this: layers of creamy goodness filled with the classic taste of Oreo cookies and a hint of holiday cheer. It’s not just a dessert; it’s a sweet hug, ready to impress your family and friends at holiday gatherings. Plus, it requires no baking, making it a delightful solution for last-minute preparations. Trust me, everyone will be reaching for seconds!
Why You’ll Love This No-Bake Christmas Oreo Lasagna
This No-Bake Christmas Oreo Lasagna is a holiday miracle—easy to whip up and absolutely delicious! In just 30 minutes of hands-on time, you’ll create a dessert that’s rich, creamy, and oh-so-festive. Its layers bring a delightful texture and flavor that will leave your guests swooning. Plus, it’s a no-fuss recipe that lets you spend less time in the kitchen and more time savoring every special moment with your loved ones!
Ingredients for No-Bake Christmas Oreo Lasagna
Let’s gather everything you need to bring this delicious No-Bake Christmas Oreo Lasagna to life! Here’s what you’ll need:
- Oreo cookies: The star of the show! You can use regular ones or grab those festive holiday-themed Oreos for extra cheer.
- Unsalted butter: This helps bind the crushed Oreos, creating a tasty crust that holds everything together.
- Cream cheese: Softened for easy mixing, it brings that rich, creamy texture that pairs perfectly with the sweetness of the dessert.
- Powdered sugar: This adds just the right amount of sweetness to the cream cheese layer without being overly sugary.
- Heavy whipping cream: This is what will make our cream cheese layer light and fluffy. It’s the magic ingredient!
- Vanilla extract: Just a hint brings warmth and depth to every luscious bite. Pure is best, but imitation works in a pinch.
- Instant vanilla pudding mix: This thickens up our next layer and keeps everything nice and creamy.
- Milk: Whole or low-fat will work here, helping to achieve that classic pudding consistency.
- Mini marshmallows (optional): If you want an additional pop of fluffiness and fun, sprinkle these over the pudding layer.
- Crushed peppermint candies or mini M&Ms (for garnish): These add a festive crunch and vibrant color on top!
- Red and green sprinkles (optional): A little festive flair never hurt anyone, right?
- Extra whole Oreos for topping: Because you can never have too many Oreos, especially when it comes to presentation!
You’ll find the specific quantities at the end of the article for easy printing. Now, let’s dive into the assembly of this delightful treat!
How to Make No-Bake Christmas Oreo Lasagna
Ready to dive into this festive creation? It’s time to layer up! Making this No-Bake Christmas Oreo Lasagna is simple and fun. Let’s go step by step to create a dessert that’ll wow your guests!
Step 1: Prepare the Oreo Crust
First, let’s get that crust ready! Start by placing the Oreo cookies in a food processor and pulse them until they are finely crushed. If you don’t have a food processor, a zip-top bag and a rolling pin work just as well. Just put the cookies in the bag and crush them until they resemble fine crumbs.
Next, combine the crushed Oreos with melted unsalted butter. Mix until the crumbs are evenly coated in butter. This mixture will bind your crust together nicely. Now, press this Oreo-butter mixture firmly into the bottom of a 9×13-inch baking dish. Use the back of a measuring cup for even pressure, ensuring it’s compact and level. Set aside while you prepare the next layer!
Step 2: Make the Cream Cheese Layer
Now for the creamy magic! In a large mixing bowl, beat the softened cream cheese and powdered sugar together until it’s smooth. I find using a hand mixer does the trick quickly, but a whisk works too if you’re feeling energetic!
In a separate bowl, whip the heavy cream with vanilla extract until stiff peaks form. This means it keeps its shape when you lift the beaters out! Now, gently fold this whipped cream into your cream cheese mixture. Be careful to maintain that airy texture. Spread the cream cheese layer evenly over the Oreo crust. It’s going to look scrumptious!
Step 3: Make the Pudding Layer
On to the pudding layer! In another bowl, whisk together the instant vanilla pudding mix with milk. This step is key, so whisk until creamy and free of lumps. Let the mixture sit for about 2 minutes to thicken up a bit.
Once thickened, spoon this pudding layer carefully over the cream cheese layer. Try spreading it gently to keep the layers distinct and beautiful. You’re well on your way to a stunning No-Bake Christmas Oreo Lasagna!
Step 4: Top with Marshmallows (Optional)
If you’re feeling adventurous, now’s the time to add mini marshmallows! Sprinkle them on top of the pudding layer. They’ll melt into delightful little pockets of fluffiness as the lasagna chills. If you prefer a cleaner look, feel free to skip this step!
Step 5: Chill
It’s time for the lasagna to chill out. Cover the dish with plastic wrap or a lid and refrigerate for at least 3 hours, or until it has fully set. This chilling time is crucial; it allows the layers to firm up, making it easier to slice when you’re ready to serve!
Step 6: Garnish and Serve
Finally, let’s make it pretty! Before serving, sprinkle the No-Bake Christmas Oreo Lasagna with crushed peppermint candies, red and green sprinkles, and add extra whole Oreos on top. This not only enhances the festive look but adds a delightful crunch!
Slice the lasagna into squares and serve chilled. I promise your guests will be raving about every indulgent bite!

Tips for Success
- Make sure your cream cheese is softened for easy mixing—this helps avoid lumps.
- Feel free to use a mixer for the whipped cream to achieve those perfect stiff peaks!
- Don’t skip the chilling time; it’s essential for setting those layers beautifully.
- Get creative with the toppings—use your favorite candies or nuts!
- If you’re short on time, prepare it a day in advance for perfect flavors.
Equipment Needed
- Food processor: For crushing Oreos. A zip-top bag and rolling pin work too!
- Mixing bowls: You’ll need a couple for mixing different layers.
- Hand mixer: To whip the cream. A whisk can be used if you prefer a workout!
- 9×13-inch baking dish: Holds all those delicious layers together.
- Plastic wrap or lid: For covering while it chills in the fridge.
Variations
- Chocolate Lovers: Swap half of the Oreos for chocolate sandwich cookies to create a double chocolate delight!
- Pumpkin Spice Twist: Mix in some pumpkin puree and pumpkin spice into the cream cheese layer for a fall-inspired treat.
- Gluten-Free Option: Use gluten-free Oreos to make this dessert suitable for those with gluten sensitivities.
- Nutty Touch: Add crushed nuts, like walnuts or pecans, between the layers for added crunch and flavor.
- Fruit Added: Incorporate fresh berries, such as strawberries or raspberries, into the pudding layer for a burst of fruitiness.
Serving Suggestions
- Pair with Coffee: Serve alongside a hot cup of coffee or cocoa for a delightful after-dinner treat.
- Festive Platter: Arrange slices on a decorative platter with colorful holiday accents for a festive look.
- Ice Cream Add-On: Consider adding a scoop of vanilla or peppermint ice cream for an extra indulgence.
- Seasonal Fruit: Fresh fruit, like strawberries or cranberries, can add a refreshing contrast to the rich layers.
FAQs about No-Bake Christmas Oreo Lasagna
Can I make No-Bake Christmas Oreo Lasagna ahead of time?
Absolutely! This dessert is perfect for making a day in advance. Just cover it tightly and store it in the refrigerator. The flavors meld beautifully overnight.
What if I’m out of heavy whipping cream?
If heavy whipping cream is unavailable, you can use cool whip or a whipped topping as a substitute. It won’t be quite the same, but it’ll still be delicious!
Can I use different flavors of pudding for variety?
Definitely! Vanilla, chocolate, or even butterscotch pudding can give your No-Bake Christmas Oreo Lasagna a unique twist. Feel free to experiment!
How should I store leftovers?
Store any leftovers in an airtight container in the refrigerator. Enjoy them within 3-4 days for the best taste and texture.
Is this dessert suitable for parties?
For sure! The No-Bake Christmas Oreo Lasagna is visually stunning and super creamy, making it a hit at holiday gatherings. Your guests will be asking for the recipe!
Final Thoughts
Creating this No-Bake Christmas Oreo Lasagna is more than just whipping up a dessert; it’s about bringing joy to your holiday gatherings. As you layer the flavors of nostalgia and celebration, you’ll find yourself smiling at the reactions this dessert evokes. It’s easy, quick, and utterly scrumptious—perfect for busy moms, professionals, or anyone wanting to bring a festive touch to the table without the fuss of baking. Whether it’s for a family get-together or a holiday party, this delightful treat ensures that sweet memories are made, one slice at a time!
Print
No-Bake Christmas Oreo Lasagna
- Total Time: 3 hours 30 minutes
- Yield: 12 servings 1x
- Diet: Vegetarian
Description
A festive and fun dessert that combines the flavors of Oreo cookies and cream cheese in a layered lasagna format, perfect for holiday gatherings.
Ingredients
- 1 package (15.35 oz) Oreo cookies (regular or holiday-themed)
- 1/4 cup unsalted butter, melted
- 1 package (8 oz) cream cheese, softened
- 1/4 cup powdered sugar
- 2 cups heavy whipping cream
- 1 teaspoon vanilla extract
- 1 package (3.4 oz) instant vanilla pudding mix
- 2 cups milk
- 1 cup mini marshmallows (optional, for extra fluffiness)
- 1/2 cup crushed peppermint candies or mini M&Ms (for garnish)
- Red and green sprinkles (optional, for decoration)
- Extra whole Oreos for topping
Instructions
- Prepare the Oreo Crust: In a food processor, pulse the Oreo cookies (reserve some for topping) until finely crushed. Combine the crushed Oreos with melted butter and mix until the crumbs are evenly coated. Press this mixture into the bottom of a 9×13-inch baking dish to form a crust. Set aside.
- Make the Cream Cheese Layer: In a large mixing bowl, beat the softened cream cheese and powdered sugar together until smooth. In a separate bowl, beat the heavy whipping cream and vanilla extract until stiff peaks form. Fold the whipped cream into the cream cheese mixture until fully combined. Spread this mixture over the Oreo crust in the baking dish.
- Make the Pudding Layer: In another bowl, whisk together the instant vanilla pudding mix and milk. Let it sit for about 2 minutes to thicken. Spread the pudding layer evenly over the cream cheese layer in the dish.
- Top with Marshmallows (Optional): For an extra fluffy layer, sprinkle mini marshmallows over the pudding layer.
- Chill: Refrigerate the lasagna for at least 3 hours or until it’s set. The layers should firm up, making it easy to slice.
- Garnish and Serve: Before serving, garnish the lasagna with crushed peppermint candies, sprinkles, and whole Oreo cookies for a festive touch. Slice into squares and enjoy!
Notes
- Make sure the cream cheese is softened for easy mixing.
- You can customize the garnish with other holiday-themed candies if desired.
- This dessert can be made a day ahead for convenience.
- Prep Time: 30 minutes
- Cook Time: 0 minutes
- Category: Dessert
- Method: No-Bake
- Cuisine: American
Nutrition
- Serving Size: 1 square
- Calories: 350
- Sugar: 25g
- Sodium: 150mg
- Fat: 25g
- Saturated Fat: 15g
- Unsaturated Fat: 5g
- Trans Fat: 0g
- Carbohydrates: 30g
- Fiber: 2g
- Protein: 3g
- Cholesterol: 60mg


