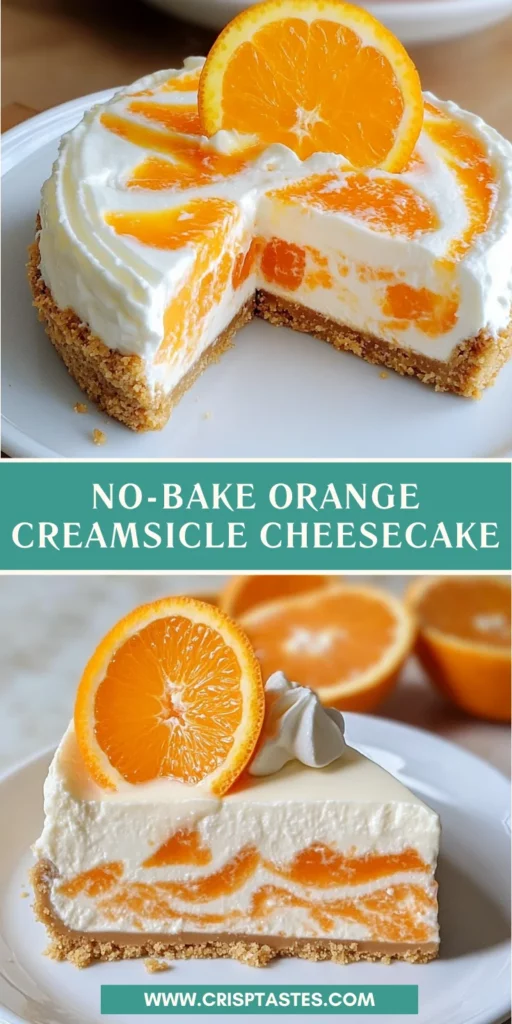
No-Bake Orange Creamsicle Cheesecake

Introduction to No-Bake Orange Creamsicle Cheesecake
As a busy mom, I know how precious time can be, especially when it comes to whipping up something special for my family. That’s why I absolutely adore this No-Bake Orange Creamsicle Cheesecake! It’s a delightful treat that captures the nostalgic flavors of summer in every creamy bite. With no baking required, it’s the perfect solution for those hectic days when you want to impress your loved ones without spending hours in the kitchen. Trust me, this cheesecake will have everyone asking for seconds, and you’ll love how easy it is to make!
Why You’ll Love This No-Bake Orange Creamsicle Cheesecake
This No-Bake Orange Creamsicle Cheesecake is a game-changer for busy days. It’s incredibly easy to whip up, requiring minimal effort and no oven time. The refreshing orange flavor is like a burst of sunshine, making it a hit with both kids and adults. Plus, it’s a make-ahead dessert, so you can prepare it in advance and enjoy stress-free entertaining. What’s not to love?
Ingredients for No-Bake Orange Creamsicle Cheesecake
Gathering the right ingredients is the first step to creating this delightful No-Bake Orange Creamsicle Cheesecake. Here’s what you’ll need:
- Orange Jello: This adds that signature orange flavor and vibrant color. It’s the heart of the cheesecake!
- Boiling Water: Essential for dissolving the jello powder, ensuring a smooth mixture.
- Graham Cracker Crumbs: These form the crust, providing a sweet and crunchy base. You can use store-bought or crush your own!
- Unsalted Butter: Melted butter binds the crust together, giving it a rich flavor. Unsalted is best to control the saltiness.
- Pinch of Salt: Just a touch enhances the sweetness of the crust and filling.
- Cream Cheese: Softened cream cheese creates a creamy, luscious filling. Make sure it’s at room temperature for easy mixing.
- Powdered Sugar: This sweetens the cheesecake and helps achieve a smooth texture. You’ll use it in both the filling and whipped cream.
- Heavy Whipping Cream: Whipped to fluffy perfection, it lightens the filling and adds a dreamy texture.
- Vanilla Extract: A splash of vanilla enhances the overall flavor, making it even more delicious.
- Orange Zest (optional): For those who crave a stronger orange flavor, zest adds a lovely aromatic touch.
For exact measurements, check the bottom of the article where you can find everything listed for easy printing. Happy cooking!
How to Make No-Bake Orange Creamsicle Cheesecake
Now that you have all your ingredients ready, let’s dive into the fun part—making this No-Bake Orange Creamsicle Cheesecake! Follow these simple steps, and you’ll have a stunning dessert that’s sure to impress.
Step 1: Make the Orange Jello
Start by preparing the orange jello. In a heat-proof bowl, combine the orange jello powder with boiling water. Whisk it together until it’s fully dissolved. This step is crucial, as it ensures a smooth texture. Once mixed, set it aside to cool completely for about 30 minutes. Patience is key here; if it’s not cool, it won’t blend well later!
Step 2: Prepare the Springform Pan
Next, let’s get the springform pan ready. Spray the sides and bottom with cooking spray to prevent sticking. Then, line the bottom and sides with parchment paper. This little trick makes it so much easier to remove the cheesecake later. Trust me, you’ll thank yourself when it’s time to serve!
Step 3: Make the Crust
Now, it’s time to create that delicious crust. In a medium bowl, mix the Graham cracker crumbs, melted butter, and a pinch of salt. Stir until everything is well combined. Press this mixture evenly into the bottom of your prepared pan, and slightly up the sides. Use the back of a measuring cup to pack it down firmly. Then, pop it in the freezer for at least 30 minutes to set.
Step 4: Prepare the Cheesecake Filling
While the crust is chilling, let’s whip up the cheesecake filling. In a large bowl, beat the softened cream cheese and 1 cup of powdered sugar with an electric mixer. Mix until it’s smooth and creamy, about 2 minutes. This is where the magic begins! Set this mixture aside for now.
Step 5: Whip the Cream
In a separate bowl, it’s time to whip the heavy cream. Add the remaining 1/2 cup of powdered sugar, vanilla extract, and optional orange zest. Beat until stiff peaks form. This fluffy cream will lighten up your cheesecake filling. Gently fold half of this whipped cream into the cream cheese mixture until just combined. Be careful not to deflate it!
Step 6: Combine Mixtures
Now, take the cooled jello mixture and fold in the remaining whipped cream. This step is where the cheesecake gets its vibrant color and flavor. Gently mix until everything is well incorporated. You want to keep that airy texture, so be gentle!
Step 7: Assemble the Cheesecake
It’s assembly time! Alternate spooning the cream cheese mixture and the jello mixture into the prepared crust. Create beautiful layers as you go. Use a butter knife to gently swirl the two together for a marbled effect. It’s like painting with dessert!
Step 8: Chill the Cheesecake
Finally, cover the cheesecake with plastic wrap and refrigerate it for at least 6 hours, or overnight if you can wait. This chilling time is essential for the cheesecake to set properly. The longer it chills, the better the flavors meld together. When you’re ready to serve, remove the sides of the springform pan, and enjoy your masterpiece!
Tips for Success
- Make sure your cream cheese is at room temperature for easy mixing.
- Allow the jello to cool completely before combining it with the whipped cream.
- For a firmer cheesecake, let it chill overnight.
- Use a measuring cup to pack the crust tightly for a sturdy base.
- Don’t rush the folding process; be gentle to keep the mixture light and airy.
Equipment Needed
- 9-inch Springform Pan: Essential for easy removal. A regular pie dish works too, but slicing will be trickier.
- Mixing Bowls: Use a variety of sizes for mixing ingredients. Any bowl will do!
- Electric Mixer: A hand mixer is perfect, but a whisk can work if you’re feeling strong!
- Whisk: Handy for mixing the jello and cream.
- Spatula: Great for folding and scraping down the sides of bowls.
Variations of No-Bake Orange Creamsicle Cheesecake
- Chocolate Orange: Add a layer of chocolate ganache on top for a decadent twist. Just melt some chocolate and pour it over the set cheesecake.
- Fruit Swirl: Incorporate fresh fruit puree, like mango or strawberry, into the jello mixture for a fruity surprise.
- Gluten-Free Option: Substitute the Graham cracker crumbs with gluten-free cookies or almond flour for a gluten-free crust.
- Vegan Version: Use vegan cream cheese and coconut cream instead of heavy whipping cream for a plant-based delight.
- Lower Sugar: Replace powdered sugar with a sugar substitute like erythritol for a lower-sugar version without sacrificing taste.
Serving Suggestions for No-Bake Orange Creamsicle Cheesecake
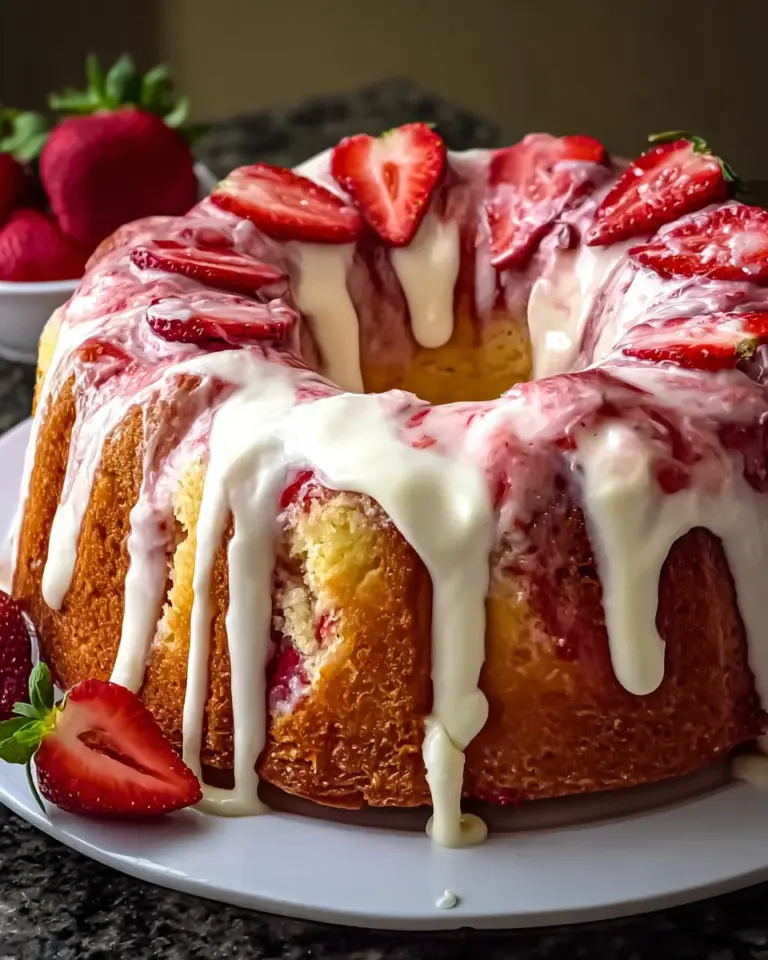
- Pair with fresh berries like strawberries or blueberries for a pop of color and flavor.
- Serve with a dollop of whipped cream on top for extra creaminess.
- Drizzle with chocolate or caramel sauce for a decadent touch.
- Enjoy with a refreshing glass of iced tea or lemonade.
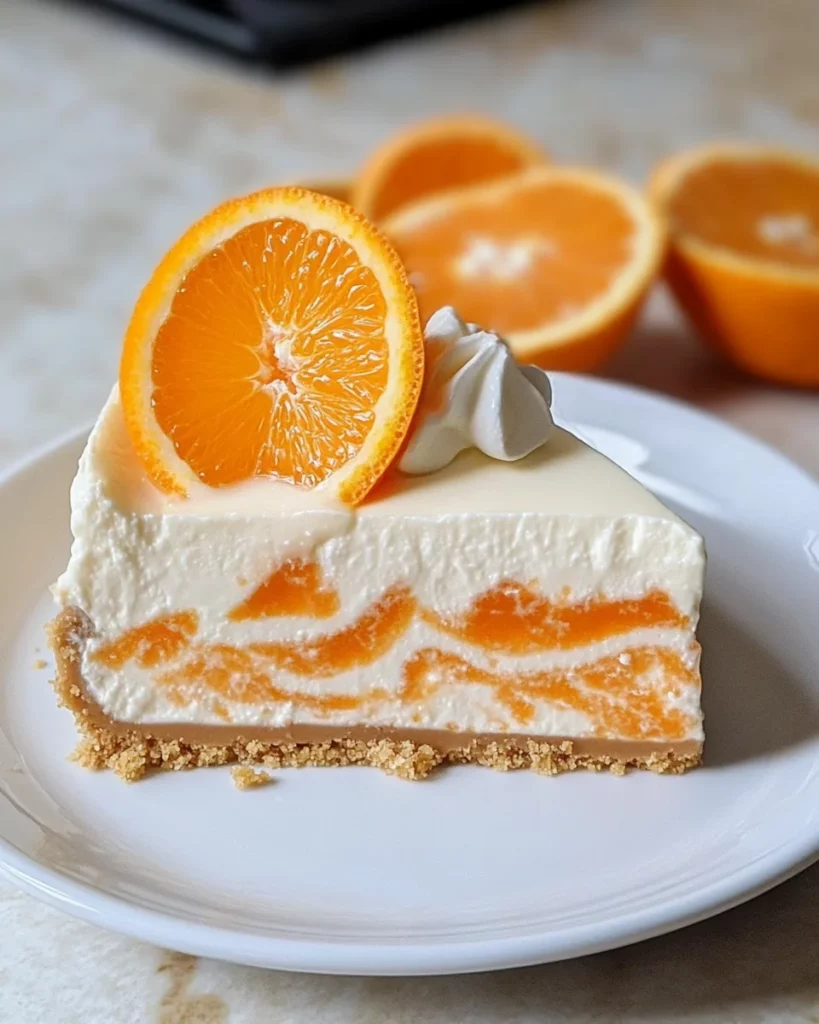
- Garnish with orange slices or zest for a beautiful presentation.
FAQs about No-Bake Orange Creamsicle Cheesecake
Can I make this No-Bake Orange Creamsicle Cheesecake ahead of time?
Absolutely! In fact, I recommend making it a day in advance. This allows the flavors to meld beautifully and ensures a firmer texture. Just cover it well and store it in the refrigerator until you’re ready to serve.
What can I use instead of orange jello?
If you’re looking for a different flavor, you can substitute orange jello with other fruit-flavored jello, like peach or strawberry. Just keep in mind that the color and taste will change, but it’ll still be delicious!
How do I store leftovers?
Store any leftover cheesecake in the refrigerator, covered tightly. It should stay fresh for up to three days. Just be sure to keep it well-wrapped to maintain its creamy texture.
Can I freeze this cheesecake?
Yes, you can freeze the No-Bake Orange Creamsicle Cheesecake! Just make sure to wrap it tightly in plastic wrap and then in aluminum foil. It can be frozen for up to a month. Thaw it in the refrigerator before serving.
What can I do if my cheesecake doesn’t set properly?
If your cheesecake hasn’t set, it might need more chilling time. Sometimes, the jello needs a little extra time to firm up. Just pop it back in the fridge for a few more hours, and it should be good to go!
Final Thoughts
Creating this No-Bake Orange Creamsicle Cheesecake is more than just making a dessert; it’s about bringing joy to your family and friends. The vibrant flavors and creamy texture evoke memories of carefree summer days, making every bite a delightful experience. I love how this recipe allows me to spend less time in the kitchen and more time with my loved ones. Plus, the smiles on their faces when they take that first bite? Absolutely priceless! So, gather your ingredients, unleash your inner chef, and enjoy the sweet moments that come with sharing this delightful treat.
Print
No-Bake Orange Creamsicle Cheesecake
- Total Time: 6 hours 30 minutes
- Yield: 8 servings 1x
- Diet: Vegetarian
Description
A creamy and refreshing no-bake cheesecake that captures the delightful flavors of orange creamsicles.
Ingredients
- 1 (3 ounce) box orange jello
- 1 cup boiling water
- 2 cups Graham Cracker crumbs (about 14 sheets)
- 6 tablespoon unsalted butter, melted
- pinch salt
- 2 (8 ounce) blocks cream cheese, softened
- 1 1⁄2 cups powdered sugar, divided
- 2 cups heavy whipping cream
- 1⁄2 teaspoon vanilla extract
- zest of 1 orange, optional
Instructions
- Make the orange jello: Add the orange jello powder and boiling water to a heat-proof bowl. Whisk until well combined, then set aside to cool fully, about 30 minutes.
- Spray a 9-inch springform pan with cooking spray and line the bottom and sides with parchment.
- Make the crust: In a medium bowl, mix the Graham Cracker crumbs, melted butter, and salt until well combined. Press the mixture evenly into the bottom and slightly up the sides of the pan. Place in the freezer for at least 30 minutes.
- Make the cheesecake filling: In a large bowl, beat the softened cream cheese and 1 cup powdered sugar with an electric mixer until smooth and creamy, about 2 minutes. Set aside.
- In a separate bowl, whip the heavy cream, 1/2 cup powdered sugar, vanilla extract, and orange zest until stiff peaks form. Gently fold half of the whipped cream into the cream cheese mixture until combined.
- Fold the remaining whipped cream into the cooled jello mixture.
- Assemble: Alternate spooning the cream cheese and jello mixtures into the prepared crust, creating layers. Use a butter knife to gently swirl the two together.
- Cover and refrigerate the cheesecake for at least 6 hours or overnight until completely set.
- When ready to serve, remove the sides of the springform pan. If desired, pipe dollops of whipped cream around the edges and garnish with orange slices. Slice and enjoy!
Notes
- For best results, allow the cheesecake to set overnight.
- Optional: Add more orange zest for a stronger flavor.
- Store leftovers in the refrigerator for up to 3 days.
- Prep Time: 30 minutes
- Cook Time: 0 minutes
- Category: Dessert
- Method: No-Bake
- Cuisine: American
Nutrition
- Serving Size: 1 slice
- Calories: 350
- Sugar: 25g
- Sodium: 200mg
- Fat: 25g
- Saturated Fat: 15g
- Unsaturated Fat: 5g
- Trans Fat: 0g
- Carbohydrates: 30g
- Fiber: 1g
- Protein: 4g
- Cholesterol: 70mg

Howdy would you mind letting me know which web host you’re using?
I’ve loaded your blog in 3 different web browsers and I must
say this blog loads a lot faster then most. Can you suggest a good hosting provider at a reasonable price?
Thanks, I appreciate it!
Thanks so much for your kind words I’m glad to hear the blog loads quickly for you! I’m using a hosting service that’s been reliable and budget-friendly, and I’ll be happy to share more details if you’d like.
Since you found your way here through the No-Bake Orange Creamsicle Cheesecake recipe, I’m curious are no-bake desserts something you often make at home, or do you prefer turning on the oven for classic baked treats? I’d love to hear about your go-to dessert style!