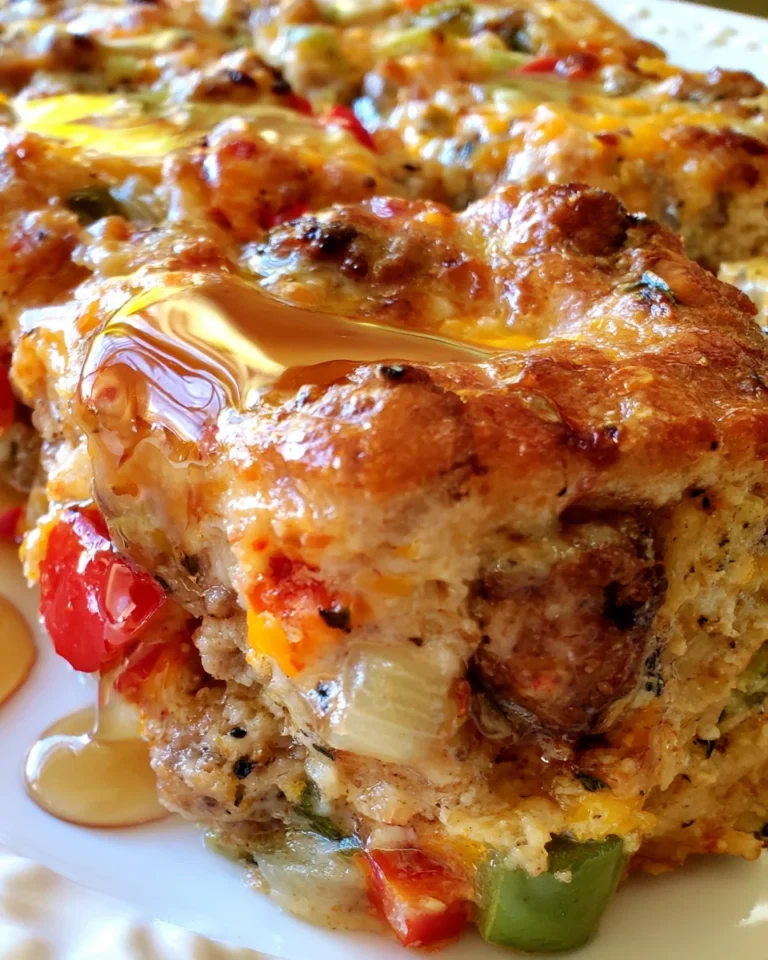
Bread in a Bag: Effortless Recipe for Fresh Loaves!

Introduction to Bread in a Bag
Life gets busy, doesn’t it? Between work, family, and a never-ending to-do list, the last thing we need is a complicated recipe. That’s where my love for Bread in a Bag comes in! This effortless recipe transforms simple ingredients into fresh, delightful loaves without the usual mess of bread-making. It’s the perfect quick solution for a hectic day or a delicious treat that’ll impress your loved ones. Imagine the warm aroma wafting through your home as you bake! Let’s dive into this fun adventure and bring the joy of homemade bread into your kitchen!
Why You’ll Love This Bread in a Bag
This Bread in a Bag recipe is like a culinary hug; it’s incredibly easy and quick! With just a few simple ingredients, you can craft beautiful loaves without the fuss. Picture yourself whisking together flour and yeast in a bag, with minimal dishes to clean afterward. Plus, the joy of pulling a warm loaf from your oven makes all the busy moments worth it. It’s homemade happiness at its finest!
Ingredients for Bread in a Bag
Gathering the right ingredients is like finding the perfect puzzle pieces to create a lovely loaf. For this Bread in a Bag recipe, you’ll need a few staples, readily available in your pantry. Here’s what you’ll need:
- All-Purpose Flour: This is your main building block. It provides structure and strength to your bread.
- Granulated Sugar: A little sweetness helps activate the yeast and enhances flavor.
- Rapid-Rise Yeast: This magical ingredient makes the dough rise quickly, saving you time.
- Olive Oil or Vegetable Oil: Healthy fats enrich the dough, making it soft and tender.
- Salt: A crucial player that enhances flavor and controls yeast activity.
- Warm Water: At around 110°F, it’s essential for activating the yeast properly.
- Melted Butter (optional): Brush this on after baking for a lovely golden finish and extra flavor.
Feel free to add a twist! You can incorporate herbs like rosemary or even cheese for an extra flavor boost. If you’re looking for gluten-free options, a 1:1 gluten-free flour blend can work too. The exact quantities for each ingredient are shared at the bottom of this article, making it easy for you to print and follow.

How to Make Bread in a Bag
Now, let me guide you through each step of this delightful Bread in a Bag adventure. It’s as straightforward as pie, or should I say, bread? You’ll be amazed at how easy and fun this process is!
Activate the Yeast
Let’s kick things off by activating our yeast. This is a crucial first step! Combine warm water, sugar, and the rapid-rise yeast in your large gallon-size zip-top bag. Now, seal that bag tight and squish it around gently for about 30 seconds. What you’re doing is coaxing the yeast to wake up. After that, set the bag aside for about 5 to 10 minutes. You should see a foamy layer on top; that’s a sign your yeast is busy and happy!
Add Oil and First Flour Addition
Once your yeast is all bubbly, it’s time to add some flavor! Open the bag and pour in the olive oil along with 1 cup of flour. Reseal the bag, and squish it again until everything is mixed smoothly. This part is so satisfying! You’re already creating something special.
Add Remaining Flour and Salt
Now, let’s take it to the next level. Add the remaining 2 cups of flour and salt to the bag. Seal it up tight and knead the bag for about 5 to 7 minutes. This is where the magic happens! You’re developing that lovely gluten structure that will give your bread a nice chew. It’s like giving your dough a warm hug!
Shape the Dough
After all that kneading, it’s time to bring the dough to a more traditional form. Remove it from the bag and place it on a floured surface. Knead the dough by hand for an additional minute or so. Then you can divide it into three portions if you want mini loaves, or keep it all together for one larger loaf. Shape those portions into loaves that fit in your greased pans. Isn’t this fun?
Rise
Now the dough needs some time to rise. Place your shaped dough in the greased pans and cover them. Find a warm spot in your kitchen—like near the oven or in a sunny window. Let the dough rise for 30 to 45 minutes until it’s beautifully puffy. This step is important because it gives your bread that soft, airy texture. Yum!
Bake
Preheat your oven to 375°F (190°C) while the dough is rising. This gives your bread the perfect launchpad! When your dough has risen nicely, pop in the mini loaves for 18 to 22 minutes or a standard loaf for 25 to 30 minutes. Your kitchen will fill with an irresistible aroma, making it hard to wait!
Cool and Finish
Finally, once the baking time is over, let the loaves cool in their pans for about 10 minutes. This cooling time helps set the crust. After that, carefully transfer them to a wire rack. If you’d like, you can brush the tops with melted butter for a shiny finish and an extra burst of flavor. There you have it—delicious Bread in a Bag ready to enjoy!
Tips for Success
- Measure your ingredients accurately to ensure a perfect rise.
- Warm water is key; too hot can kill the yeast!
- Don’t rush the rising time; let the dough double in size.
- Experiment with add-ins like garlic or cheese for extra flavor.
- Seal your bag well to avoid any spills during the mixing process.
Equipment Needed
- Large Gallon-Size Zip-Top Bag: Essential for mixing; use a mixing bowl if preferred.
- Measuring Cups: Accurate measurements matter; any standard measuring cups will do.
- Greased Baking Pans: Use any oven-safe dish; a muffin tin works for mini loaves.
- Wire Rack: For cooling; a plate can substitute if you don’t have one.
Variations on Bread in a Bag
- Herb-Infused: Add dried herbs like rosemary or thyme for a savory twist.
- Cheesy Delight: Mix in shredded cheese such as cheddar or mozzarella for a cheesy bread experience.
- Sweet Treat: Incorporate cinnamon and sugar to the dough for a delightful breakfast bread.
- Whole Wheat Swap: Substitute half of the all-purpose flour with whole wheat flour for added nutrition.
- Gluten-Free Option: Use a 1:1 gluten-free flour mix to create a gluten-free version of this delightful bread.
Serving Suggestions for Bread in a Bag
- Perfect Pairing: Serve with a rich bowl of homemade soup for a comforting meal.
- Breakfast Delight: Spread with butter and your favorite jam for a lovely start to your day.
- Elegant Snack: Slice and serve alongside a cheese platter for an impressive appetizer.
- Dip Delight: Pair with olive oil and balsamic vinegar for an exciting dipping experience.
FAQs about Bread in a Bag
As you embark on your Bread in a Bag journey, you might have a few questions. I’m here to help you navigate any concerns you might have along the way!
Can I use active dry yeast instead of rapid-rise yeast?
Absolutely! Just be prepared to let the dough rise longer since active dry yeast takes more time to activate. It’s still a great option!
What if my bread doesn’t rise?
Don’t panic! Check that your yeast is fresh and that the water was warm enough. If your dough didn’t rise, it’s typically due to inactive yeast or a cold environment.
Can I add herbs or spices to the dough?
Yes, yes, yes! Feel free to sprinkle in your favorite herbs or spices. They’re great for adding a personal touch to your easy bread recipe.
How should I store leftover bread?
Store any leftover bread in an airtight bag at room temperature. If you have a lot left, I recommend freezing slices for later enjoyment!
Can I double the recipe?
Certainly! Just make sure you have enough space in your mixing area and baking pans. Doubling the fun is totally doable!
Final Thoughts
There’s something truly magical about making Bread in a Bag. It’s not just about the bread itself; it’s the journey that brings warmth to the kitchen and joy to the table. The process is simple yet rewarding, allowing you to bond with your family over delicious, homemade loaves. Whether you’re sharing a warm slice with friends or enjoying a quiet moment with your favorite jam, this recipe brings a bit of happiness to your busy life. So roll up your sleeves, embrace the mess, and relish the simple pleasures of homemade bread—your kitchen deserves it!
Print
Bread in a Bag
- Total Time: 1 hour 5 minutes
- Yield: 3 mini loaves or 1 standard loaf 1x
- Diet: Vegetarian
Description
An effortless recipe for making fresh loaves of bread using a bag, perfect for beginners and home bakers.
Ingredients
- 3 cups all-purpose flour, plus extra for dusting
- 3 teaspoons granulated sugar
- 1 packet rapid-rise yeast (2¼ teaspoons)
- 3 tablespoons olive oil or vegetable oil
- 1¼ teaspoons salt
- 1 cup warm water (110°F / 43°C)
- 1 tablespoon melted butter (optional, for brushing after baking)
Instructions
- ACTIVATE THE YEAST: Add warm water, sugar, and yeast to a large gallon-size zip-top bag, seal, and squish for about 30 seconds. Set aside for 5–10 minutes until foamy.
- ADD OIL AND FIRST FLOUR ADDITION: Open the bag, add olive oil and 1 cup of flour, reseal, and squish until smooth.
- ADD REMAINING FLOUR AND SALT: Add remaining 2 cups of flour and salt, seal, and knead inside the bag for 5–7 minutes.
- SHAPE THE DOUGH: Remove dough, knead by hand for 1–2 minutes, divide into 3 portions or leave whole, and shape into loaves.
- RISE: Place dough in greased pans, cover, and let rise in a warm place for 30–45 minutes.
- BAKE: Preheat oven to 375°F (190°C). Bake mini loaves for 18–22 minutes or one standard loaf for 25–30 minutes.
- COOL AND FINISH: Cool for 10 minutes in pans, transfer to a wire rack, and brush with melted butter.
Notes
- Ensure the water temperature is at 110°F for optimal yeast activation.
- You can add herbs or cheese to the dough for additional flavor if desired.
- Prep Time: 15 minutes
- Cook Time: 22 minutes for mini loaves, 30 minutes for standard loaf
- Category: Baking
- Method: Baking
- Cuisine: American
Nutrition
- Serving Size: 1 slice
- Calories: 120
- Sugar: 1g
- Sodium: 150mg
- Fat: 3g
- Saturated Fat: 0.5g
- Unsaturated Fat: 2.5g
- Trans Fat: 0g
- Carbohydrates: 20g
- Fiber: 1g
- Protein: 4g
- Cholesterol: 0mg