Patriotic Chocolate Chip Cookie Cups: Bake with Joy!

Introduction to Patriotic Chocolate Chip Cookie Cups
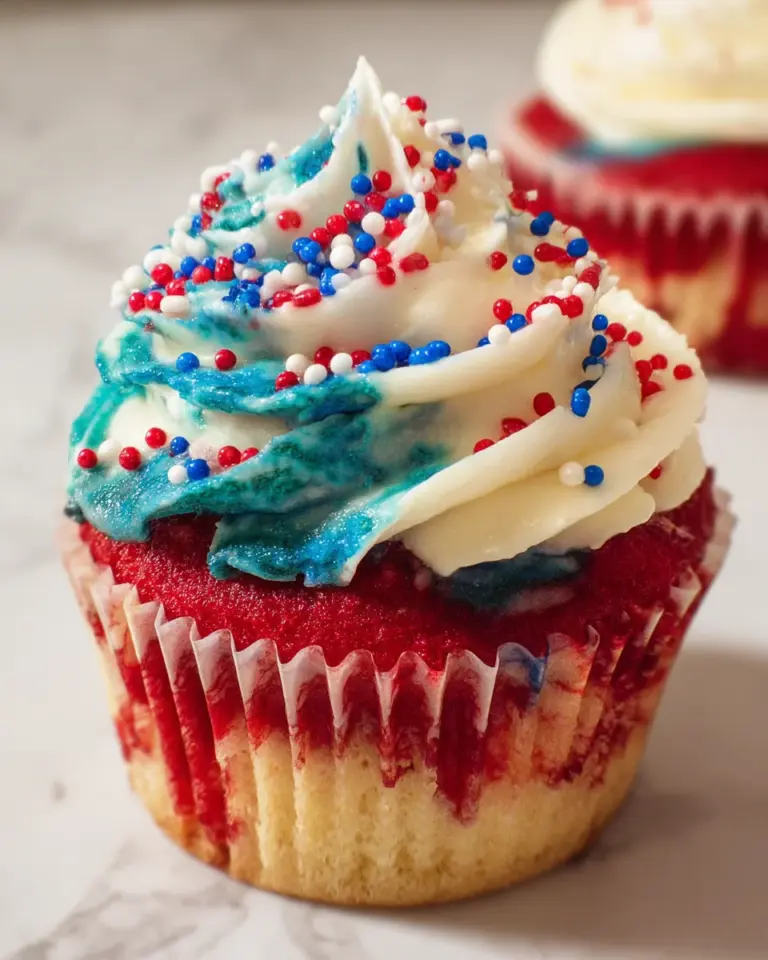
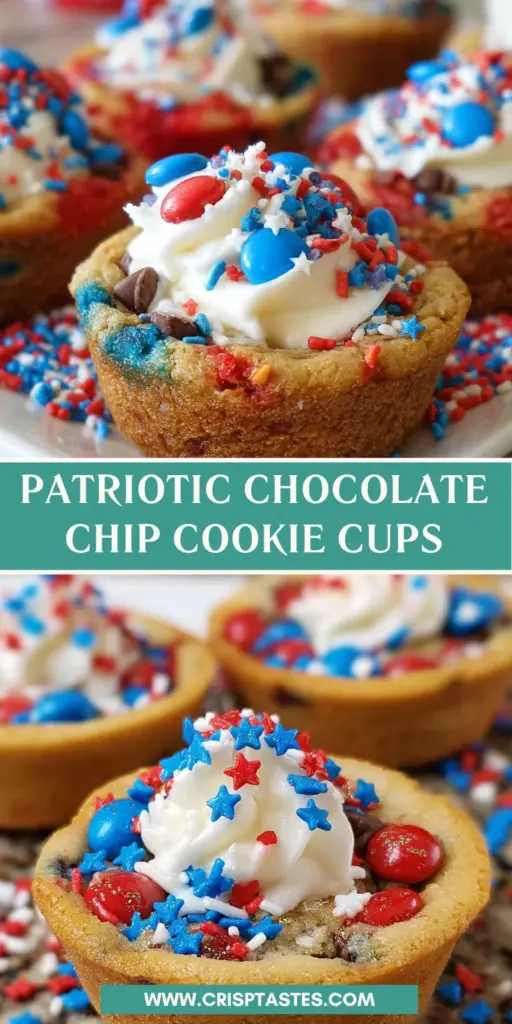
As a busy mom, I know how quickly life can get chaotic. That’s why I’m thrilled to share my recipe for Patriotic Chocolate Chip Cookie Cups. These delightful cookie cups are perfect for a family gathering or just to bring a little extra joy to your day. The vibrant colors and rich flavors will impress your loved ones, while the straightforward preparation keeps stress at bay. Whether it’s a holiday celebration or a simple afternoon treat, these cookie cups are a quick solution that makes baking a breeze, bringing smiles with every bite!
Why You’ll Love This Patriotic Chocolate Chip Cookie Cups
These Patriotic Chocolate Chip Cookie Cups are a breeze to make, perfect for busy schedules. With just a handful of ingredients and easy steps, you’ll have deliciousness in no time. The gooey centers and colorful frosting are sure to impress your friends and family. They’re not only tasty but also a fun way to celebrate special occasions with a splash of cheer. Who wouldn’t love them?
Ingredients for Patriotic Chocolate Chip Cookie Cups
Now let’s dive into the fun part: gathering everything you’ll need for these delightful cookie cups! Each ingredient plays a role in creating that mouthwatering flavor. While exact measurements are listed at the bottom of the article, here’s what you’ll need:
- Unsalted butter: Essential for a rich, creamy texture. I love using room temperature butter, as it blends smoothly.
- Brown sugar: It adds a distinct sweetness and moisture, giving your cookie cups a delightful chewiness.
- Granulated sugar: This contributes to the cookie’s crisp edges and overall sweetness.
- Egg: Acts as a binder, helping to hold everything together while adding some richness.
- Vanilla extract: A splash of this magic potion enhances the flavor, making everything taste even more divine.
- All-purpose flour: The backbone of your cookie dough, providing structure and stability.
- Baking soda: This little leavening agent helps your cookie cups rise beautifully.
- Cornstarch: It makes the cookie cups soft and tender, giving that melt-in-your-mouth quality.
- Salt: Just a pinch elevates the sweetness and brings out all the flavors.
- Semi-sweet chocolate chips: Essential for that gooey, chocolatey goodness we all crave.
- Chopped M&Ms: They add a pop of color and crunchy sweetness; a nod to that festive vibe!
- Red, white, and blue sprinkles: For making these cookie cups truly patriotic and fun!
- Salted butter and shortening (for frosting): Together, they create a smooth and creamy frosting that’s perfect for decorating.
- Powdered sugar: The key ingredient for sweet, fluffy frosting; it blends smoothly without any chunks.
- Water or milk: Used to achieve the desired consistency for your frosting.
- Red gel icing color: This will help you create that fabulous red frosting for an extra patriotic vibe.
- Extra sprinkles (for decoration): Because you can never have too many sprinkles on a celebration treat!
Feel free to customize your cookie cups by mixing in your favorite candies or toppings, making this recipe truly your own! Enjoy cooking and creating something special with your loved ones!
How to Make Patriotic Chocolate Chip Cookie Cups
Now that we’ve covered the ingredients, let’s get started on making these delicious Patriotic Chocolate Chip Cookie Cups! Follow along with these straightforward steps, and I promise you’ll be amazed at how easy and fun it is to bake.
Step 1: Preheat and Prepare
Begin by preheating your oven to 350°F (176°C). This ensures a consistent baking temperature. Next, grab a cupcake pan and spray it with non-stick cooking spray. If you prefer a more natural option, you can use butter to grease the pan. Just make sure every cup is coated well so your cookie cups pop out easily!
Step 2: Cream Ingredients
In a mixing bowl, cream together the softened unsalted butter and both sugars. Use an electric mixer for about 3-4 minutes until the mixture is light and fluffy. This step is key! It adds air to the dough, giving your cookie cups that perfect texture. It’s like a little workout for your mixer!
Step 3: Combine Wet Ingredients
Next, mix in the egg and vanilla extract. Beat them until well combined. The vanilla will add an irresistible aroma and flavor. I can almost smell it just writing this! Make sure to scrape down the sides of the bowl to incorporate everything fully.
Step 4: Mix Dry Ingredients
In a separate, medium-sized bowl, whisk together the all-purpose flour, baking soda, cornstarch, and salt. This will ensure that all your dry ingredients are distributed evenly. Once they’re well mixed, slowly add them to the butter mixture. Mix until just combined. Don’t over-mix; we want soft cookie cups, not tough ones!
Step 5: Form the Cookie Dough
Now it’s time to stir in the chocolate chips, chopped M&Ms, and sprinkles. This dough will be thick and a bit sticky, which makes it wonderful for our cookie cups. If it looks a little too sticky, feel free to add a touch more flour, but remember, we want it to stick together!
Step 6: Create Cookie Cups
Take about 2 tablespoons of dough for each cup. Press the dough into the bottom and about 1/3 to 1/2 up the sides of each cupcake cup. It’s like forming little edible bowls that will hold our frosting later. Make sure the dough is evenly spread to ensure even baking.
Step 7: Bake to Perfection
Place the cupcake pan in the preheated oven and bake for 10-12 minutes. The edges should be just golden. If the centers look a bit undercooked, that’s perfectly fine. They will continue cooking as they cool. Trust me, you want that gooey center!
Step 8: Cool and Shape
Once baked, let the cookie cups cool in the pan for a few minutes. Then gently remove them to a cooling rack. If the centers aren’t cupped enough, use the bottom of a tablespoon to press down the center while they’re still warm. This little trick makes all the difference!
Step 9: Prepare the Frosting
For the frosting, beat together the salted butter and shortening until smooth. Add in half of the powdered sugar and mix until well combined. Then, add the vanilla extract and 1-2 tablespoons of water or milk. Beat until fluffy! Add the remaining powdered sugar, adjusting consistency with more water or milk as needed. The frosting should be spreadable but not runny.
Step 10: Pipe and Decorate
Divide the frosting into two bowls. Color one bowl red using gel icing. Pour each color into separate piping bags. Place them side by side inside a larger piping bag fitted with a decorative tip. Pipe lovely swirls into your cooled cookie cups and finish with an array of sprinkles. Your Patriotic Chocolate Chip Cookie Cups are now ready to shine!
Tips for Success
- Ensure your butter and eggs are at room temperature for better mixing and texture.
- Don’t over-mix the dough, as this can lead to tough cookie cups.
- Use a cookie scoop for even-sized dough portions for uniform baking.
- Feel free to customize your frosting colors and add different toppings for variety.
- Let the cookie cups cool completely before frosting to prevent melting.
Equipment Needed
- Cupcake pan: A standard muffin tin will also work if you don’t have a cupcake pan.
- Mixing bowls: One large and one medium-sized bowl for efficient mixing.
- Electric mixer: A hand mixer makes this easier, but a whisk will do in a pinch.
- Piping bags: You can use freezer bags with the corner snipped as an alternative.
- Spatula: A silicone spatula is great for mixing and scraping every bit of goodness.
Variations on Patriotic Chocolate Chip Cookie Cups
- Add nuts like walnuts or pecans for a crunchy texture and nutty flavor.
- Experiment with different types of chocolate chips, like white chocolate or dark chocolate, for a unique twist.
- Use almond extract instead of vanilla for a delightful flavor shift.
- Opt for gluten-free flour to create a gluten-free version of these cookie cups.
- Replace M&Ms with festive candies for different holidays and occasions.
- Incorporate various sprinkles to match your theme or celebrate different holidays.
- Add a dash of cinnamon or espresso powder to the dough for unexpected depth.
Serving Suggestions for Patriotic Chocolate Chip Cookie Cups
- Serve these cookie cups alongside a scoop of vanilla ice cream for a delightful dessert duo.
- Pair with a refreshing lemonade or iced tea to balance the sweetness.
- Present them on a festive platter, garnished with fresh fruit, for an eye-catching display.
- Surprise guests by offering a variety of cookie cups with different frosting designs.
- Perfect for barbecues, holiday celebrations, or as a sweet treat during movie night!
FAQs about Patriotic Chocolate Chip Cookie Cups
I know you might have some questions about these fabulous Patriotic Chocolate Chip Cookie Cups. Here are a few answers you may find helpful:
Can I make the cookie dough in advance?
Absolutely! You can prepare the cookie dough ahead of time and store it in the refrigerator for up to 24 hours. Just be sure to let it sit at room temperature for about 10 minutes before shaping and baking.
Are these cookie cups suitable for special dietary needs?
Yes! You can easily modify the recipe. Use gluten-free flour for a gluten-free option or substitute dairy-free butter and chocolate for a vegan twist. They’ll still taste delightful!
How long do these cookie cups stay fresh?
Stored in an airtight container, they’ll remain fresh for up to a week. But trust me, they’ll likely disappear faster than that!
Can I freeze the cookie cups?
Definitely! You can freeze the baked cookie cups for up to three months. Just thaw them in the fridge overnight before frosting and serving!
What’s the best way to frost these cookie cups?
Using piping bags gives you control for beautiful swirls. But a simple spatula works wonders too! Either way, the festive look will charm your guests!
Final Thoughts
There’s something truly special about creating these Patriotic Chocolate Chip Cookie Cups. They’re not just treats; they’re memories waiting to happen. Baking these delightful cookies provides an escape from a busy day, allowing you to gather your loved ones and celebrate together. With their cheerful colors and irresistible flavors, they’re bound to make anyone smile. Plus, you get to unleash your creativity with frosting and decorations! So, roll up your sleeves, enjoy the process, and savor every crumb, knowing you’re sharing a piece of joy with those who matter most. Happy baking!
Print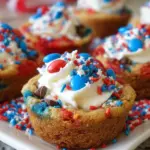
Patriotic Chocolate Chip Cookie Cups
- Total Time: 42 minutes
- Yield: 12 cookie cups 1x
- Diet: Vegetarian
Description
Delicious and festive Patriotic Chocolate Chip Cookie Cups topped with colorful frosting.
Ingredients
- 3/4 cup (168g) unsalted butter, room temperature
- 3/4 cup (108g) brown sugar
- 1/4 cup (52g) sugar
- 1 egg
- 2 tsp vanilla extract
- 2 cups (260g) all purpose flour
- 1 tsp baking soda
- 1 tsp cornstarch
- 1/2 tsp salt
- 3/4 cup (125g) semi-sweet chocolate chips
- 3/4 cup (146g) chopped M&Ms
- 2–3 tbsp red, white and blue sprinkles
- 1/2 cup (112g) salted butter (for frosting)
- 1/2 cup (95g) shortening (for frosting)
- 4 cups (460g) powdered sugar (for frosting)
- 1 1/2 tsp vanilla extract (for frosting)
- 2–3 tbsp water or milk (for frosting)
- Red gel icing color (for frosting)
- Sprinkles (for decoration)
Instructions
- Preheat oven to 350°F (176°C). Spray a cupcake pan with non-stick cooking spray.
- Cream butter and sugars together until light and fluffy, about 3-4 minutes.
- Mix in egg and vanilla extract.
- Combine the flour, baking soda, cornstarch, and salt in a medium-sized bowl, then add to the butter mixture. Mix until well combined and a dough forms.
- Stir in the chocolate chips, M&Ms, and sprinkles. Dough will be thick and a bit sticky.
- Make balls of about 2 tbsp of dough. Press cookie dough into the bottom and about 1/3-1/2 way up the sides of each cupcake cup, forming a cup shape.
- Bake for 10-12 minutes, or until edges are just golden. If they look a little undercooked in the center, that’s ok. They’ll continue to bake as they cool and firm up.
- Remove from oven and allow to cool mostly in the pans, then remove to a cooling rack. If the centers aren’t cupped enough, use the bottom of a tablespoon to press the center down a bit while still warm.
- To make the frosting, beat the butter and shortening together until smooth.
- Slowly add half of the powdered sugar and mix until smooth.
- Add the vanilla extract and 1-2 tablespoons of water or milk and mix until smooth.
- Slowly add the remaining powdered sugar and mix until smooth. Add additional water or milk, as needed.
- Split the frosting into two bowls and color one bowl with red gel icing color.
- Put the two colors of frosting into two separate smaller piping bags, then put both piping bags side by side in a larger piping bag fitted with a piping tip.
- Pipe the frosting into the cookie cups and top with sprinkles.
Notes
- Make sure ingredients are at room temperature for best results.
- Store cookies in an airtight container to maintain freshness.
- Customize sprinkles based on the occasion.
- Prep Time: 30 minutes
- Cook Time: 12 minutes
- Category: Dessert
- Method: Baking
- Cuisine: American
Nutrition
- Serving Size: 1 cookie cup
- Calories: 250
- Sugar: 18g
- Sodium: 150mg
- Fat: 12g
- Saturated Fat: 7g
- Unsaturated Fat: 3g
- Trans Fat: 0g
- Carbohydrates: 32g
- Fiber: 1g
- Protein: 3g
- Cholesterol: 30mg