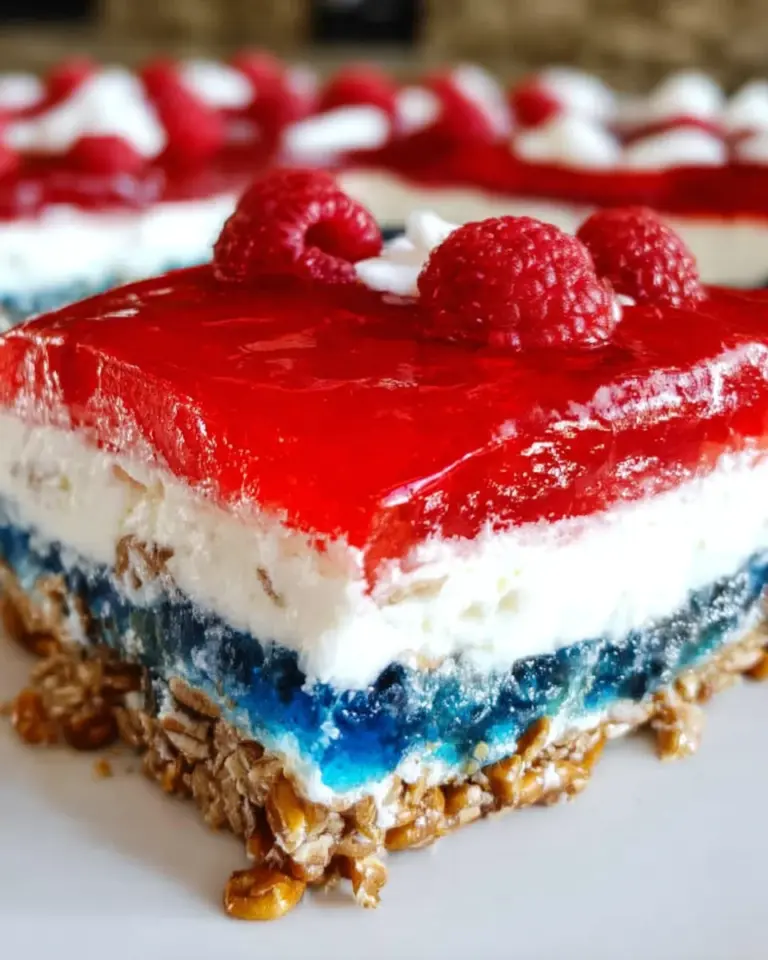
Patriotic Fruit Cones – Delightful Red, White & Blue Treats for Every Celebration!

Introduction to Patriotic Fruit Cones
As a busy mom, I know the joy of quick treats that wow family and friends. That’s why I’m excited to share these delightful Patriotic Fruit Cones. They’re not just eye-catching; they are bursting with colors, flavors, and joy, making them perfect for any celebration. Whether it’s a barbecue, a summer picnic, or a festive gathering, these cones are a simple solution that everyone will love. Plus, they’re a fun way to engage the kids in the kitchen while keeping things light and delicious. Who doesn’t love a sweet, fruity treat?
Why You’ll Love This Patriotic Fruit Cones
You’ll fall in love with these Patriotic Fruit Cones for their sheer simplicity and vibrant appeal. In just 25 minutes, you can whip up a festive dessert that’s not only visually stunning but also deliciously satisfying. As a mom, I appreciate how easy this recipe is to put together, making it perfect for busy days when you want to impress loved ones without the hassle. Every bite is a celebration of summer!
Ingredients for Patriotic Fruit Cones
Gathering the ingredients for these Patriotic Fruit Cones is part of the fun! Here’s what you’ll need:
- White chocolate melting wafers or chips: These create that sweet, creamy coating that makes each cone irresistible.
- Waffle cones: Crunchy and sturdy, they serve as the perfect edible container for the fruit and yogurt. You can opt for gluten-free cones if needed!
- Red and blue sugar sprinkles: These add a pop of color and a bit of sparkle, making your cones festive and fun.
- Vanilla pirouette cream-filled wafers: These delicate, rolled wafers not only add flavor but also represent the cone’s magical “flame” on top.
- White yogurt: Choose unflavored or vanilla for a creamy base that balances the sweetness of the fruit. Greek yogurt works well for added protein!
- Raspberries: Juicy and tangy, they brighten each bite with their vibrant red color.
- Blueberries: These little gems offer a burst of flavor and a beautiful blue contrast, making them perfect for our patriotic theme.
- Small strawberries: Their sweetness and pretty color make them an essential summer fruit that layers beautifully in the cones.
Feel free to mix and match fruits based on what you have available or your family’s favorites! The exact quantities for all these ingredients can be found at the bottom of the article for easy printing.
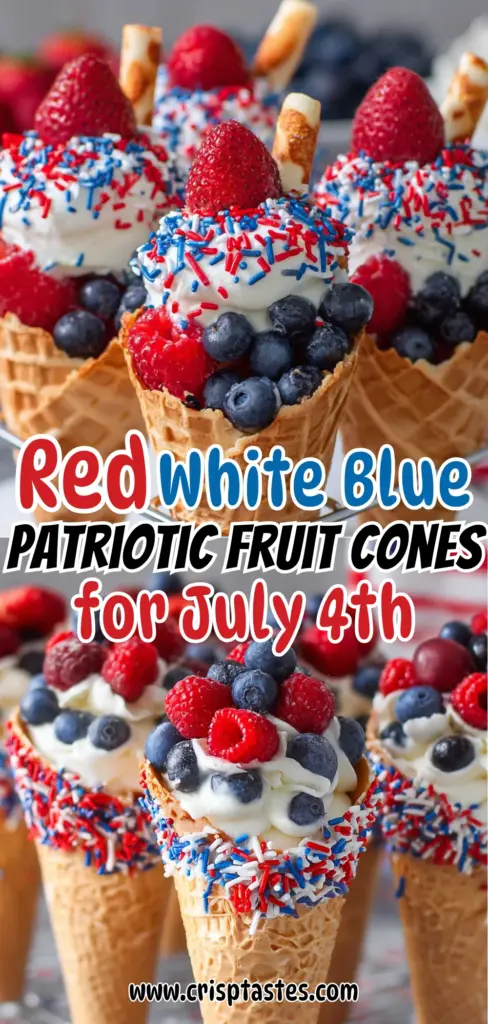
How to Make Patriotic Fruit Cones
Now comes the fun part: creating your delightful Patriotic Fruit Cones! Follow these easy steps to bring your festive vision to life.
Step 1: Melt the White Chocolate
Start by melting the white chocolate in a small heat-safe bowl. You can do this either in the microwave or over a double boiler. If using the microwave, heat in 30-second intervals, stirring frequently until fully melted. The chocolate should be smooth, not too thick; think of it like a dreamy liquid cloud. If it’s too thick, a touch of vegetable oil can help achieve the perfect consistency.
Step 2: Prepare the Waffle Cones
Once your chocolate is melted, grab the waffle cones! Dip the top inch of each cone into the chocolate. It’s like giving them a sweet hat! Let the excess chocolate drip back into the bowl. Immediately sprinkle the red and blue sugar sprinkles over the chocolate-coated area while it’s still wet. Trust me; this colorful layer adds a festive flair that your family will adore.
Step 3: Harden the White Chocolate Coating
After decorating, place your cones upright in heavy cups or bowls, which can serve as holders. Now, pop them in the refrigerator for about 10 minutes. This will let the chocolate harden beautifully. Avoid placing them in the warmest spot; a shelf near the back is ideal. You’re looking for that nice, firm finish to hold all the delicious toppings.
Step 4: Layer the Yogurt and Fruits
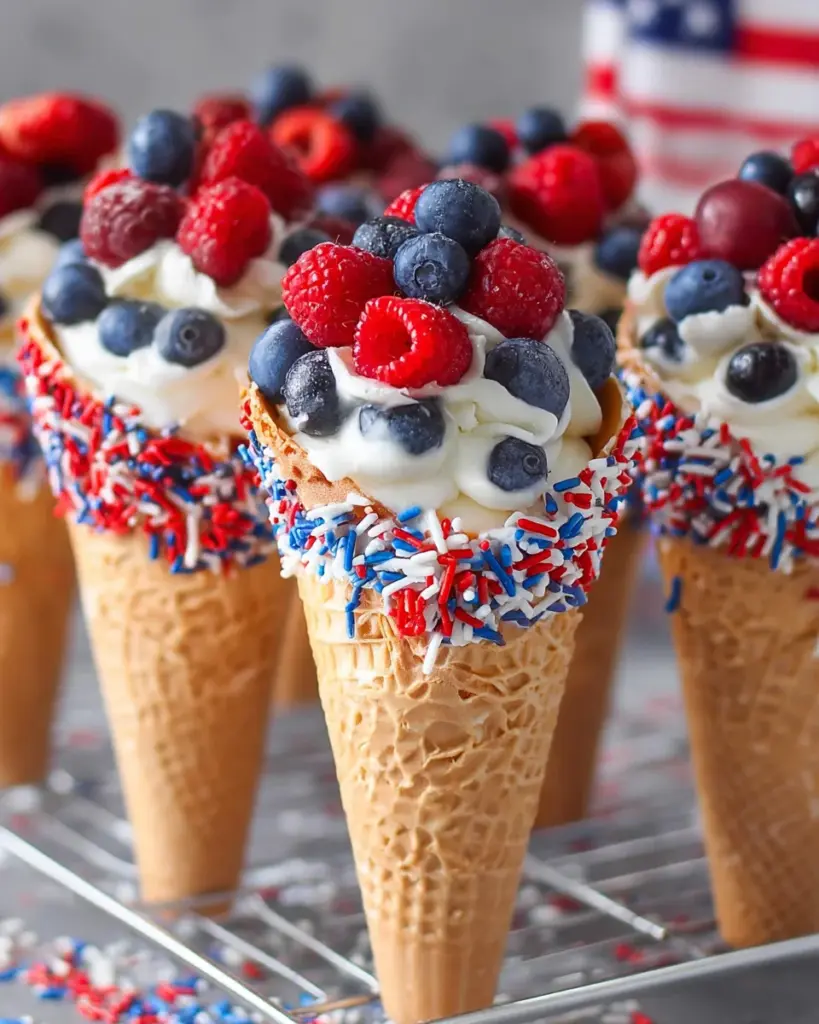
Next comes the layering! Start with a spoonful of yogurt at the bottom of the cone, followed by a handful of fruits. Repeat this pattern until you reach the top, finishing with a beautiful layer of fruit. This not only looks stunning but also ensures each bite is a delightful mix of flavors. Don’t be shy; let the berries tumble and overflow a little for extra visual appeal!
Step 5: Chill and Serve
Almost there! Once your cones are filled, serve them immediately, or chill for a few more minutes to let everything settle nicely. For presentation, consider placing the cones in a festive jar or a simple cake stand. It’s like a delicious centerpiece for your summer gatherings!
Tips for Success
- For easy melting, ensure your bowl is completely dry to prevent seizing.
- Use a spoon to help guide the sprinkles onto the chocolate; it ensures even coverage.
- Experiment with different fruits based on the season or personal preference.
- Chilling the cones before serving enhances the flavors and makes them extra refreshing.
- Try using a colorful platter to present your cones for an extra wow factor!
Equipment Needed
- Microwave-safe bowl: For melting chocolate. A small saucepan works too if you prefer stovetop.
- Heavy cups or bowls: Use these to hold the cones while they set. Any sturdy container can work in a pinch.
- Spoon: Essential for layering yogurt and fruits. You can use a spatula for spreading chocolate.
Variations of Patriotic Fruit Cones
- Berry Medley: Swap out the berries for any seasonal fruits like peaches or kiwi, for a sweet twist.
- Chocolate Dipped: Use dark or regular chocolate for dipping instead of white, adding a rich flavor depth.
- Nutty Addition: Sprinkle some chopped nuts or granola on top of the fruit for a satisfying crunch and extra nutrition.
- Dairy-Free Option: Use dairy-free yogurt and chocolate to cater to vegan preferences while keeping it delightful.
- Mini Cones: Create bite-sized versions using mini waffle cones for a charming treat perfect for kids’ gatherings.
Serving Suggestions
- Pair with refreshing lemonade or iced tea for a summer vibe.
- Serve alongside a platter of veggie sticks and hummus for a colorful snack table.
- Display cones in a mason jar filled with sand for a charming beachside look.
- Add whipped cream on top for an extra indulgent treat.
FAQs about Patriotic Fruit Cones
Can I make Patriotic Fruit Cones in advance?
Absolutely! You can prepare the cones a few hours ahead and store them in the refrigerator. Just wait to fill them with yogurt and fruit until closer to serving time to keep everything fresh and delicious.
What fruits work best for Patriotic Fruit Cones?
While raspberries, blueberries, and strawberries are perfect for a patriotic theme, feel free to swap in other fruits based on the season. Choices like kiwi or peaches can add a delightful twist!
How do I store leftover Patriotic Fruit Cones?
If you have extras, store them in an airtight container in the refrigerator. Keep in mind that the cones may become slightly soggy over time, so they’re best enjoyed fresh.
Can I substitute white chocolate with another type?
Of course! If white chocolate isn’t your favorite, try using dark or milk chocolate for the coating. This will change the flavor profile but still deliver a tasty treat!
Are Patriotic Fruit Cones suitable for a gluten-free diet?
Yes, just choose gluten-free waffle cones, and you’re all set! This way, you can enjoy these delightful treats without worry.
Final Thoughts
Creating these Patriotic Fruit Cones isn’t just about serving a dessert; it’s about making memories with your loved ones. Each colorful layer of fruit and creamy yogurt tells a story of summer joy and celebration. This recipe offers a canvas for creativity, where you can involve your kids, making it a fun family activity. Plus, they’re so beautiful that they’ll steal the show at any gathering. With their delightful taste and vibrant look, they’re sure to bring smiles all around. So let’s get cooking and make some festive memories!
Print
Patriotic Fruit Cones
- Total Time: 25 minutes
- Yield: 6 servings 1x
- Diet: Vegetarian
Description
Patriotic Fruit Cones are festive and delightful treats perfect for celebrations, combining fresh fruits, yogurt, and a sweet chocolate touch.
Ingredients
- 1 cup White chocolate melting wafers or chips
- 6 waffle cones
- ¼ cup red and blue sugar sprinkles
- 6 vanilla pirouette cream-filled wafers
- 2 cups white yogurt unflavored or vanilla
- 1 cup raspberries
- 1 cup blueberries
- 1 cup small strawberries
Instructions
- Melt the white melting wafers in a small heat-safe bowl according to the package directions.
- Dip the top of each cone into the white chocolate about an inch down and then hold the cone above the bowl to allow the excess to drip back into the bowl.
- Quickly sprinkle each white-covered cone top with red and blue sprinkles over a small plate to catch the sprinkles that fall. Place them upright in heavy cups or bowls to serve as a holder for the cones.
- Place them in your refrigerator for 10 minutes to allow the white chocolate to harden.
- Once the white chocolate has hardened, layer your fruit between layers of yogurt, ending with fruit on top.
- Serve chilled.
Notes
- Make sure to use heat-safe bowls for melting the chocolate.
- Allowing the chocolate to harden is crucial for maintaining the shape of the cones.
- Feel free to mix and match different fruits based on availability and preference.
- Prep Time: 15 minutes
- Cook Time: 10 minutes
- Category: Dessert
- Method: No-Bake
- Cuisine: American
Nutrition
- Serving Size: 1 cone
- Calories: 210
- Sugar: 22g
- Sodium: 50mg
- Fat: 8g
- Saturated Fat: 5g
- Unsaturated Fat: 2g
- Trans Fat: 0g
- Carbohydrates: 32g
- Fiber: 3g
- Protein: 3g
- Cholesterol: 10mg