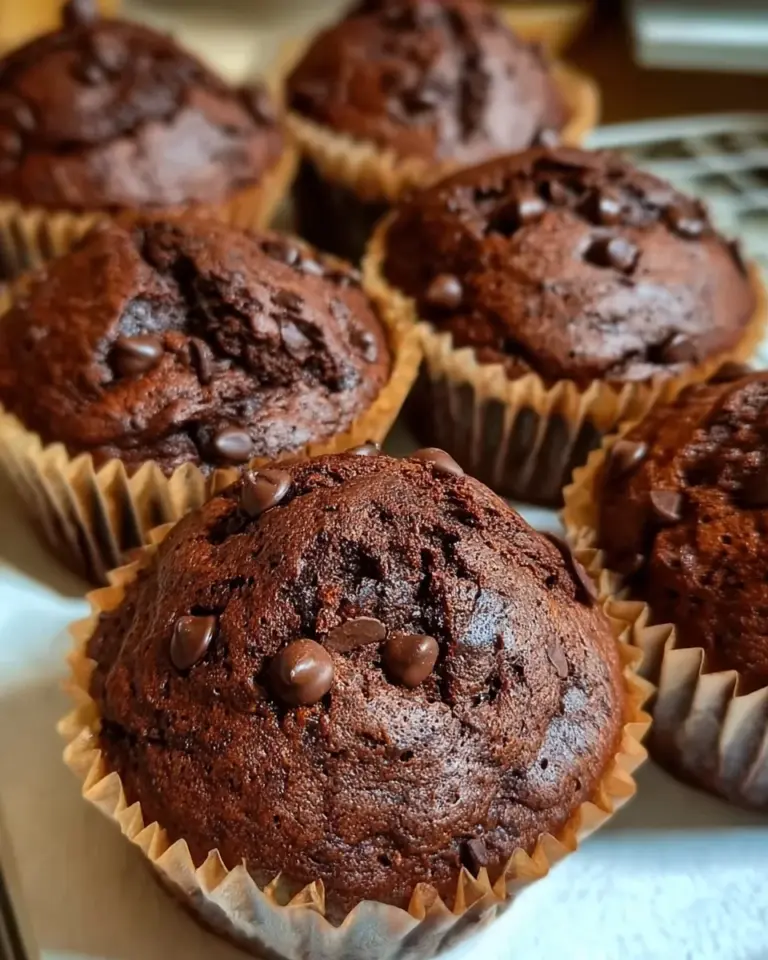
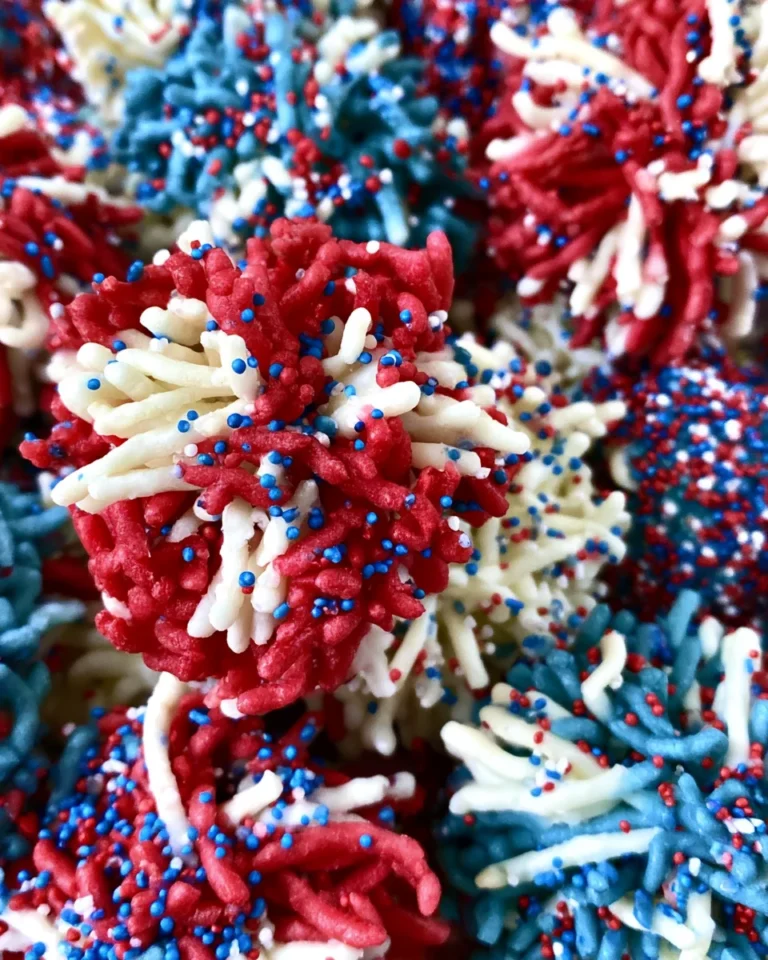
Easter Cookies

Introduction to Easter Cookies
As the flowers bloom and the days get longer, I can’t help but get excited about making my delicious Easter Cookies. These vibrant treats are not just a delight to the eyes; they offer a sweet escape from the daily grind. I know how busy life can get, especially during the holidays, which is why I love this recipe. It’s quick, simple, and perfect for baking with kids or surprising loved ones. So, if you’re looking for a fun, festive way to celebrate, let’s dive into the world of these colorful Easter Cookies!
Why You’ll Love This Easter Cookies
You’re going to fall head over heels for these Easter Cookies, and here’s why! They’re incredibly easy to whip up, allowing you to spend more time enjoying the holiday and less time in the kitchen. Plus, the taste is simply divine—perfectly soft, chewy, and sprinkled with colorful M&M’s that bring a little extra joy. These cookies are not just a treat; they’re a delightful way to celebrate the season with family and friends!
Ingredients for Easter Cookies
Gathering the right ingredients is half the fun of baking these Easter Cookies! Let’s take a closer look at what you’ll need to create these delightful treats:
- All-purpose flour: This forms the base of your cookies, giving them structure and a lovely texture. You can substitute with a gluten-free blend if needed.
- Baking powder: This leavening agent helps your cookies rise, ensuring they are nice and fluffy. Make sure it’s fresh for the best results!
- Baking soda: This also acts as a leavening agent, helping to achieve that perfect balance of chewiness.
- Salt: A pinch of salt enhances all the flavors, creating that beautiful contrast in sweetness.
- Unsalted butter: Softened but still cool, butter brings richness and flavor to the cookies. You can use coconut oil or margarine for a dairy-free option.
- Granulated sugar: This sweetens your cookies and contributes to their signature chewy texture.
- Brown sugar: Packed with molasses, brown sugar adds moisture and a delightful depth of flavor.
- Large egg: A cold egg binds everything together and helps the cookies maintain their shape. You can replace it with a flax egg for a vegan option.
- Pure vanilla extract: This adds a warm, inviting flavor that enhances the overall taste of your cookies.
- Easter/spring M&M’s: The colorful candy pieces not only dress up your cookies but also add a playful crunch. Feel free to swap with chocolate chips or dried fruit if you’re not a fan of M&M’s!
- White chocolate chips: These melt beautifully, adding creaminess and sweetness to the mix. You could use dark chocolate or even caramels for a different twist.
- Pastel sprinkles: These bring a festive touch to your cookies, perfect for Easter celebrations.
Don’t worry! For exact measurements, you’ll find them at the bottom of the article, ready for printing. Happy baking!

How to Make Easter Cookies
Step 1: Preheat and Prepare
Before you dive into the mixing, preheat your oven to 350°F. This crucial step ensures your cookies bake evenly and come out perfectly. While the oven is warming up, line two baking sheets with parchment paper. This not only makes cleanup a breeze but also prevents sticking. Trust me, a well-prepared baking sheet is key to achieving those fluffy Easter Cookies that you and your loved ones will devour. The anticipation of that sweet aroma filling your kitchen is already making my mouth water!
Step 2: Mix the Dry Ingredients
In a medium bowl, whisk together the flour, baking powder, baking soda, and salt. This step may seem simple, but mixing these dry ingredients well is essential. A thorough blend ensures that your cookies rise correctly, giving them that perfect fluffiness. I like to use a whisk to incorporate air into the mixture, making it lighter. Set this aside and let it wait patiently for its time to shine in your dough.
Step 3: Cream Butter and Sugars
In a large bowl, grab your hand mixer or stand mixer fitted with the paddle attachment. Beat the softened butter and both sugars together for about 1–2 minutes until they’re light and fluffy. This step is vital for creating the right texture in your Easter Cookies. The air you whip into the butter creates lovely little pockets, making your cookies melt in your mouth. Don’t rush; take the time to mix it just right, and you’ll be rewarded with a soft, tender treat!
Step 4: Combine Wet Ingredients
Now, it’s time to add the cold egg and pure vanilla extract to your creamed butter and sugars. Mix until everything is perfectly combined. The egg helps bind the ingredients while the vanilla adds that comforting flavor we all adore in baked goodies. This sweet symphony of flavors is what makes these Easter Cookies special. So, take a moment to enjoy that delightful scent wafting from your bowl!
Step 5: Incorporate Dry Mixture
On a low speed, slowly add your dry mixture to the wet ingredients. Mix until just combined; you want to avoid overmixing, which can lead to tough cookies. A few floury streaks are totally okay! The dough should be soft and slightly sticky, with perfect anticipation of the magic about to happen. This careful approach is all about achieving that dreamy texture everyone craves in a cookie!
Step 6: Fold in Chocolates and M&M’s
With a spatula or a wooden spoon, gently fold in the Easter M&M’s and white chocolate chips. Folding is essential here; it keeps the air you whipped into the dough from escaping. This step is where the fun begins! Those delightful pops of color and sweetness will soon transform your cookies into a festive masterpiece. Remember, gentle hands yield the best results!
Step 7: Shape the Cookies
Now it’s time to shape your cookies! Scoop out balls of dough, using between 1½ and 2½ tablespoons per cookie. Here’s a tip: Gently press the tops of each dough ball into a bowl of sprinkles. This extra touch makes your Easter Cookies even more festive! Place the dough on your prepared baking sheets, leaving enough room for spreading. With this step, you’ll ensure beautifully shaped cookies that are a feast for the eyes as much as they are for the taste buds!
Step 8: Bake and Cool
Finally, slide the baking sheets into the oven and bake for 8-11 minutes. You’ll know they are ready when the edges look set, but the centers remain slightly underdone. This is crucial for that chewy texture we love. Once baked, remove them from the oven and let them cool completely on wire racks. If you really want to impress, press a few extra M&M’s or chocolate chips on top while they’re still warm. These little touches are what make your Easter Cookies truly memorable!
Tips for Success
- Chill the dough balls for 20 minutes before baking—they’ll be thicker and stay fluffy.
- Use a cookie scoop for uniform sizing; it makes achieving equally baked cookies a breeze!
- Keep an eye on your cookies; they can go from perfect to overdone rapidly.
- Let your cookies cool completely before storing them to maintain freshness.
- If you want a crunchier cookie, extend the baking time by a minute or two.
Equipment Needed
- Baking sheets: These are essential for baking. You can use any rimmed baking trays if you don’t have them.
- Parchment paper: This helps prevent sticking. Alternatively, you can lightly grease the baking sheets.
- Mixer: A stand or hand mixer is perfect for creaming ingredients. A whisk can work in a pinch!
- Bowl: A large mixing bowl is needed. Any decent-sized bowl will do!
- Cookie scoop: This tool creates uniform cookie sizes. A tablespoon works well if you don’t have one.
Variations for Easter Cookies
- Nutty Delight: Add ½ cup of chopped nuts, like pecans or walnuts, for extra crunch and flavor. This is a lovely twist that adds texture to your cookies!
- Fruit Punch: Incorporate dried fruit such as cranberries, cherries, or apricots. This gives the cookies a chewy surprise and adds some fruity sweetness.
- Whole Wheat Flour: For a healthier option, replace half the all-purpose flour with whole wheat flour. You’ll increase the fiber content without losing the delicious flavor!
- Vegan Version: Substitute the egg with a flax egg (1 tablespoon ground flaxseed + 2.5 tablespoons water) and use coconut oil instead of butter for a delightful vegan cookie.
- Gluten-Free: Use a gluten-free all-purpose flour blend to keep these cookies accessible for those with gluten sensitivities. Just ensure the blend includes xanthan gum.
- Chocolate Lovers: Instead of white chocolate chips, substitute with dark chocolate chips or chunks for a richer flavor. Or go half and half to mix it up!
Serving Suggestions
- Pair your Easter Cookies with a glass of chilled milk or a warm cup of tea for a cozy treat.
- Serve on a decorative platter, adorned with fresh flowers for a festive table centerpiece.
- Include a variety of cookies in decorated cellophane bags for delightful Easter gifts.
- Enjoy them alongside a light fruit salad for a refreshing twist on dessert.
FAQs about Easter Cookies
As a fellow baker, I know you might have some burning questions about these delightful Easter Cookies. Here are some frequently asked questions that will help in your cookie-making adventure:
Can I use different kinds of chocolate in these Easter Cookies?
Absolutely! Feel free to swap out white chocolate chips for dark chocolate or even milk chocolate. Each variation will add its own delightful twist to your cookies.
What can I do if my cookie dough is too sticky?
If your dough feels overly sticky, you might want to chill it in the refrigerator for about 15-20 minutes. This will help firm it up, making it easier to handle.
How should I store leftover Easter Cookies?
Store your cookies in an airtight container at room temperature. They’ll stay fresh for up to a week. If you want to keep them longer, you can freeze them for up to 3 months.
Can I make Easter Cookies ahead of time?
Definitely! You can prepare the dough in advance, shape it into balls, and then freeze them. Just bake them straight from the freezer, adding an extra minute or two to the baking time.
Are Easter Cookies suitable for various dietary needs?
Of course! With simple substitutions, you can make gluten-free, vegan, or even lower-sugar variations that will cater to different dietary preferences. Get creative and enjoy the process!
Final Thoughts
Baking these Easter Cookies has been a joyful experience filled with laughter and deliciousness. With their vibrant colors and delightful flavors, each bite is a reminder of the beauty of springtime and the warmth of family gatherings. As you pull these cookies from the oven, the sweet aroma fills your kitchen, creating an atmosphere of pure happiness. Whether you’re sharing them with loved ones or savoring every sugary morsel alone, these cookies are bound to create sweet moments that you’ll cherish. So gather your ingredients and let the magic of baking bring smiles to your home this Easter!
Print
Easter Cookies
- Total Time: 26 minutes
- Yield: 24 cookies 1x
- Diet: Vegetarian
Description
Delicious and colorful Easter Cookies perfect for celebrating the holiday.
Ingredients
- 1½ cups plus one tablespoon all purpose flour, spooned and leveled
- 1 teaspoon baking powder
- ½ teaspoon baking soda
- ¼ teaspoon salt
- ½ cup unsalted butter, softened but still cool
- ½ cup granulated sugar
- ⅓ cup brown sugar, lightly packed
- 1 large egg, cold
- 2 teaspoons pure vanilla extract
- ¾ cup Easter/spring M&M’s, plus extra for topping
- ½ cup white chocolate chips or chunks, plus extra for topping
- ¼ cup pastel sprinkles
Instructions
- Preheat oven to 350°F. Line two baking sheets with parchment paper.
- In a bowl, whisk together flour, baking powder, baking soda, and salt. Set aside.
- In a separate bowl, using a hand mixer or stand mixer fitted with the paddle attachment, beat butter and both sugars for 1-2 minutes, until light and fluffy. Add egg and vanilla extract, mixing until combined, scraping the sides of the bowl as needed.
- On low speed, add in flour mixture and mix until just combined.
- Gently stir in M&M’s and white chocolate chips.
- Place the sprinkles in a shallow bowl.
- Scoop balls of cookie dough, between 1½ and 2½ tablespoon portions. Gently press the top of each ball into the bowl of sprinkles.
- Place dough onto prepared baking sheets leaving an inch or two for spreading.
- Bake for 8-11 minutes, until the edges of the cookies are set but the center is still slightly underdone.
- Place the baking sheets on wire racks and allow the cookies to cool completely.
- Press some M&M’s and/or chocolate chips onto the top of the cookies when they are still warm, if desired.
Notes
- Chilling the dough balls in the fridge for about 20 minutes results in slightly thicker cookies.
- Shaping the cookies as soon as they come out of the oven helps maintain their form.
- Prep Time: 15 minutes
- Cook Time: 11 minutes
- Category: Dessert
- Method: Baking
- Cuisine: American
Nutrition
- Serving Size: 1 cookie
- Calories: 150
- Sugar: 10g
- Sodium: 80mg
- Fat: 7g
- Saturated Fat: 4g
- Unsaturated Fat: 2g
- Trans Fat: 0g
- Carbohydrates: 20g
- Fiber: 0g
- Protein: 2g
- Cholesterol: 15mg